

Change can be overwhelming.

In late June 2024, Disney dropped a bombshell on the theme park community with the reveal that the Genie+ skip-the-line ride reservation system — which had only been in place since 2021 — was changing across the board, with newly renamed Lightning Lane Multi Pass and Lightning Lane Single Pass beginning operation on July 24th.
According to Disney, the new system will “blend features from our current services and the previously offered FastPass+ service, giving guests the choice to plan ahead and removing the hassle of planning during their vacation.”
While this sounds more convenient on paper, the changeover can be a bit confusing, as there’s a ton of information to take in. That’s why we’ve assembled a handy step-by-step guide on how to use the new Lightning Lanes.
Before we get to each step though, here is a quick reminder of how the new system will work:
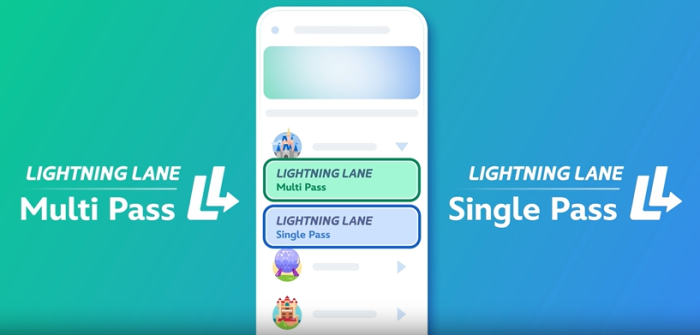
Lightning Lane Multi Pass
Using Lightning Lane Multi Pass, you’ll be able to make 3 Lightning Lane selections in a theme park, in advance of your visit (yes, that does sound familiar) and choose available times as you make your selections.

Lightning Lane Single Pass
Using Lightning Lane Single Pass will allow you to “secure a time to ride one of (Disney’s) most highly demanded attractions” in advance for an additional charge.
Step One: Calculate When You Can Begin Booking
In Disney’s new Lightning Lane system, “Guests staying at a Disney Resort hotel and other select hotels will be able to plan Lightning Lane passes up to 7 days in advance, for their entire stay (up to 14 days). All other guests can plan up to 3 days in advance.”
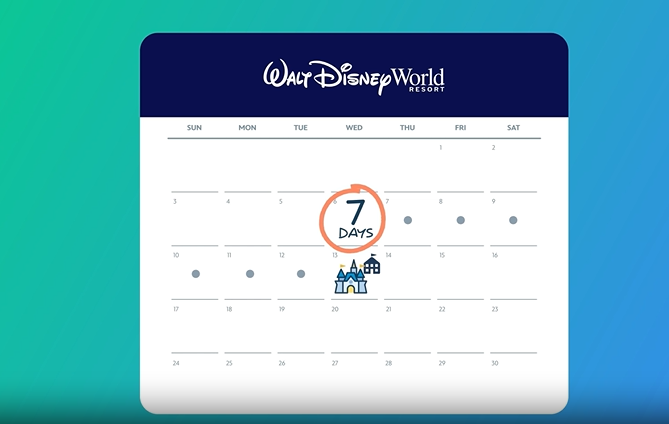
So, as soon as you have your Walt Disney World trip booked, check the calendar and work backward 7 days (if you’re staying on property) or 3 days (if you’re not) to figure out what day (at 7AM Eastern time) you can purchase and book you’re Lightning Lanes.
Step Two: Make Prepare Your App and Party
Make sure to download the My Disney Experience App, and add the entirety of your party, so when you are eligible to begin purchasing and booking Lightning Lanes, you can do so for everyone.
Step Three: Assemble a Plan
First off, you should consider if you’ll be purchasing Lightning Lane Multi Pass, Lightning Lane Single Pass, or both for each day of your trip and which days of you’re trip you’ll want to visit each park. Next, start thinking about which attractions and rides are “must-dos” for some or all in your party. (A note here: According to Disney, “Lightning Lane Multi Pass selections can be modified (subject to availability) so that some members of your travel party can enjoy different multi pass experiences and/or arrival windows.”)
Disney has divided most of the rides and attractions of Magic Kingdom, EPCOT, and Hollywood Studios into tiers for the Lightning Lane system. When it comes to Lightning Lane Multi Pass, each of these three parks has a group of attractions which you can only pick one of when booking your early Lightning Lanes:
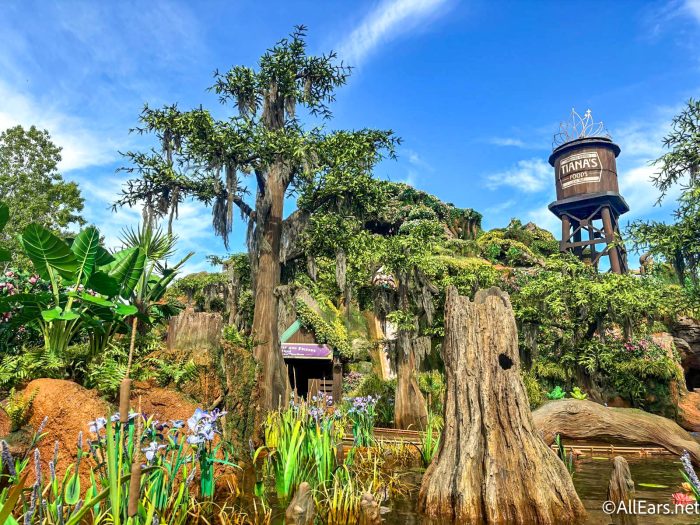
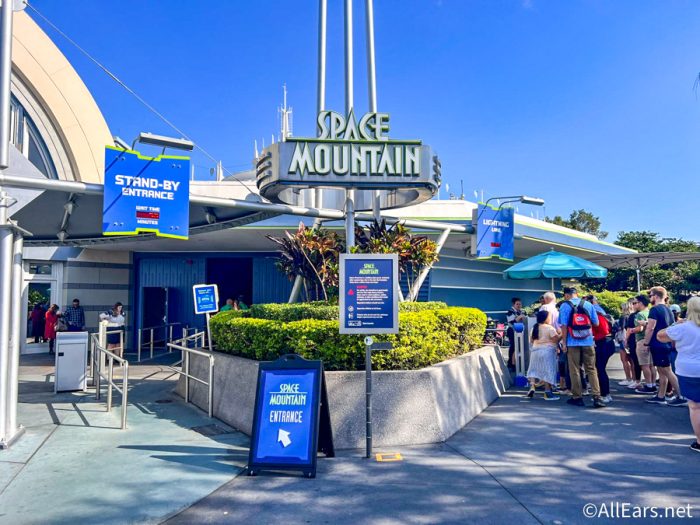
- Magic Kingdom: Big Thunder Mountain Railroad, Jungle Cruise, Peter Pan’s Flight, Space Mountain, and Tiana’s Bayou Adventure
- EPCOT: Frozen Ever After, Remy’s Ratatouille Adventure, and Soarin’ Around the World
- Hollywood Studios: Mickey & Minnie’s Runaway Railway, Millennium Falcon: Smugglers Run, Rock ‘n’ Roller Coaster Starring Aerosmith, and Slinky Dog Dash
The next tier features groups of rides of which you can choose 2 (or all 3 if you’d prefer) to fill out your three Multi Pass Lightning Lanes.
- Magic Kingdom: The Barnstormer, Buzz Lightyear’s Space Ranger Spin, Dumbo the Flying Elephant, Haunted Mansion, “it’s a small world”, Mad Tea Party, The Magic Carpets of Aladdin, The Many Adventures of Winnie the Pooh, Mickey’s PhilharMagic, Monsters Inc. Laugh Floor, Pirates of the Caribbean, Tomorrowland Speedway, and Under the Sea ~ Journey of The Little Mermaid
- EPCOT: Disney and Pixar Short Film Festival, Journey into Imagination with Figment, Living with the Land, Mission: SPACE, The Seas with Nemo & Friends, Spaceship Earth, and Turtle Talk with Crush
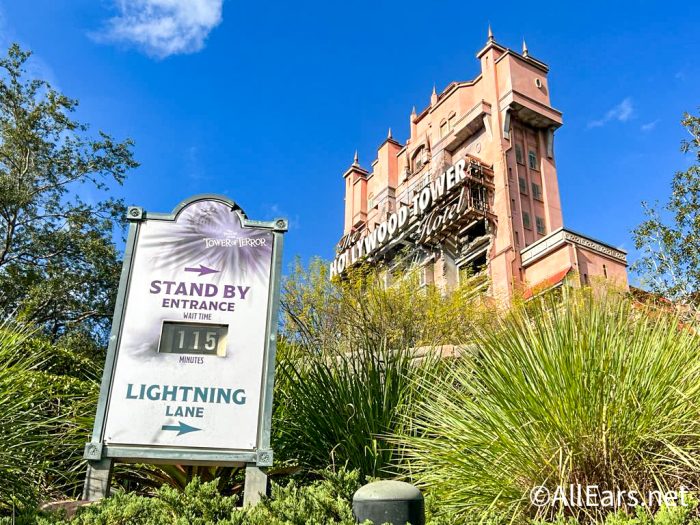
- Hollywood Studios: Alien Swirling Saucers, Beauty and the Beast Live on Stage, Disney Junior Play & Dance!, For the First Time in Forever: A Frozen Sing-Along Celebration, Indiana Jones Epic Stunt Spectacular, Muppet*Vision 3D, Star Tours – The Adventures Continue, The Twilight Zone Tower of Terror, and Toy Story Mania!
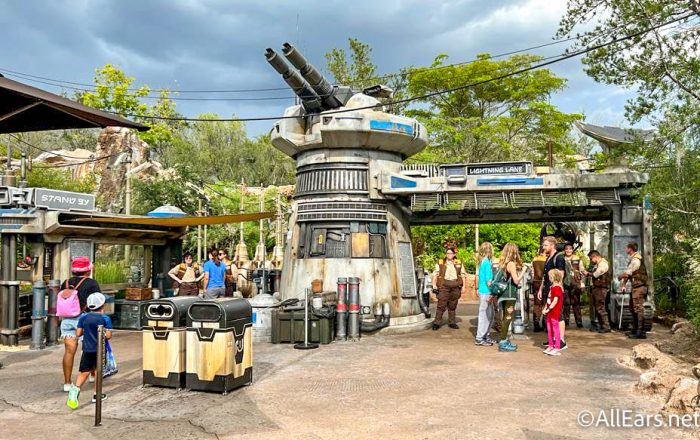
Each of these parks also has attractions that are ONLY available as Lightning Lane Single Passes and can’t be selected as Lightning Lane Multi Passes: Seven Dwarfs Mine Train and TRON Lightcycle/Run for Magic Kingdom, Guardians of the Galaxy: Cosmic Rewind for EPCOT, and Rise of the Resistance at Hollywood Studios.
Animal Kingdom is slightly different. The park only features one tier of rides for Lightning Lane Multi Pass, any three of which can be chosen for Animal Kingdom day:
- Dinosaur, Expedition Everest, Feathered Friends in Flight!, Festival of the Lion King, Finding Nemo: The Big Blue… and Beyond!, It’s Tough to Be a Bug!, Kali River Rapids, Kilimanjaro Safaris, and Naʻvi River Journey.
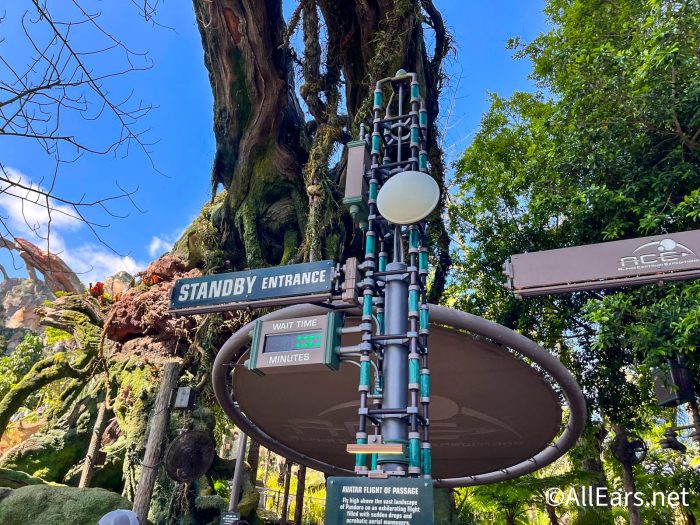
The park also features a Lighting Lane Single Pass-only ride, Avatar Flight of Passage.
Look over that list beforehand to have an idea of what rides you want to attempt to secure with Lightning Lane Multi Passes or single passes, and with the former which group you can only have one of vs two and etc. That way, you’re not overwhelmed attempting to select rides when the moment comes.
Step Four: Purchase and Reserve
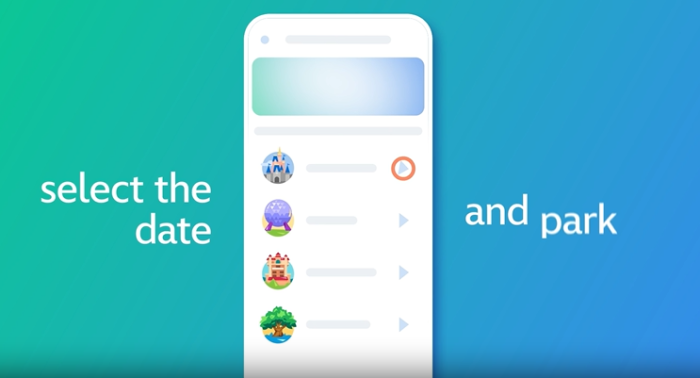
Once your eligibility date arrives, hop onto the My Disney Experience App (we’d advise as close to 7AM as possible) and select the date and park. From there, you can purchase Lightning Lane Multi Pass, Lightning Lane Single Pass, or both and book your desired experiences. If you’re a Disney hotel guest, you can select for each day of your vacation (up to 14 days).
Once you’ve purchased, your plans will be live on the My Disney Experience app and can be modified if need be. However, this is subject to availability, and there may be price matching required, as the Lightning Lanes are dynamically priced by park and date.
Step Five: Use
Using your reserved Lightning Lanes should be similar to the way the current Genie+ system operates. As per Disney, you’ll simply “Go to the Lightning Lane entrance of your selected experience at your scheduled arrival window. To redeem your selection, you’ll tap in at the Lightning Lane entrance using a MagicBand, MagicBand+, Disney MagicMobile pass, Key to the World Card, or ticket card that’s linked to your valid theme park admission.”
Once you’ve used a Lightning Lane Multi Pass, you can then use the My Disney Experience app to check availability for another Lightning Lane Multi Pass experience and add to your plans. You can only hold three Lightning Lane Multi Pass reservations at a time.
While your pre-booked Lightning Lanes have to be for the same park, you can make further Lightning Lane reservations for different parks. Once again according to Disney, “Once you redeem a selection on the day of your park visit, you can use the My Disney Experience app to choose another multi pass experience in any Walt Disney World theme park (subject to availability), as long as you have a valid ticket with the Park Hopper option or an Annual Pass.”
We tested the system out on the first day it debuted, and found it incredibly easy to use!
On the My Disney Experience app, we navigated to “Today’s Plans.” From there, we went to the “Tip Board” section of the app. Nothing has changed about this process from the old system to the new one.
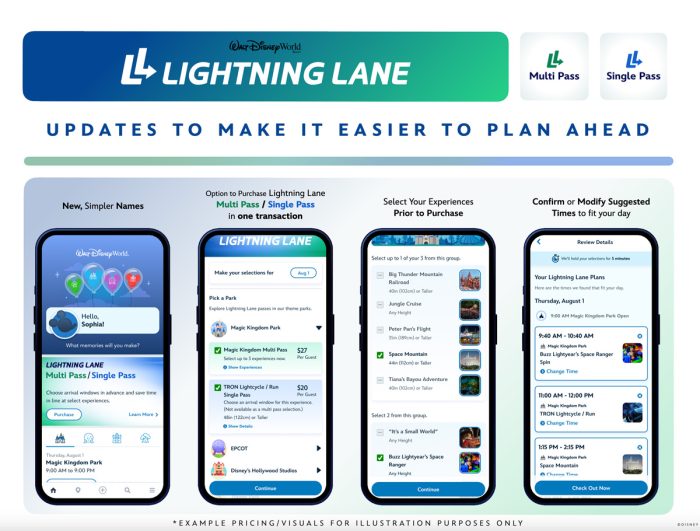
After that, you can select “Purchase Lightning Lane Passes” near the top of the screen and select your date. Your park options will pop up on a list, and you can choose the first park you plan to start your day in. Each park has a dropdown menu with the prices of Lightning Lane Multi Pass and Lightning Lane Single Pass.

With the new system, you can purchase pay-per-ride (Single Pass) attractions and Multi Pass attractions at the same time, which does make things much easier. You also have five minutes to check out without losing your selections and there is a little notification at the top of the screen letting you know how much time you have left.

Then, you’ll make selections using the drop-down menu.
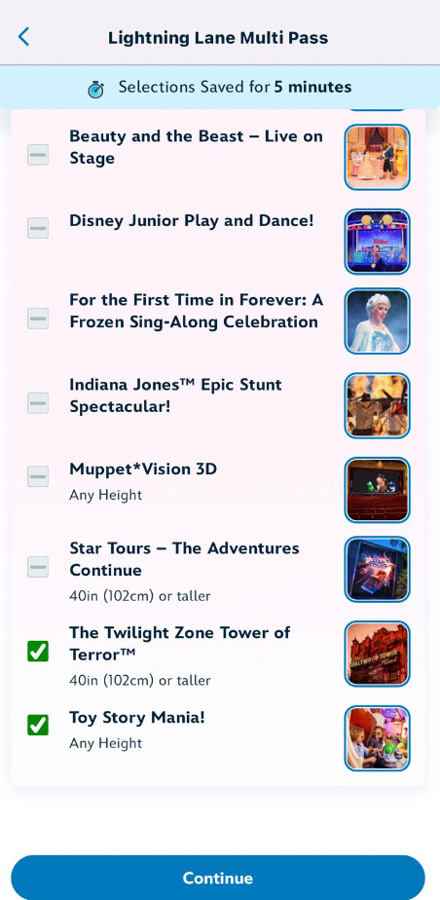
After making your selections, you can then modify the times in the “Review Details” section. Disney will also show in your plans here if you have any reservations that might conflict with your selections.
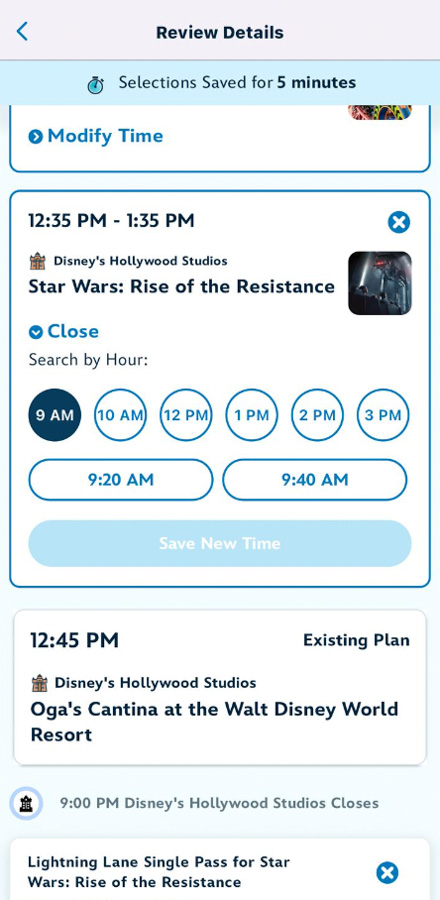
Then, you’ll review your selections one more time before checking out.

After you’ve checked and everything is just how you want it, you pay for the service. We highly recommend having a card attached to your My Disney Experience app already since you only have five minutes.
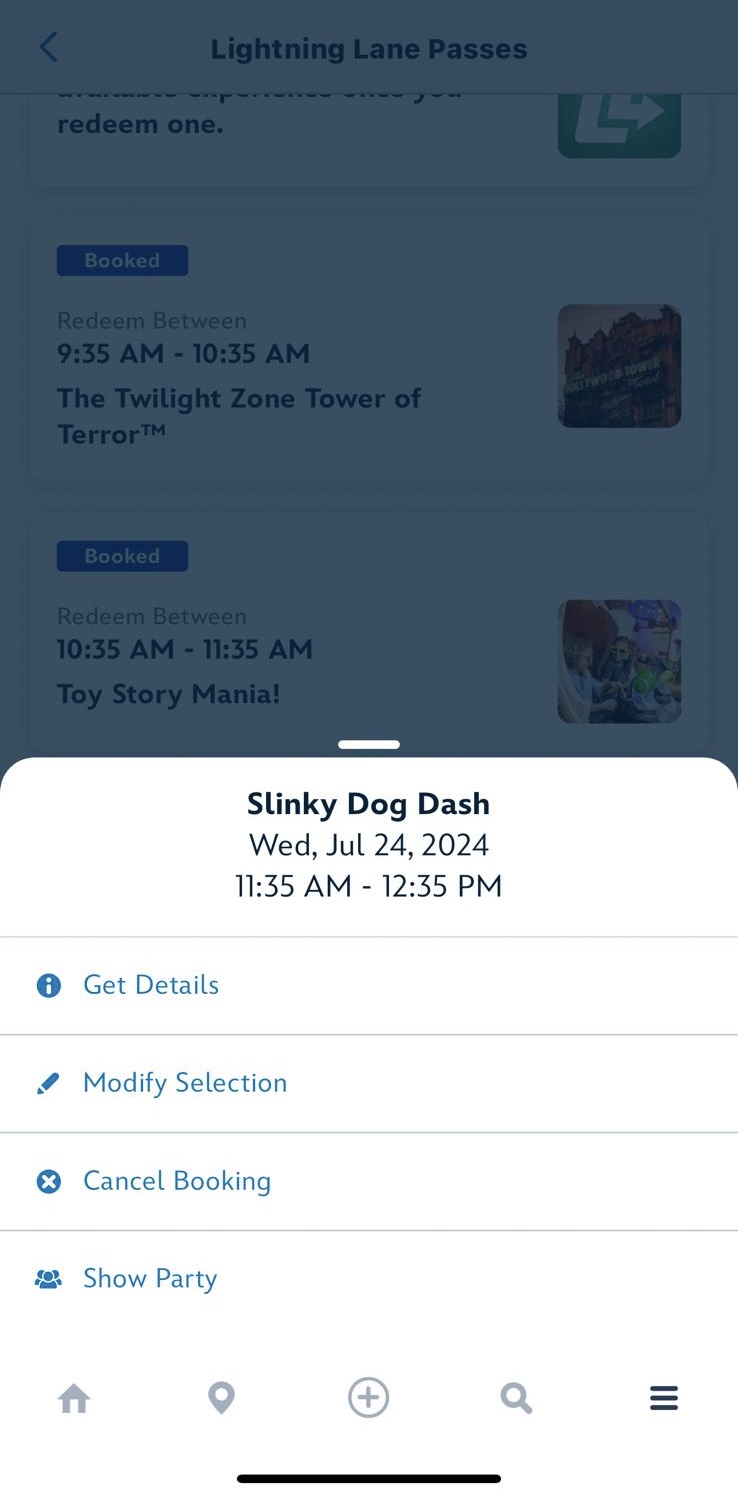
Then you can see your choices in the app. You can choose to “Get Details”, “Modify Selection”, “Cancel Booking”, or “Show Party”.
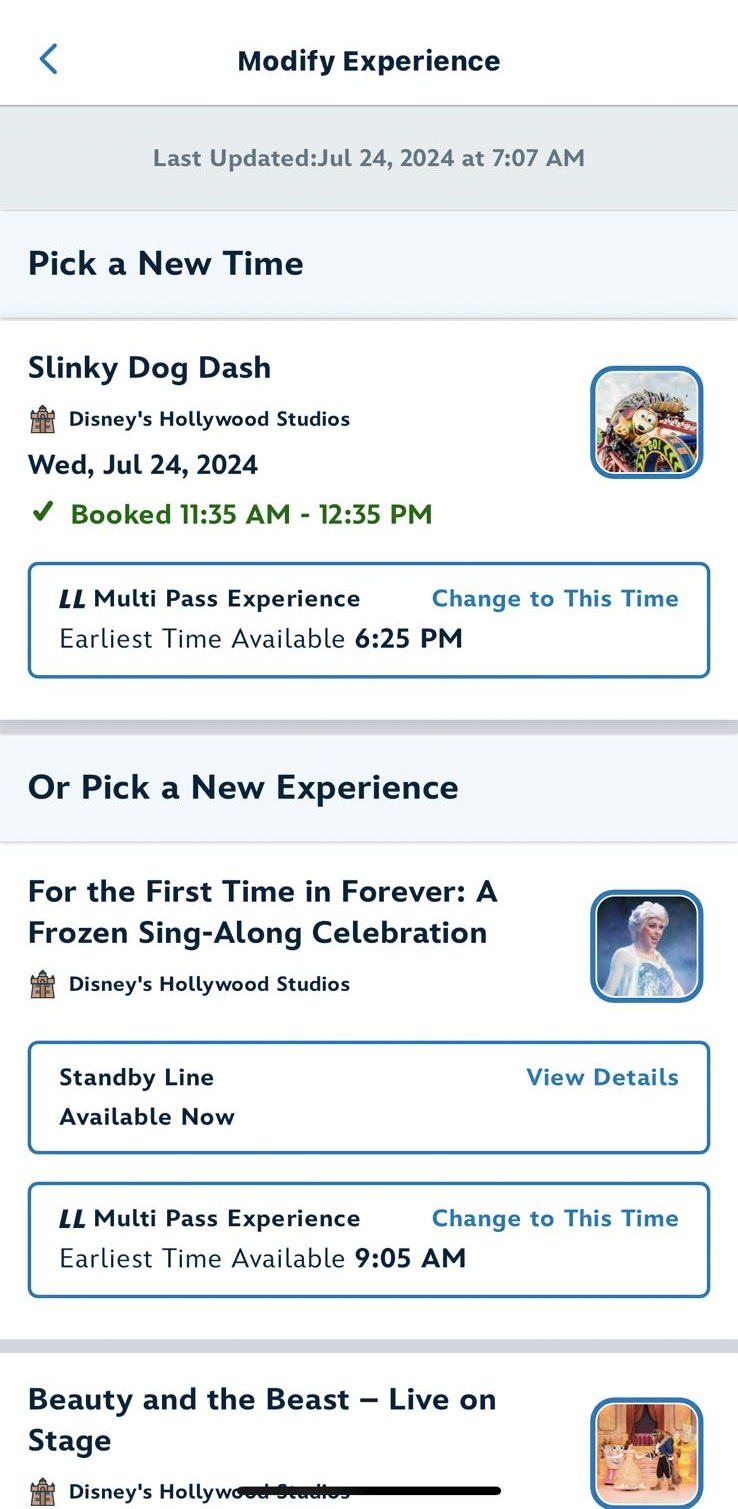
We decided to try clicking “Modify Selection” to see what would happen and it showed us an alternate time. By 7:07AM, times for the day had filled up to around 6:25PM and if we clicked “Change to This Time”, it would have modified our original time window.
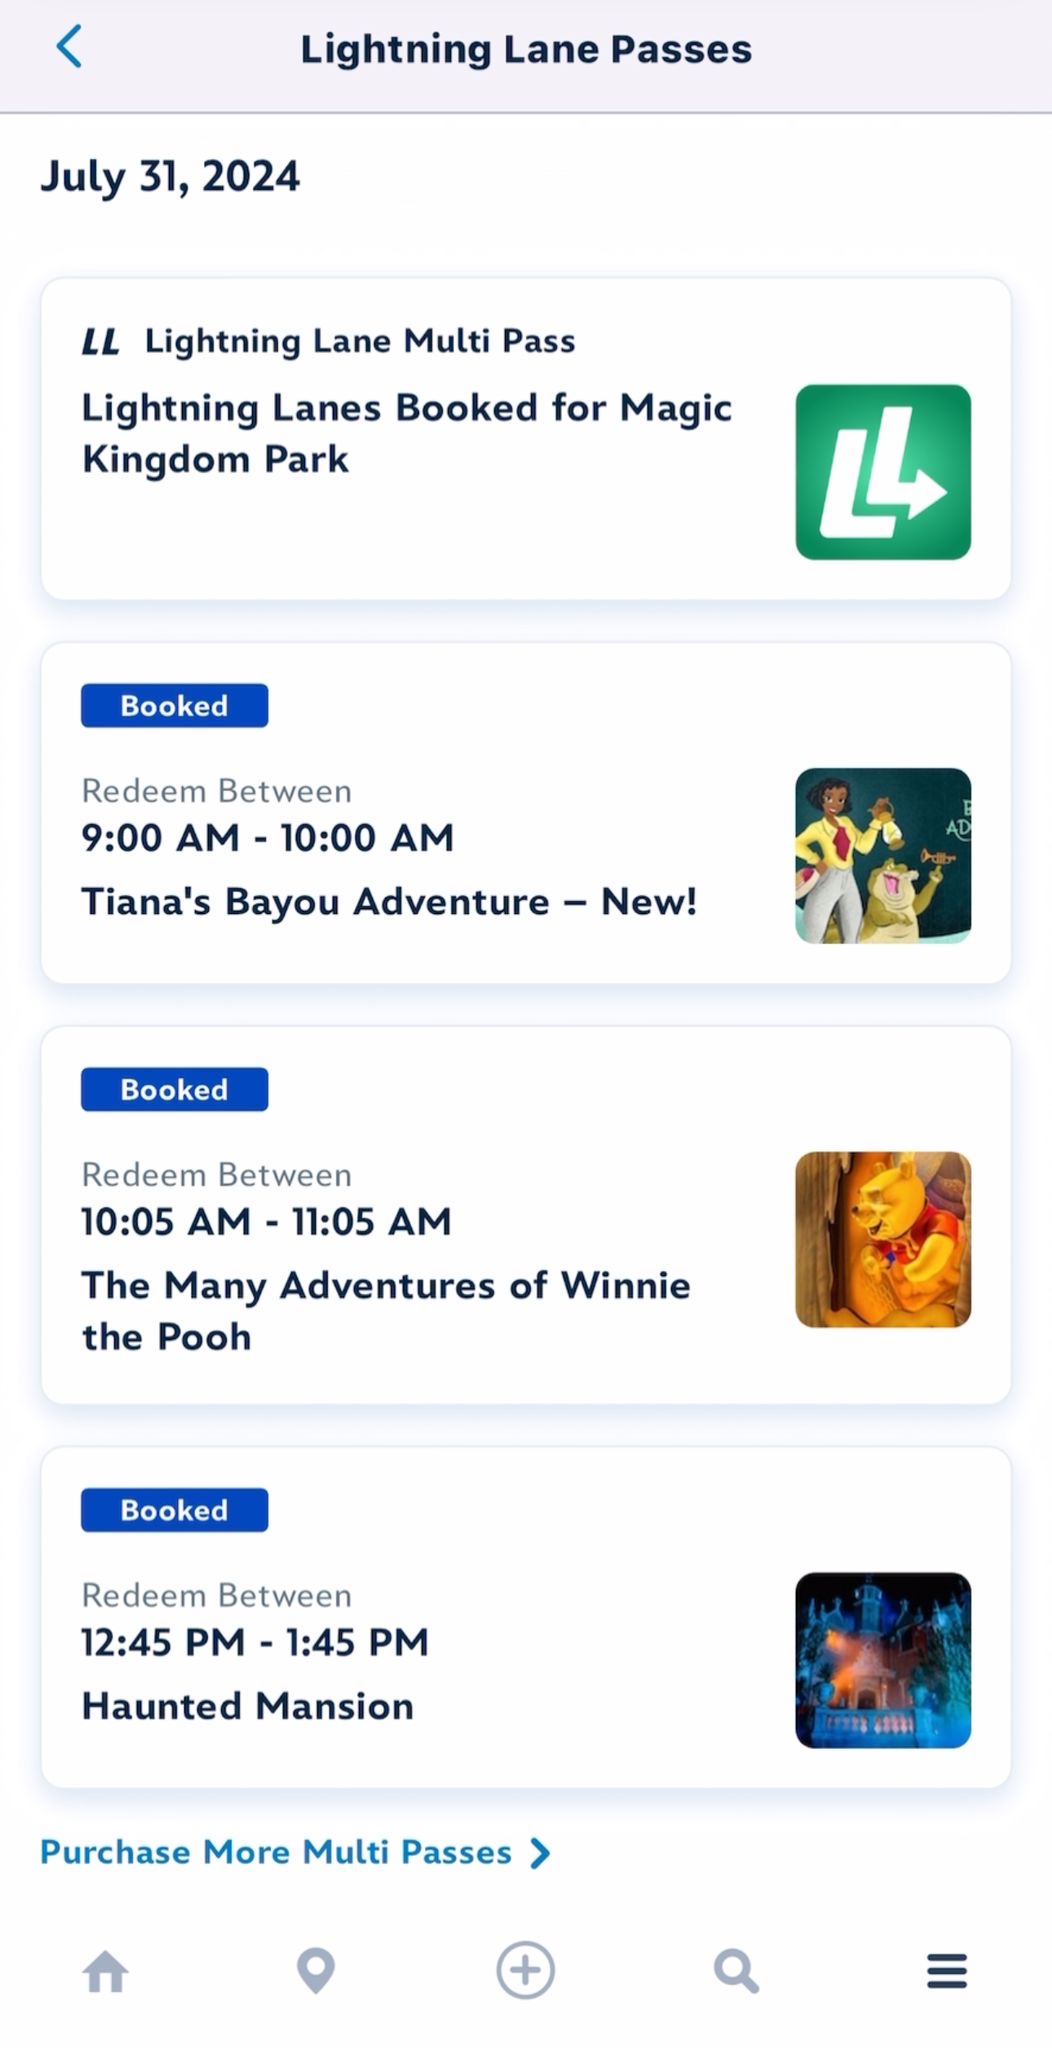
We also attempted to book Lightning Lanes seven days out like Disney World hotel guests will be able to do — and luckily it works the same way as we showed above. But, one major difference is that there are many, many times to choose from.
We even snagged an early time slot for Tiana’s Bayou Adventure. When we tried booking on the 24th, Lightning Lanes filled up quickly for some team members and later times showed up for other team members. It’s clear that being a hotel guest is definitely going to give you the upper hand when it comes to snagging an earlier Lightning Lane for this.
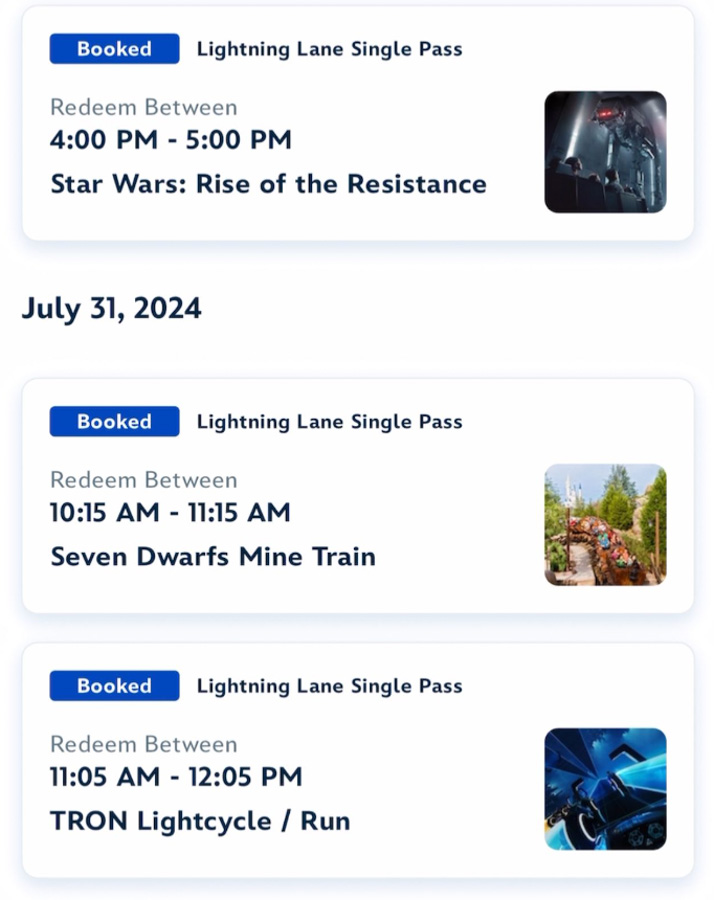
For Lightning Lane Single Pass, we could buy both Seven Dwarfs Mine Train for $11 and TRON Lightcycle / Run for $20.
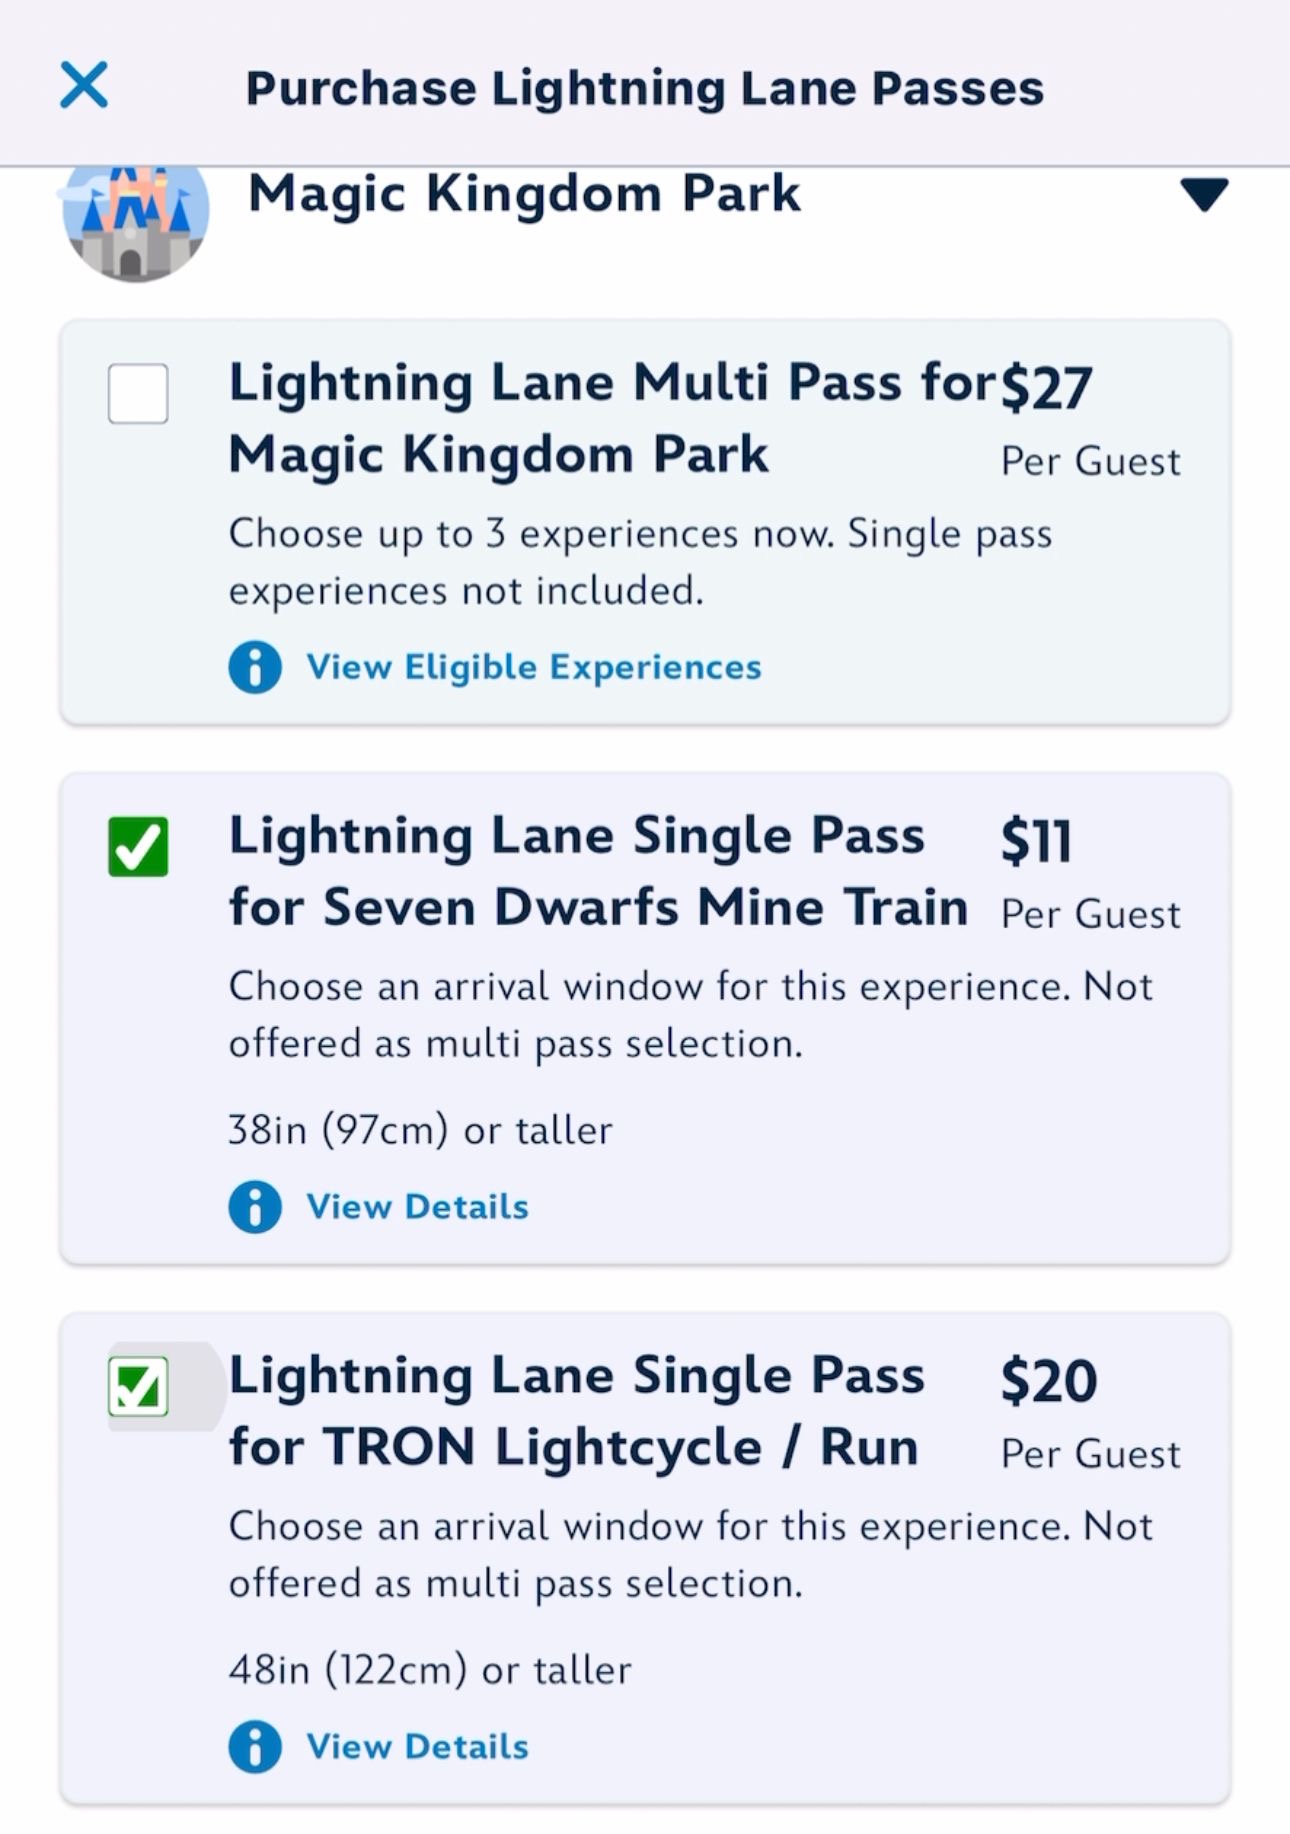
We also noticed that the new system let us overlap with one of our Lightning Line Multi Pass Selections and with our other Lightning Lane Single Pass for TRON. We’re not sure if this is a glitch or what, but it’s something to keep in mind when booking your selections.
We know you’ve got lots of questions about the new Lightning Lane system and we’ll be answering them all, so be sure to stay tuned to AllEars for more!
The One Group of People Disney Is SABOTAGING with Its NEW Lightning Lane Rules
Join the AllEars.net Newsletter to stay on top of ALL the breaking Disney News! You'll also get access to AllEars tips, reviews, trivia, and MORE! Click here to Subscribe!
Are you a fan of Disney’s new approach to Lightning Lane? Let us know in the comments below.


Coming from the UK in August, I loved the old FREE fast pass way. This is mostly good news except us internationals are heavily penalised which saddens me as I bet we make up a huge proportion of annual visitors. Let’s see what’s left when we touchdown or rope dropping it is…….
Please Disney no more greed, Not what Walt was about……