

If you’ve been to Disney World recently, then you probably know that there are a few trends that are running rampant throughout the parks.
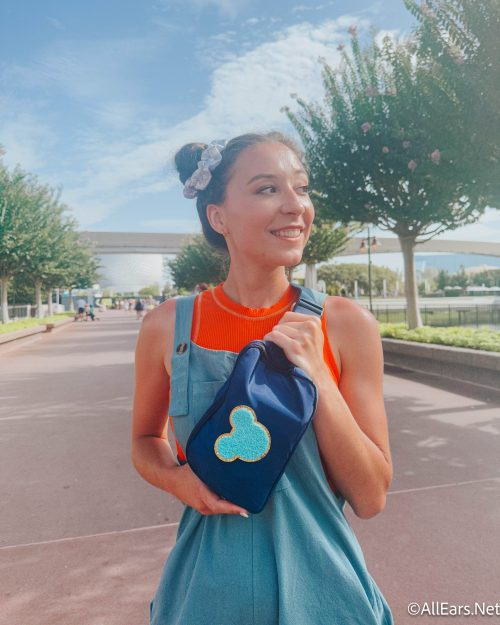
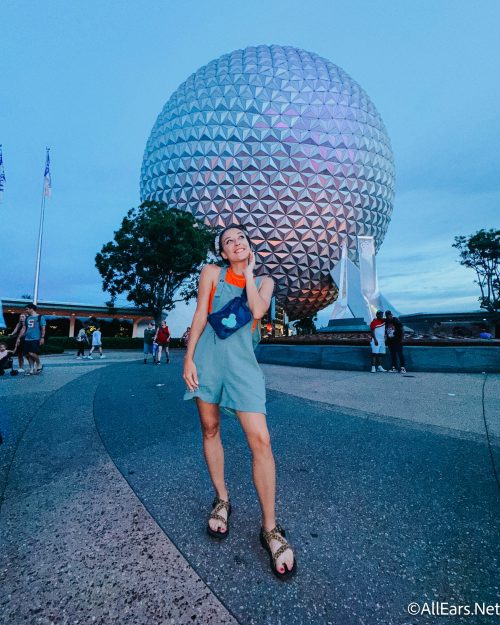
And if you haven’t been to Disney World recently, then you’ve probably seen these trends all over TikTok or in your Instagram Reels. The trends are telling us that the 90s are back, baby. Well, the fanny packs from the 90s are back, at least. This trend was super-powered by Stoney Clover Lane releasing a slew of Disney-themed fanny packs and belt bags, and folks realizing that they could customize the Lululemon Everywhere Belt Bag to reflect their own magical Disney World personality. Well, we have some tips and tricks for DIYing your very own belt bag/fanny pack for your next Disney trip, and it could be so much fun to do with a group of friends in the days leading up to your vacation.
Yes, today we are going to show you how you can DIY your own belt bag to be a mixture of the two most iconic ones from Stoney Clover Lane and Lululemon. First, let’s talk about what you’ll need.
Belt Bag
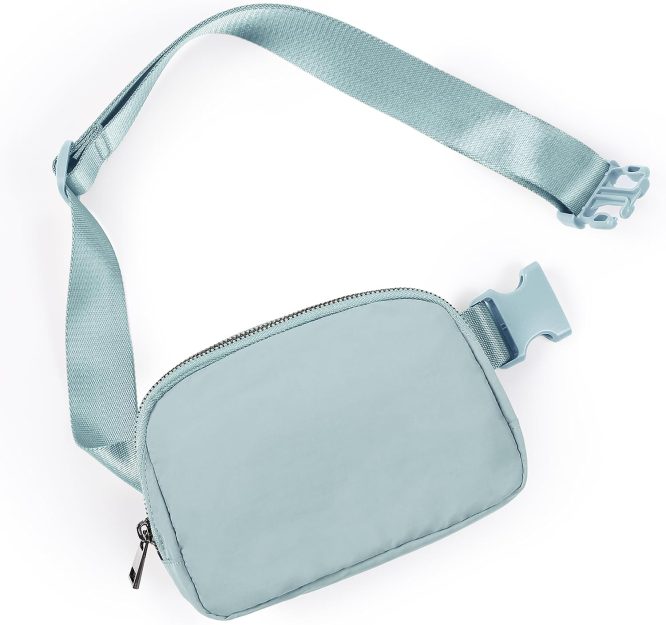
First and foremost, you’ll need a bag. We recommend grabbing a dupe for the Lululemon one on Amazon, but if you have been swept off your feet by Lulu’s quality and durability, you can grab one from Lululemon by clicking here.
Click HERE to buy the Amazon dupe!
Patches

Next up, you’re gonna want to spruce up your bag with PATCHES! The patches are inspired by Stoney Clover, who was the OG modern brand to offer the letterman-style patches along with their products.
If you’re going for the Stoney Clover look but not wanting to pay the Stoney Clover price, then patches from Amazon are going to be your new best friend.
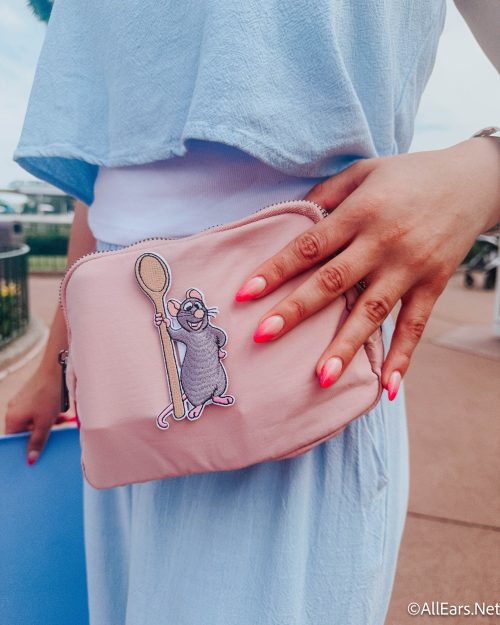
Check out all the self-adhesive ones below, and if you see ones you like, just click on them to shop!
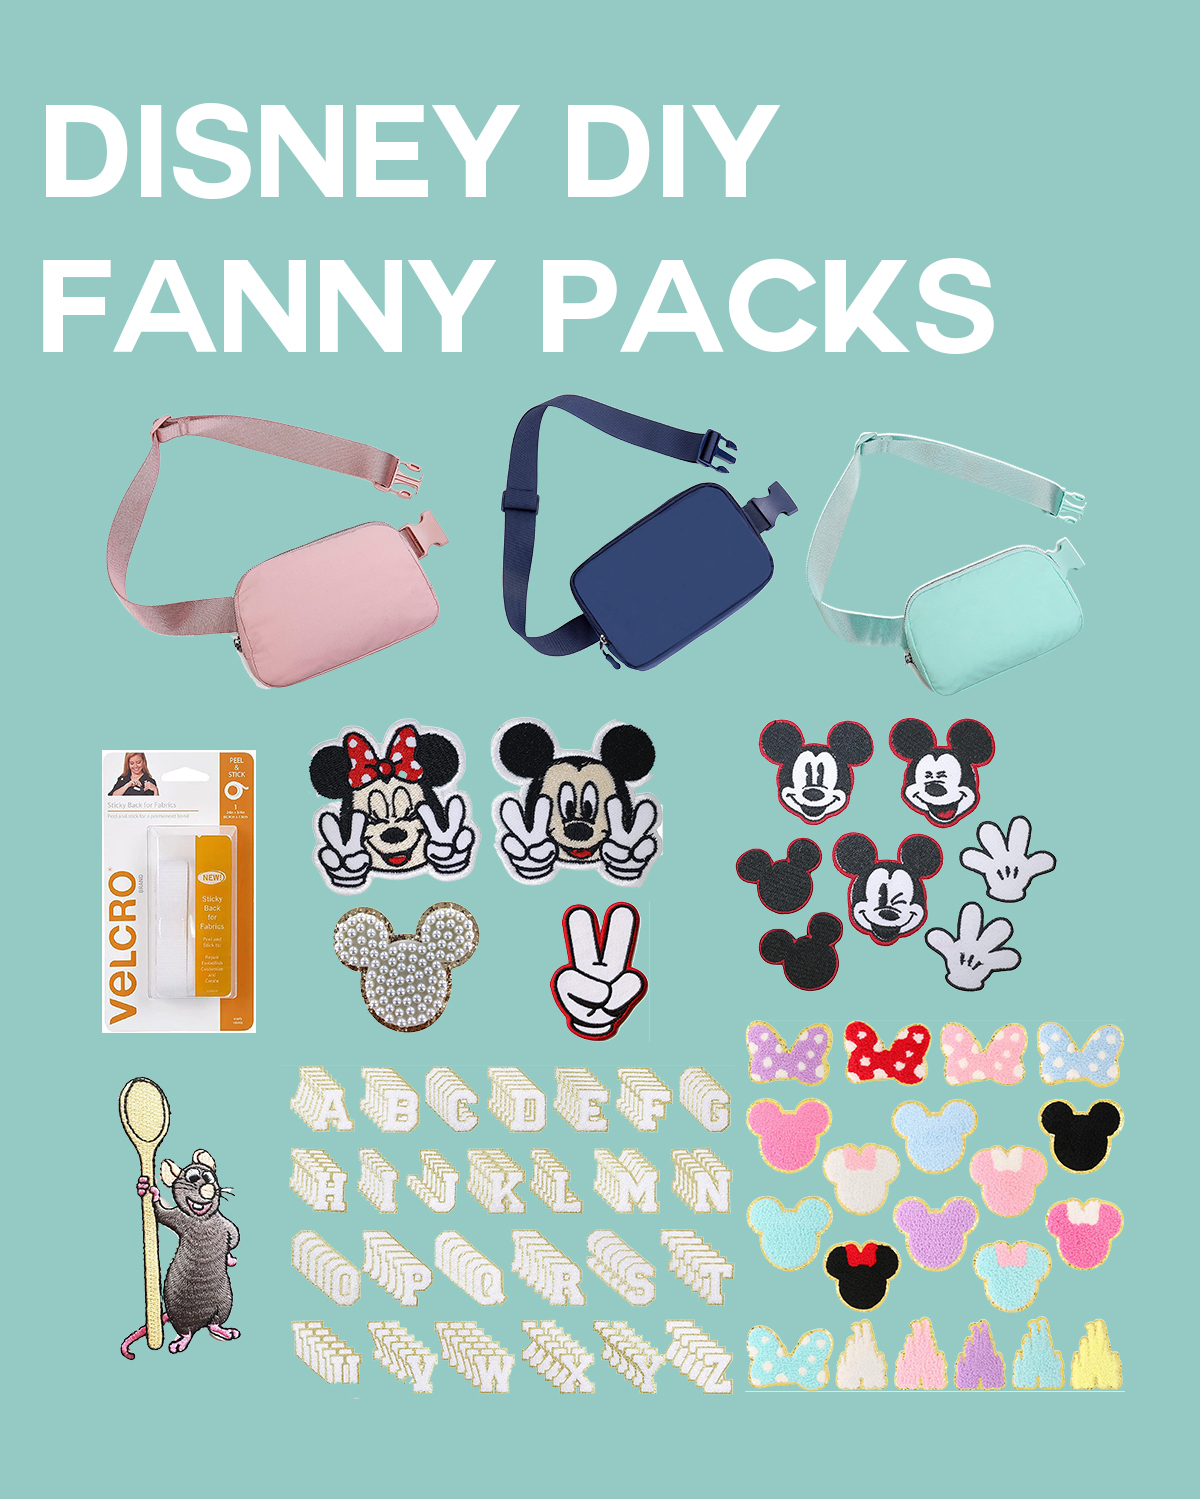
So, now that you’ve gotten your patches picked out and have color coordinated them with your new belt bag, you can start playing around with the layout! We recommend coming up with your design before sticking them on the bag, as these are pretty hard to get off once you place them, and pretty useless once you’ve removed them once they’re stuck.
Oh, and one more thing.
Nuimos
There’s also the cool trick that you can do to attach your Nuimo to your belt bag. Take a hair elastic and wrap it around the arm of your Nuimo, like the hair elastic is a backpack.
Then, place your Nuimo along the strap of your bag, wrap the hair elastic behind the strap, and then attach the other side of the hair elastic to your Nuimo’s other arm like a backpack once again. Now, you have a lil park buddy!

And there you have it! We hope you were able to find lots of inspiration for your DIY park bag. We’ll continue to keep you updated with more Disney news and style advice!


Trending Now
The France Pavilion has officially crossed the line from "popular" to "perpetually packed," and if...
Whether you're a ride warrior, a resort-hopper, or someone who spends three hours grazing through...
These Disneyland and Disney California Adventure rides won't be available to guests in June.
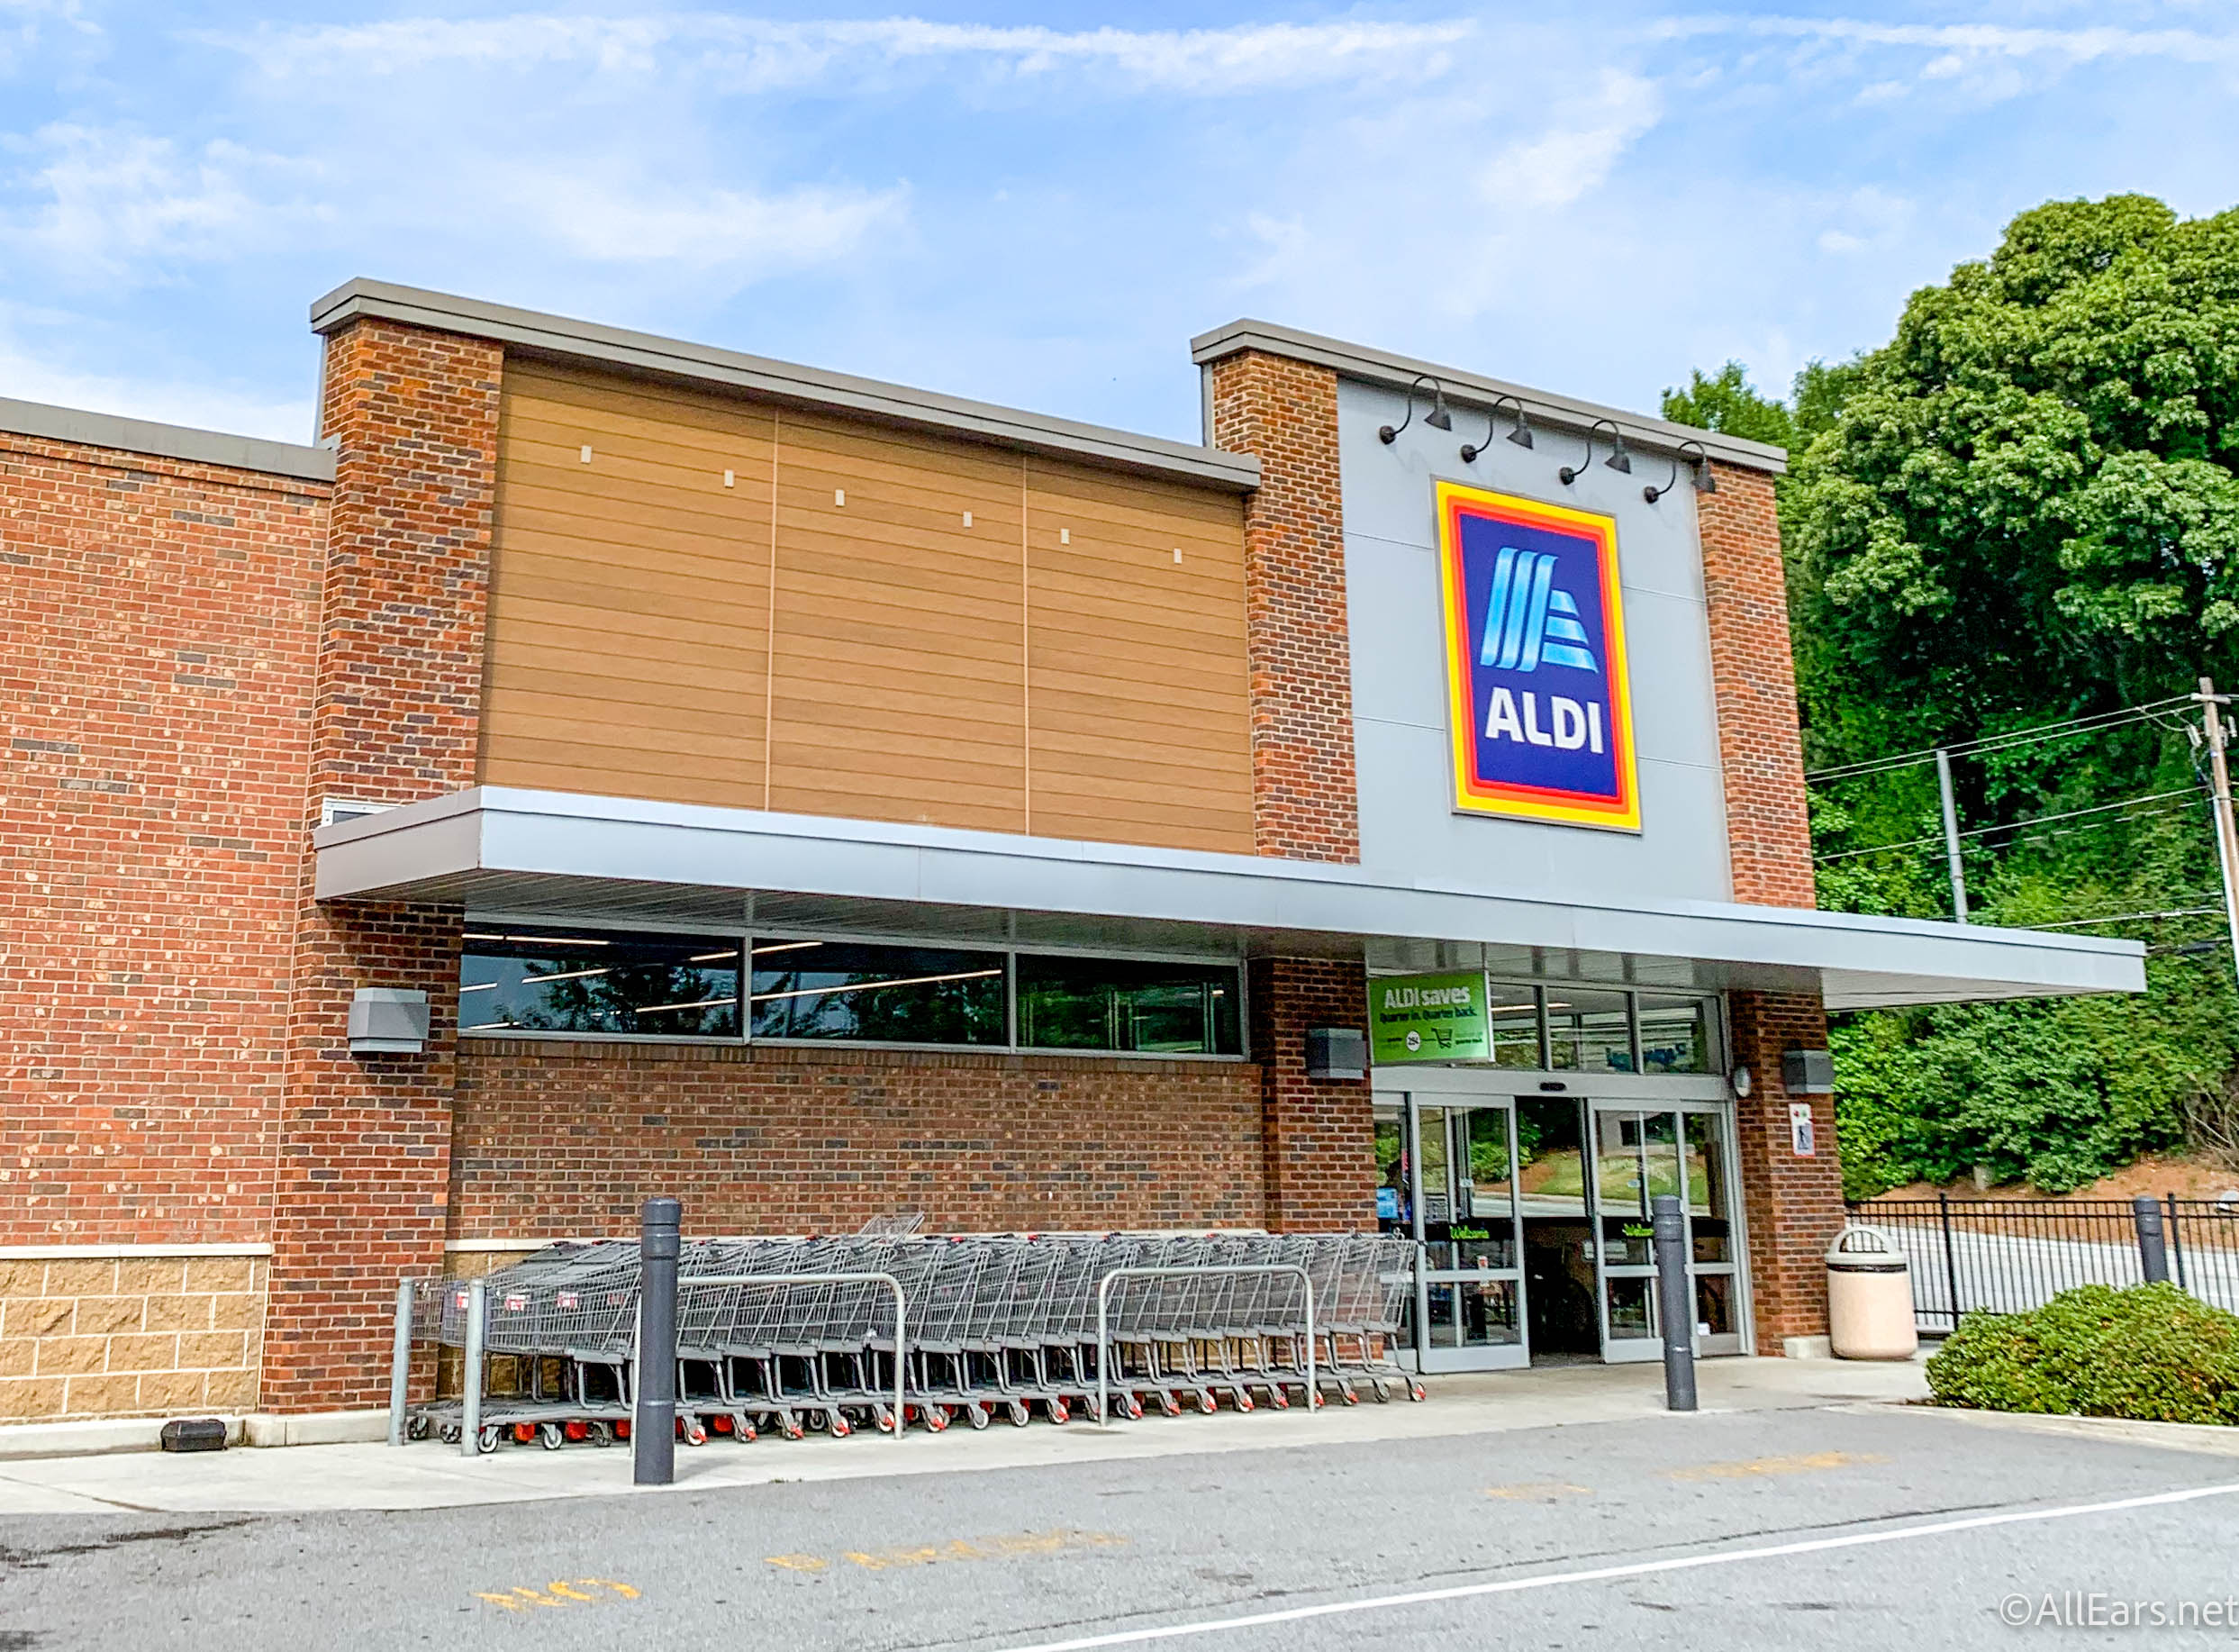
We've got a new batch of finds from ALDI!
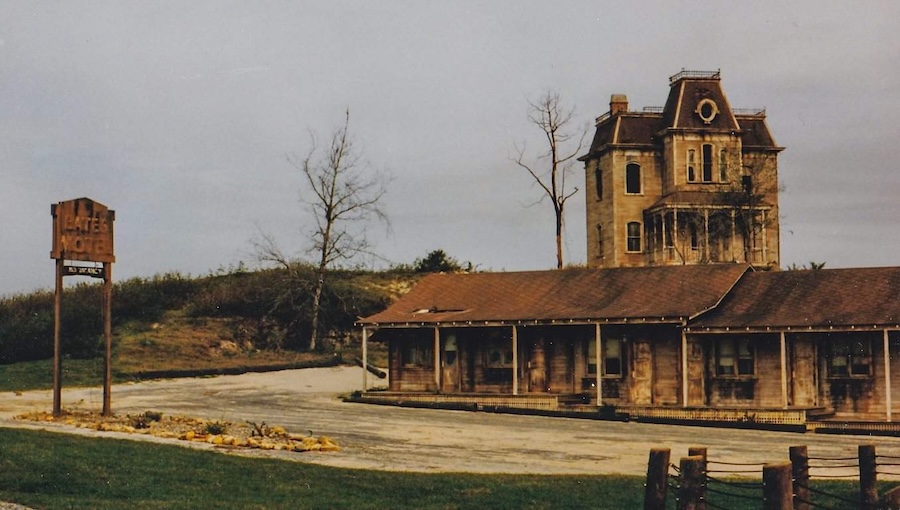
This iconic horror franchise once had a home in Universal Orlando.
Which is better: Universal's Express Pass or Disney World's Lightning Lane? Our readers share their...
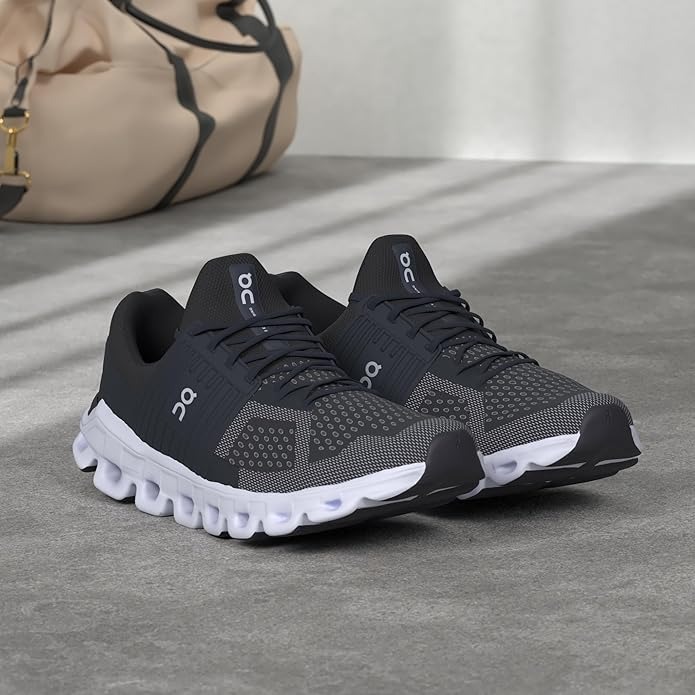
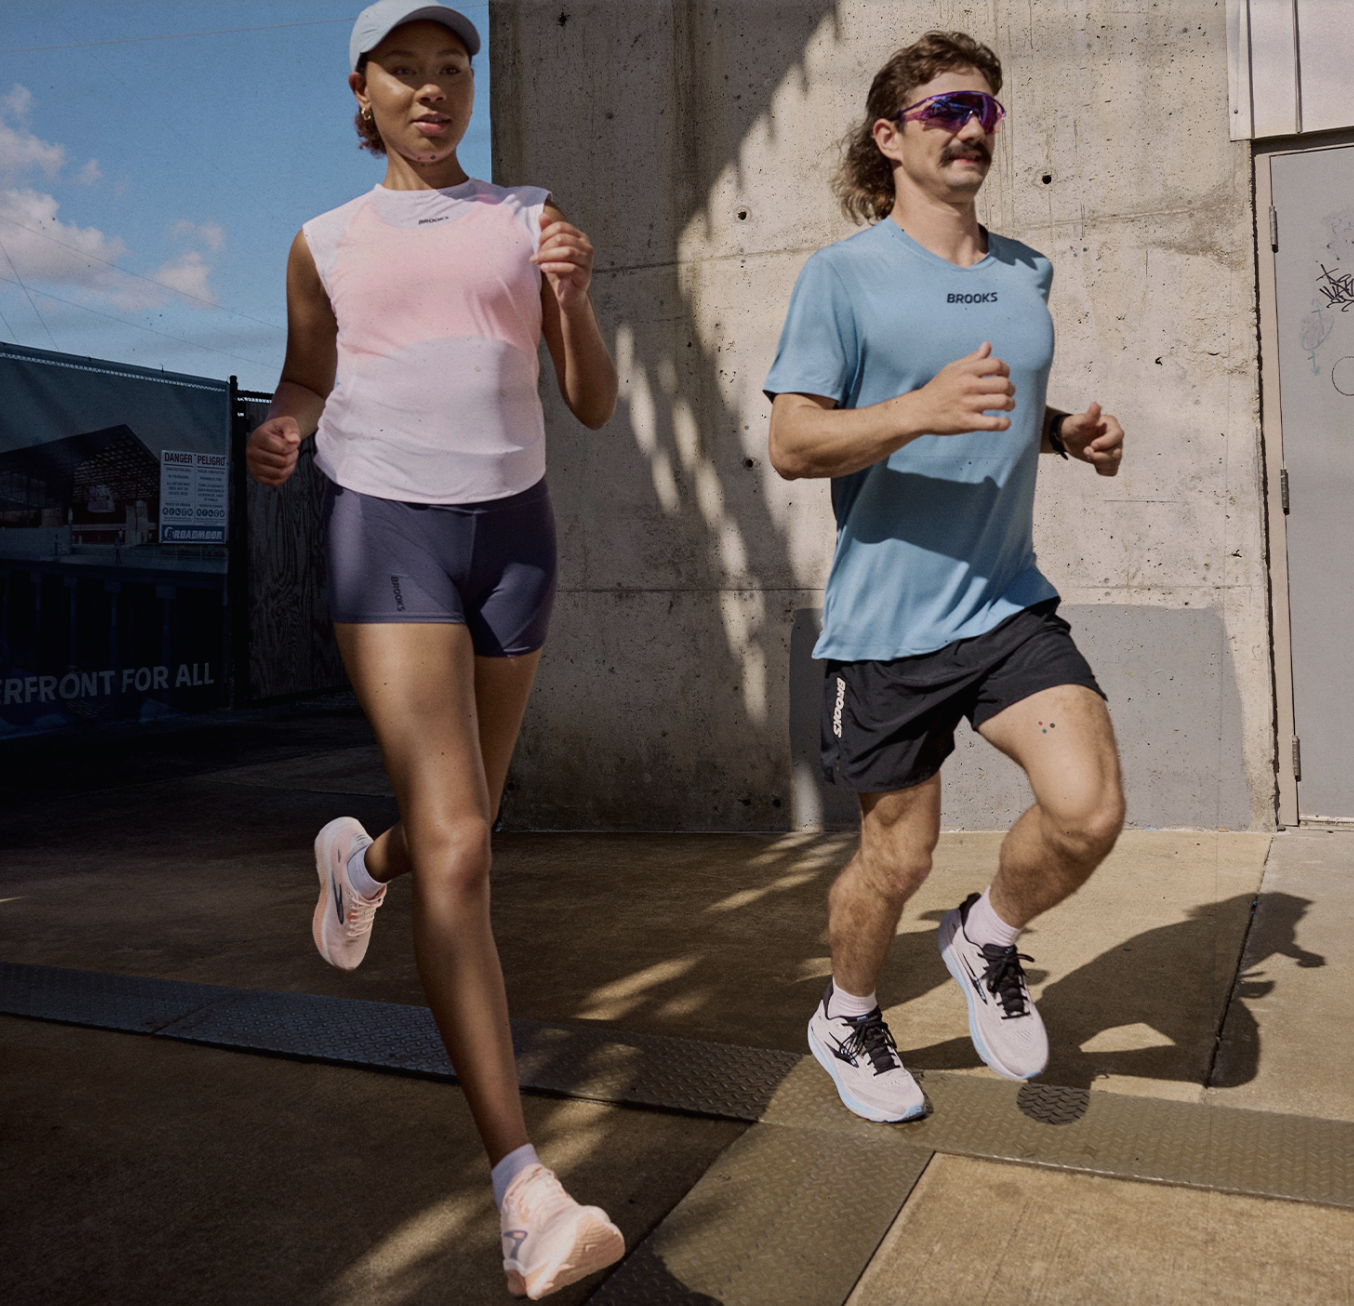
Amazon has a bunch of new Brooks shoes available!
These Loungefly bags will give you serious nostalgia.
These Disney adults are sharing what we need to change and honestly, they have a...
Something is changing in Toy Story Land!
We have NEWS about the Ghirardelli Soda Fountain & Chocolate Shop in Disney Springs!
The best styles for Epic Universe's portals.
We just got several new photos that reveal a construction update for the NEW Tropical...
Southwest Airlines has ANOTHER seating policy change.
Six new flights are coming to Central Florida following Spirit Airline's closure.
Disney World restaurants changed this week!
This is episode 4 of The Disney World Hotels Disney Doesn't Want You to Know...
Amazon has TONS of 'Alice in Wonderland' Loungefly Bags!
Disneyland is getting hit with another ride closure!
A new Disney+ subscriber perk could take you straight to Disney World!