


Do you have a zoom lens for your digital SLR? Most people do as they tend to be purchased as a kit and the lens in the kit is usually a zoom lens either in the 18-55mm or 55-200mm range. Maybe you got both or have one with a different range.
Besides the advantage of having a variable range of focal lengths, zoom lenses can be a lot of fun in creating the Zoom Effect. The best way to do the Zoom Effect is to use a tripod and set your camera in Aperture priority mode. You want to set the aperture to give a long shutter speed. Something like f/16, f/22 or f/32 if your lens goes out that far and starting at the smallest focal length of the lens.
In the example below, I took a photo of the Rainforest Cafe in Downtown Disney’s Marketplace. This photo was taken at 1 second shutter speed, an aperture of f/16 and ISO of 200 at a focal length of 110mm using my Nikon 18-200mm VR lens.

Rainforest Cafe sign in Downtown Disney.
Nikon D70/18-200VR, 1s, f/16, 200 ISO, 100mm Focal length
Here’s where the fun comes in. On this next shot, I set the aperture at f/32 which gave me a shutter speed of 3 seconds. Starting at a focal length of 18mm, I tripped the shutter and quickly and smoothly zoomed the lens out while the shutter was open. By the time the shutter closed, I had zoomed out to a focal length of 135mm. The results as you can see, give a great effect of the sign jumping right out at you.

Rainforest Cafe sign zoomed in at Downtown Disney.
Nikon D70/18-200VR, 3s, f/32, 200 ISO, 18 to 135mm Focal length
Pretty neat, eh? The Exif data will only show the final focal length when the shutter closes but I knew where I started from. You can also start at the long end of the zoom lens and zoom to a lower one. I’ll leave that to you as an exercise. Leave a comment below if you want to share your results.
I have found it best to keep your subject simple when doing this. Too many subjects and it gets hard to tell what you are taking a picture of. This is great to do in low light and especially with artificial lights like the sign I used above. The link above will give you more tips and ideas on how to use the Zoom Effect.


Trending Now
Six Flags' newest coaster, Tormenta Rampaging Run, has been postponed with no opening date in...
Here is a FULL LIST of everything coming to Disney+ in July!
Looking for some HOKA shoes but don't want to pay an arm and a leg?...
We're bracing for a PERMANENT ride closer at Disney California Adventure in 2027.
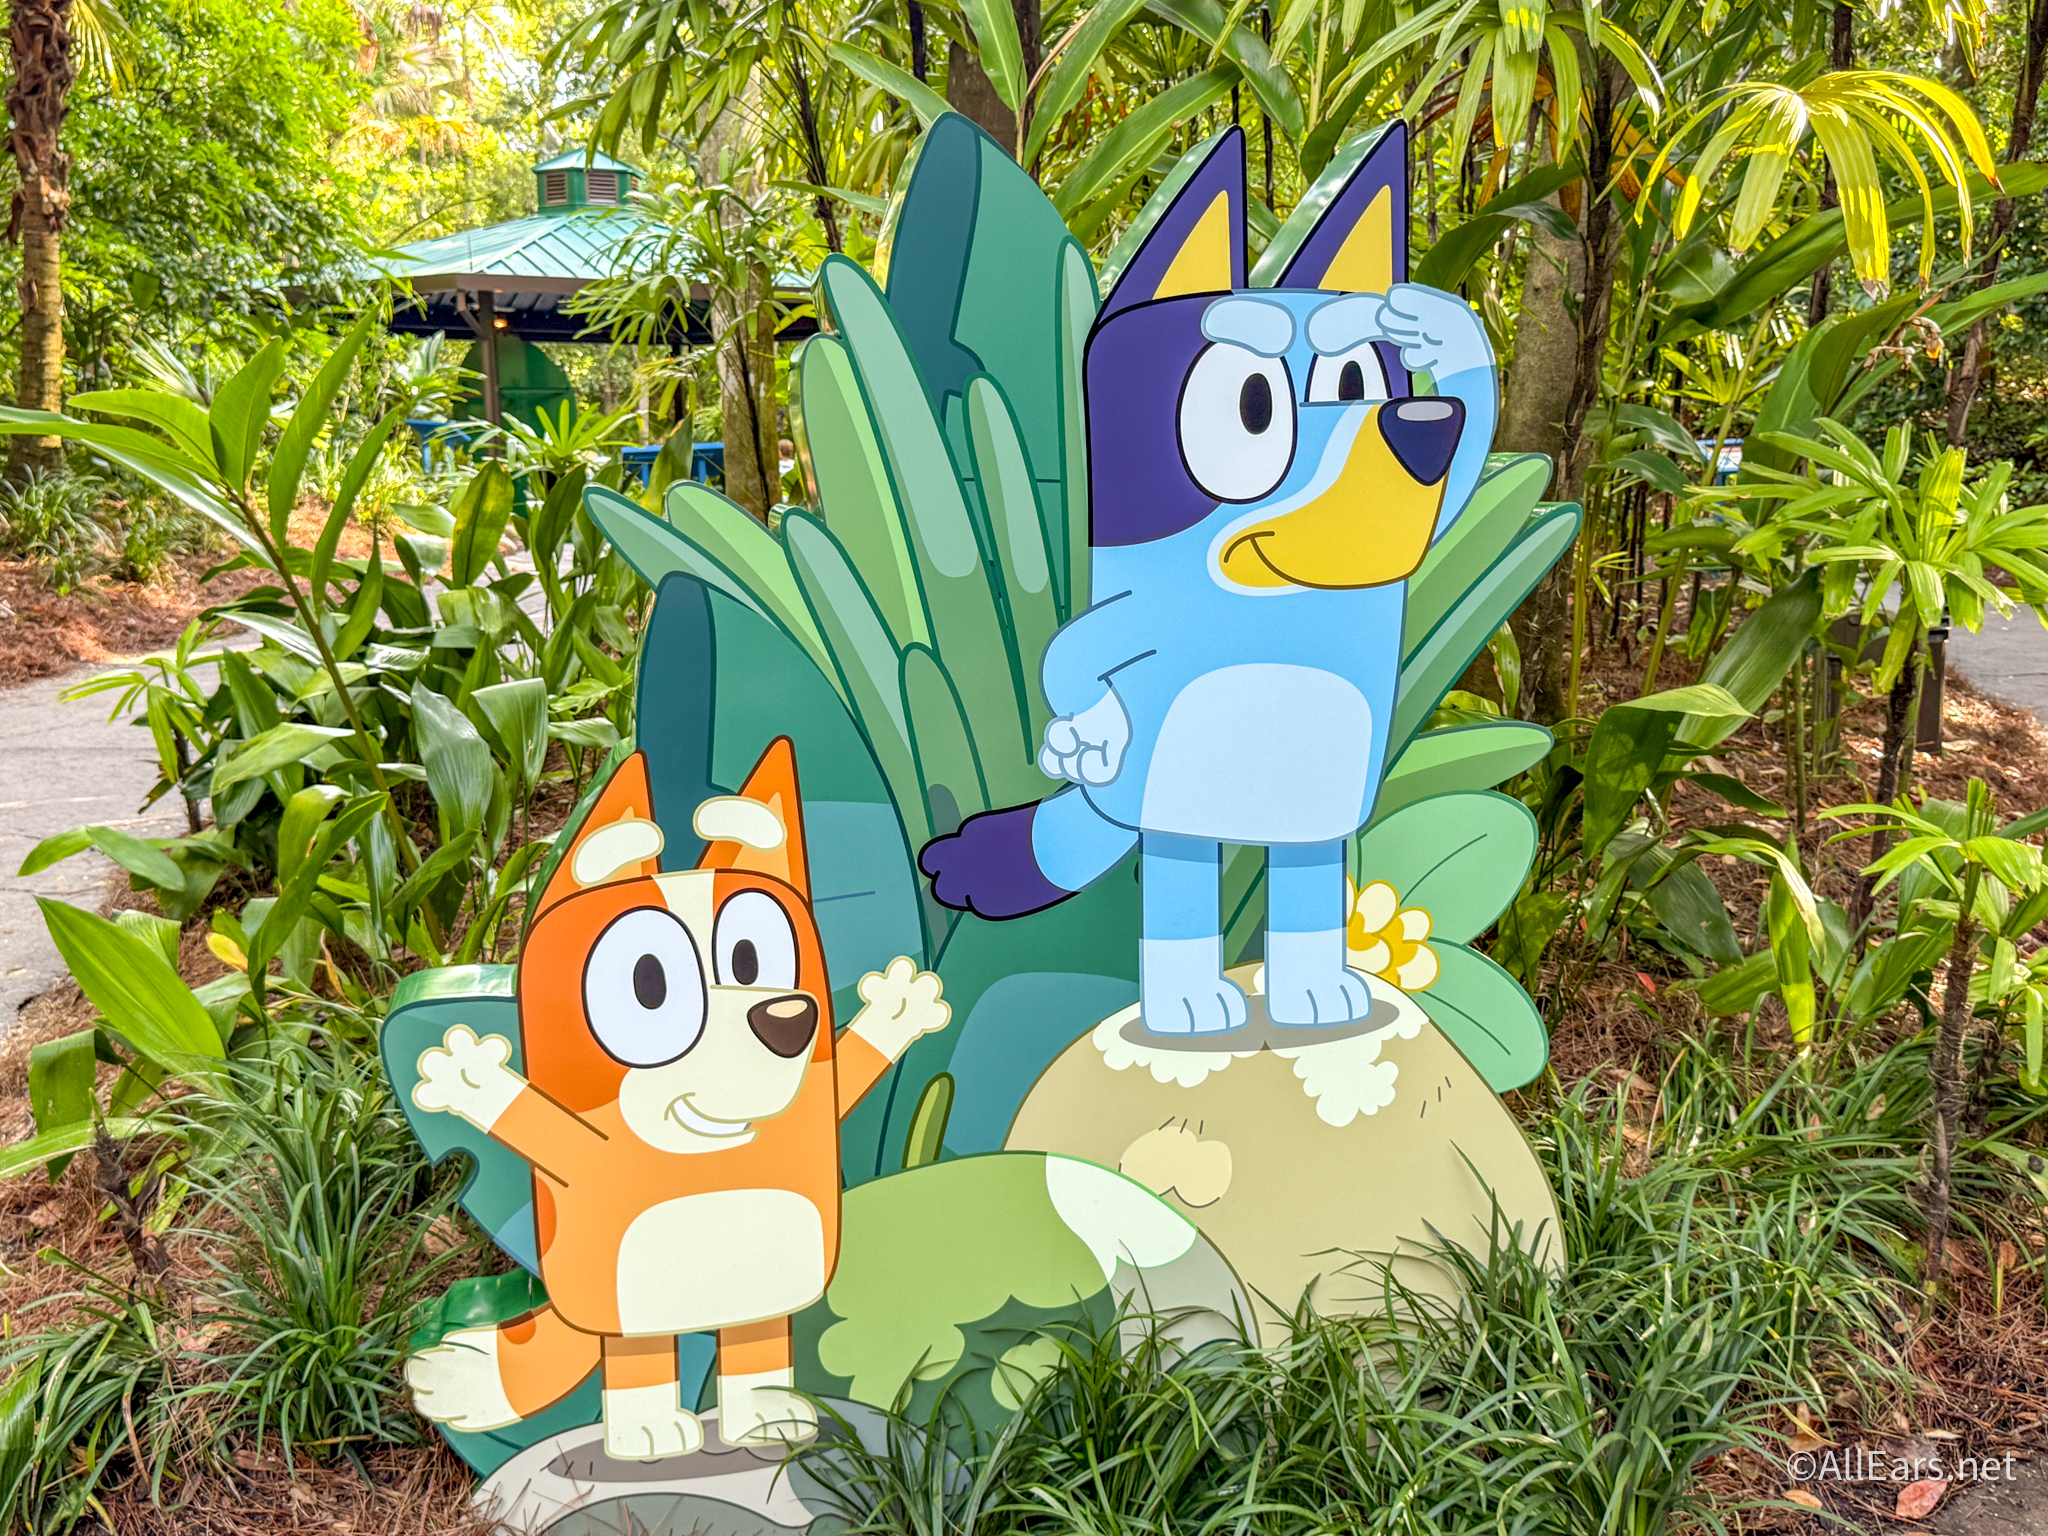
A TON of Bluey favorites are on sale on Amazon right now for Prime Day!
Please don't do this at your Disney World hotel.
There are a few rides at the new Universal Kids Resort that are a little...
Many guests are skipping these hotels at times next year.
If you're planning a trip to Dollywood, these unspoken dress code rules can help you...
Here's everything you need to know about the Epic Universe refillable mug, including whether it's...
A TON of new HOKAs are on sale on Amazon right now for Prime Day!
The Haunted Mansion is loaded with levels of thematic elements, both inside and outside.
Disney's mobile order may have just changed, or it's glitching bad, and we don't know...
A major change just hit Pirates of the Caribbean in Disneyland and Disney fans are...
Universal has had some... interesting attractions over the years. Do you remember any of them?
You won't catch us doing these things at the Disney Parks...
Changes are coming to your next Disney World restaurant bill.
Tomorrow morning, watch as Breedlove takes you along on his WHOLE week as a Disney...
Disney Springs' new bus and boat transportation rule officially begins today.
These Disney-inspired looks could be great options for the upcoming Mickey's Not-So-Scary Halloween Party!