
I came upon an article called How to Photograph Busy Tourist Sites by Kav Dadfar on the Digital Photography School website a few weeks ago. All the tips sounded a lot like the ones Lisa and I have talked about either directly or indirectly here on the Picture This! blog. I thought it would be fun to take each tip and expand on them in relation to Disney Photography. I hope you enjoyed the series. Below is each tip and a summary from the Disney posts with links for your reference.
1. Get Up Early
As I explained in my Walt Disney World version, staying late at a Disney park will give you your best people-free photography opportunities. On my personal photo blog, I did show how getting to non-Disney tourist destinations early is the way to go.
2. Include the Tourists
Especially at Disney properties, it is almost impossible not to get other guests in your photos. As I showed, just include the people like I did below. In fact, I waited for someone interesting (see #4 below) to stop in front of the fish tank on the Pangani Forest Exploration Trail in Disney’s Animal Kingdom.
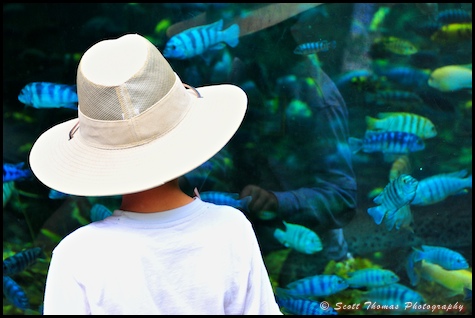
A lady looking at the fish on the Pangani Forest Exploration Trail.
Nikon D700/28-300VR, 1/125s, f/5, ISO 1100, EV 0, 100mm focal length.
3. Compose Carefully
By carefully cropping people out of a photo either in camera or afterwards in post-processing, you can eliminate distracting crowds or individuals in your photos. While it is best to do it before taking the photograph, it is easy to crop and, even eliminate, distracting people in our photos using photo editing software.
4. Take Your Time
I do understand this can be hard to do for people visiting a Disney resort, waiting for a time when people are no longer around at the location you want to photograph does work. As Confucius said, The two most powerful warriors are patience and time.
5. Think Creatively
This can be very challenging and very rewarding to do. Look from different angles, get low, get high or tilt your camera in different directions. At Disney, you never know what you might uncover.
6. Focus on the Details
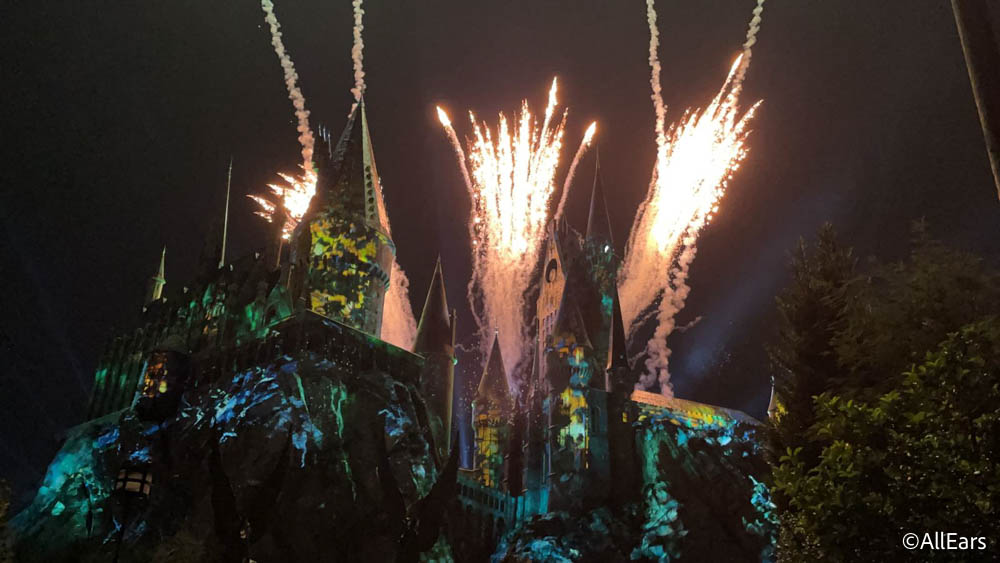
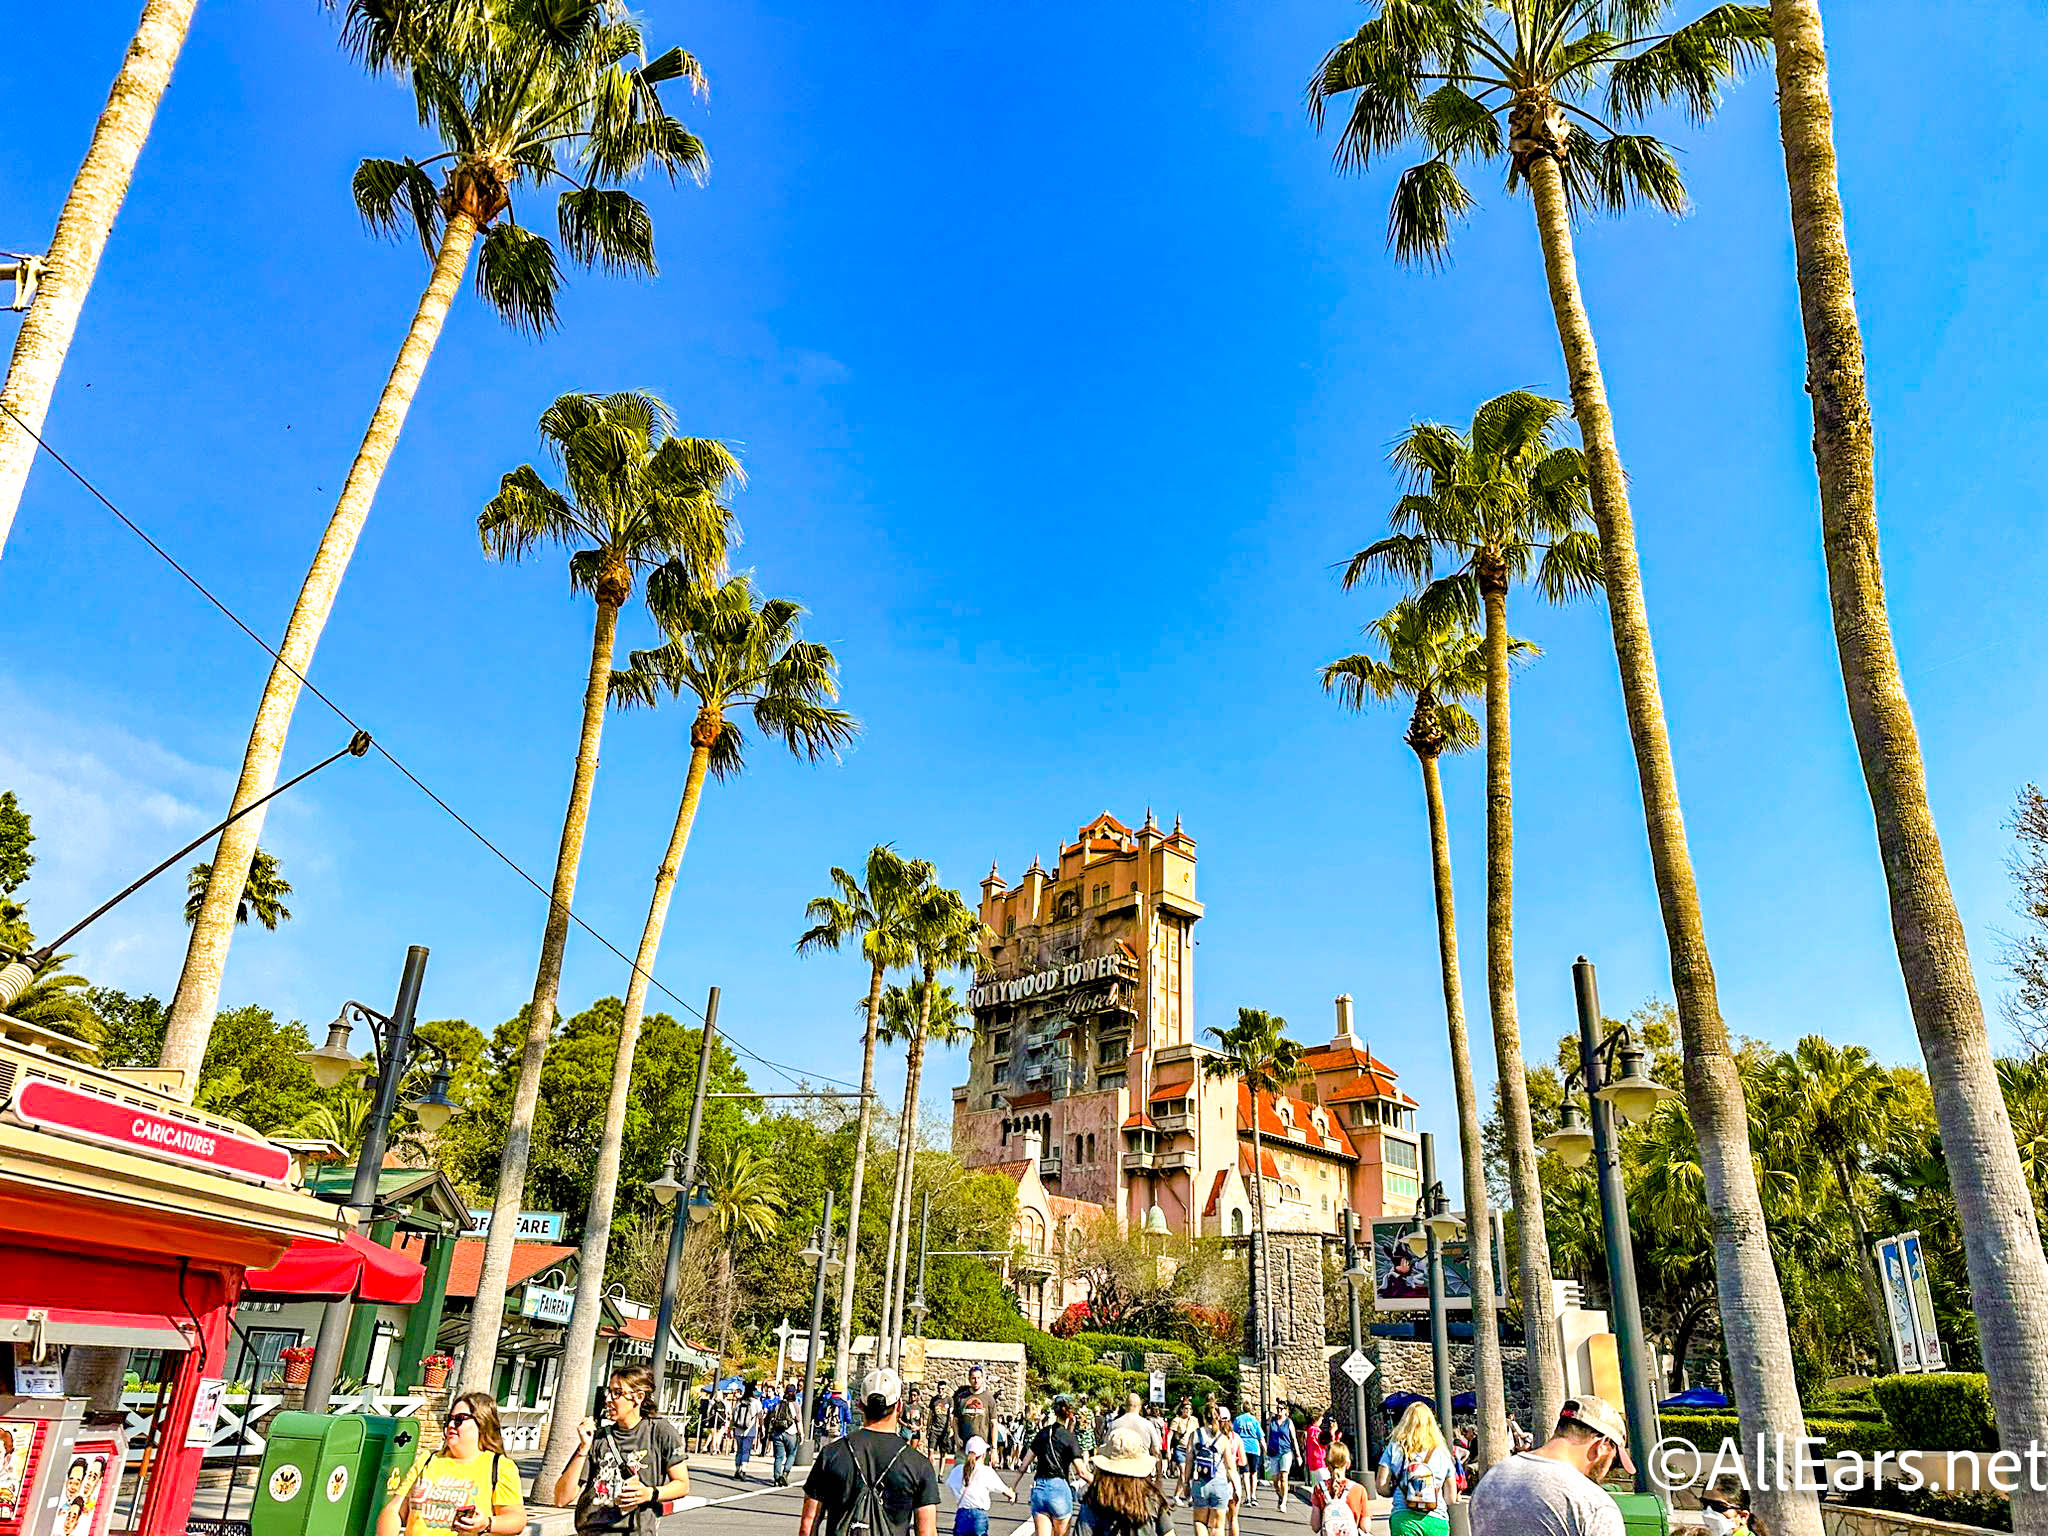
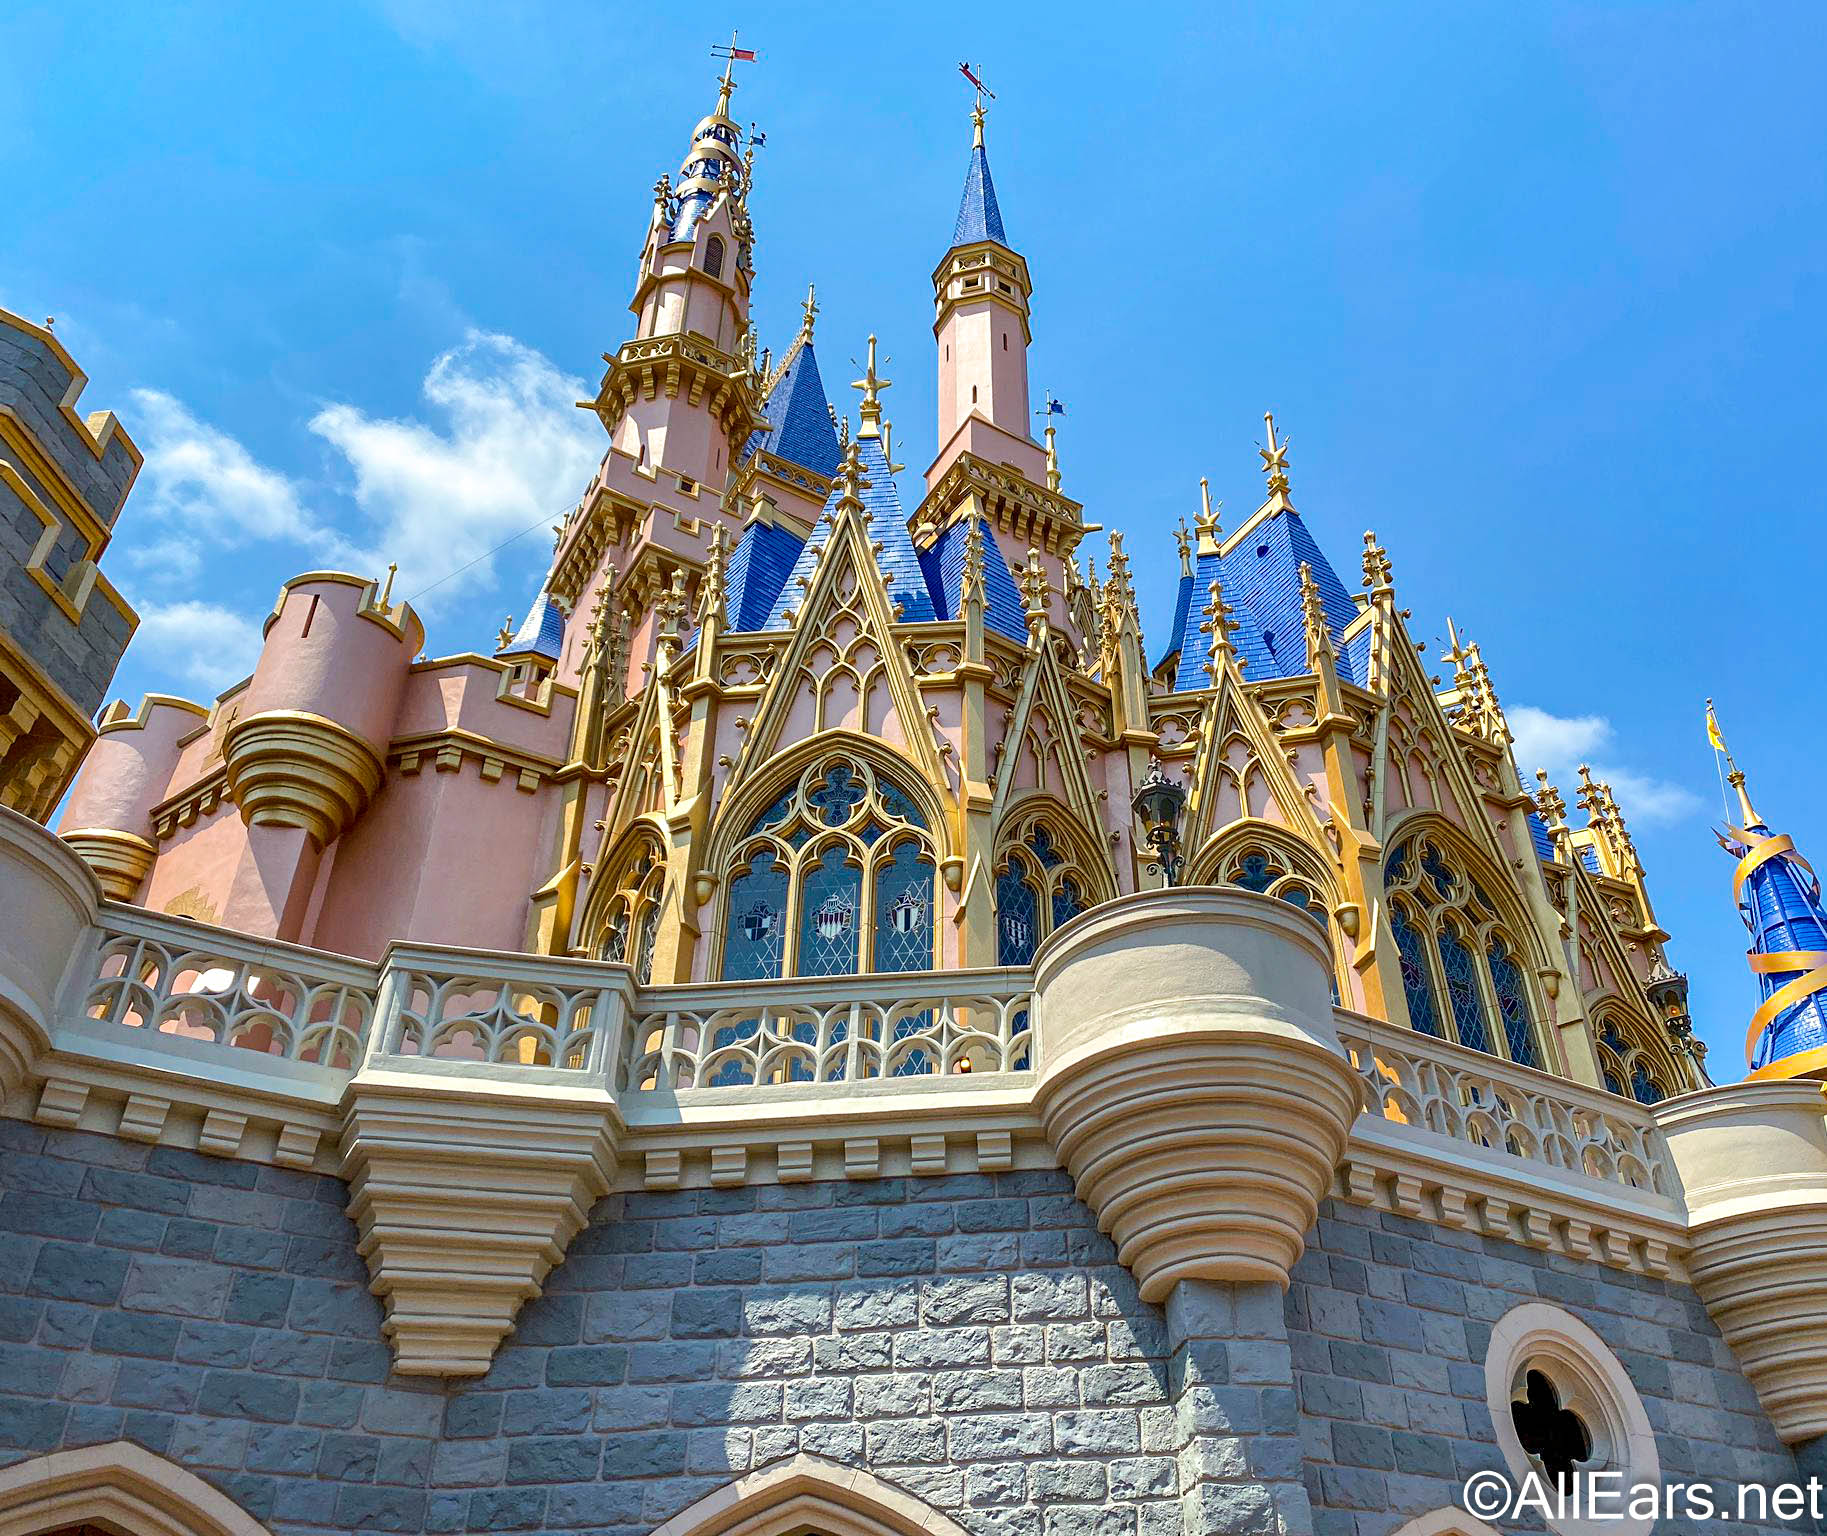
For Disney photographers, looking for details to photograph in the parks, resorts, restaurants and queues is a favorite subject. Do not forget about all the Hidden Mickeys to be found at Walt Disney World.






Nice entry Scott.
I would add “Use the time in line to explore your camera and it’s settings”. There is a lot of “down time” that you can experiment with. Even if its just a picture of an attraction sign or something mundane, you can play with different aperatures, shutter speeds, ISO settings etc. and see the results instantly.
Just make sure you have backup batteries and you should be good to go!
Scott replies: Thanks, Dan! That is a great tip. I also have my camera’s manuals on my iPhone and do consult them when waiting in lines to help pass the time. Of course, Disney queues are great to photograph, too. Lots of fun details.
Scott and Lisa always give great and useful information week after week, and I thank you both for the consistent hard work 🙂 I always enjoy reading and learning about my 2 favorite subjects…Disney and photography, you both give us a lot of great info to make our pix better! So, I thank you!!
Becky*
Scott replies: Thank you so much, Becky, for being an avid reader and support of Picture This!