

We are so ready for Christmas this year!
While Mickey’s Very Merry Christmas Party may have been canceled this year, there are still plenty of ways to bring Disney magic to your holiday season! In fact, Disney just released two PERFECT holiday DIY projects. These DIYs are family-friendly and fun! Plus, they are a great way to add some Disney flair to your usual holiday decorations!
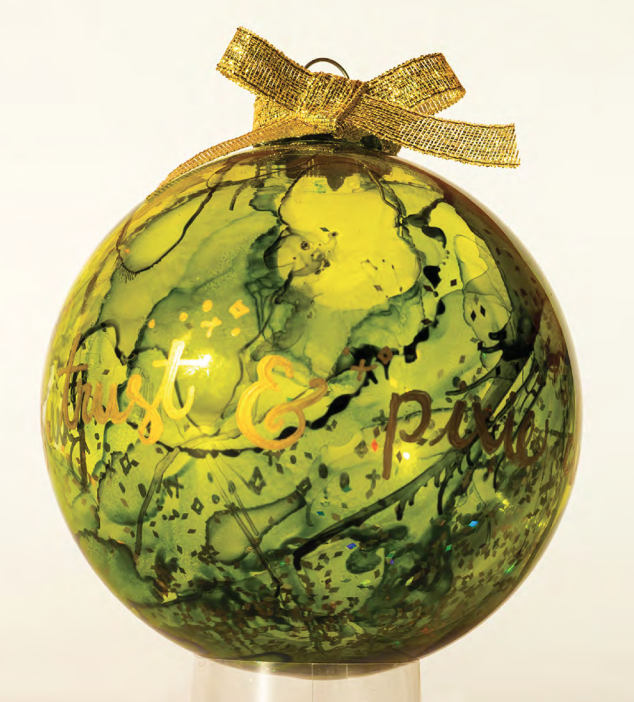
DIY Marble Glass Ornament
This DIY uses ink and glass ornaments to create stunning ornaments, perfect for a garland or Christmas tree!
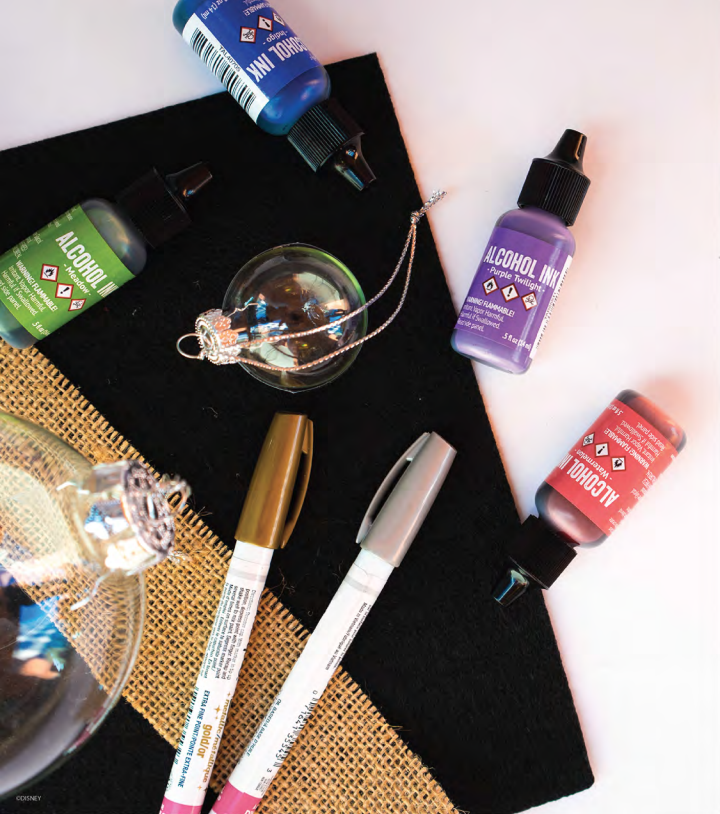
Supplies
- Clear glass ornaments
- Alcohol Inks in red, magenta, turquoise, indigo blue, and purple
- Canned air (available at most craft and hardware stores)
- Gold and silver oil-based paint pens
- stiff black felt
- Gold 1/4″ ribbon
- Gold holographic glitter
- Burlap material
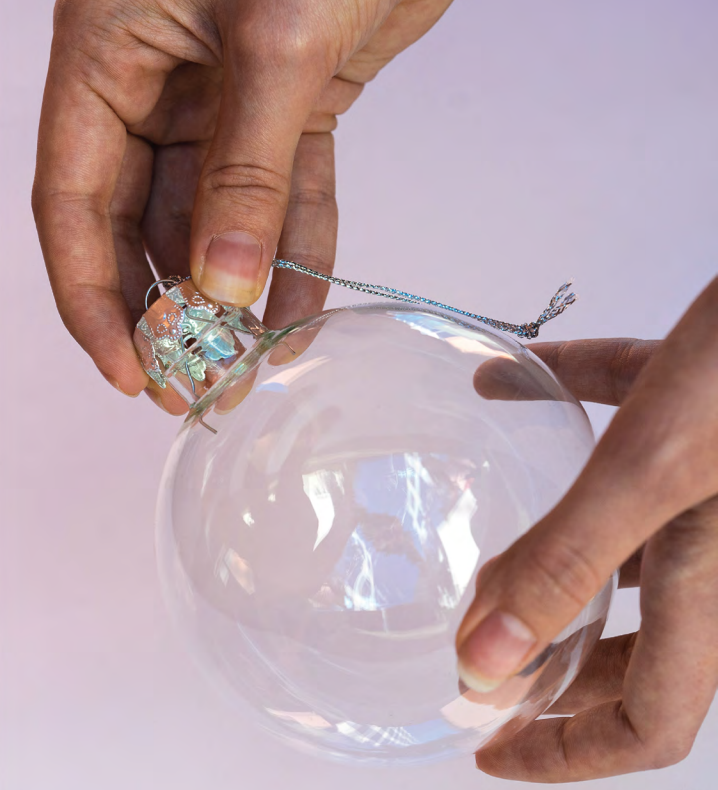
Instructions
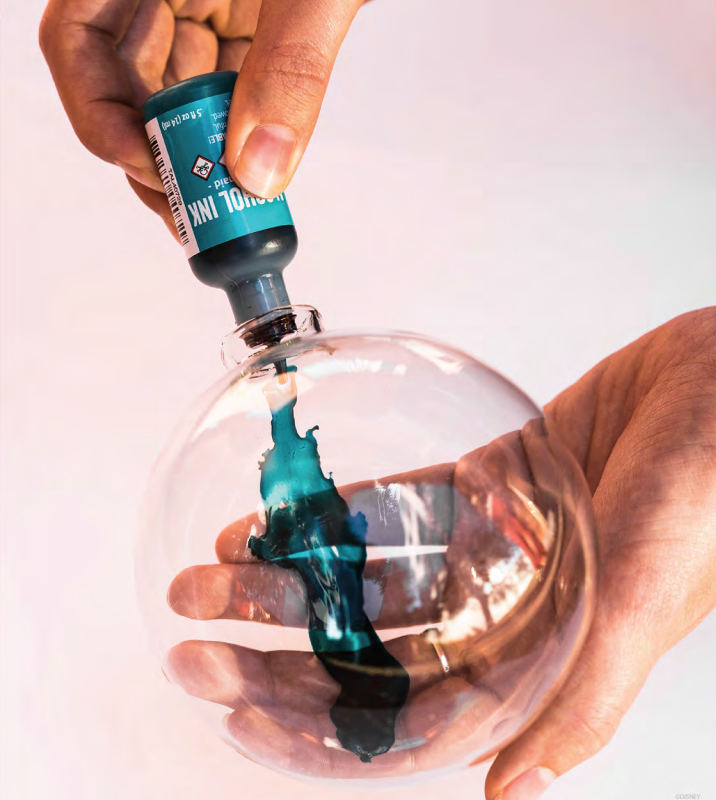
- Gently remove the metal cap and clip from the top of the ornament. Set it aside, but remember where you put it because you will need it later.

©DisneyParksBlog - Turn the ornament on its side. Add 3-5 drops of the lightest ink color into the opening of the ornament. Allow the drops to “pool” inside the ornament for a good two minutes.

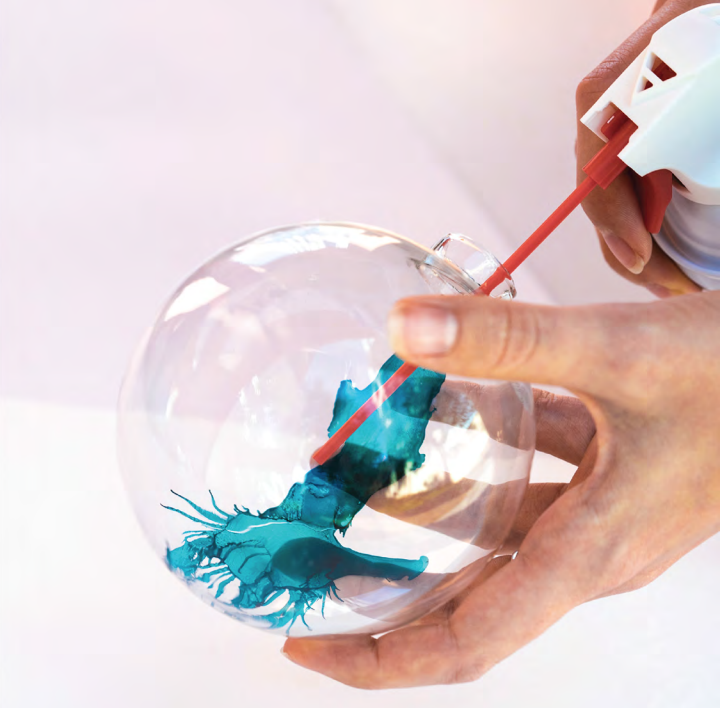
©DisneyParksBlog - Let the ink dry for a few minutes. The canned air should come with a small straw that you can attach. Place the nozzle inside and aim at your first ink color. Press the air trigger lightly. Use short, small bursts of air to move the ink around.

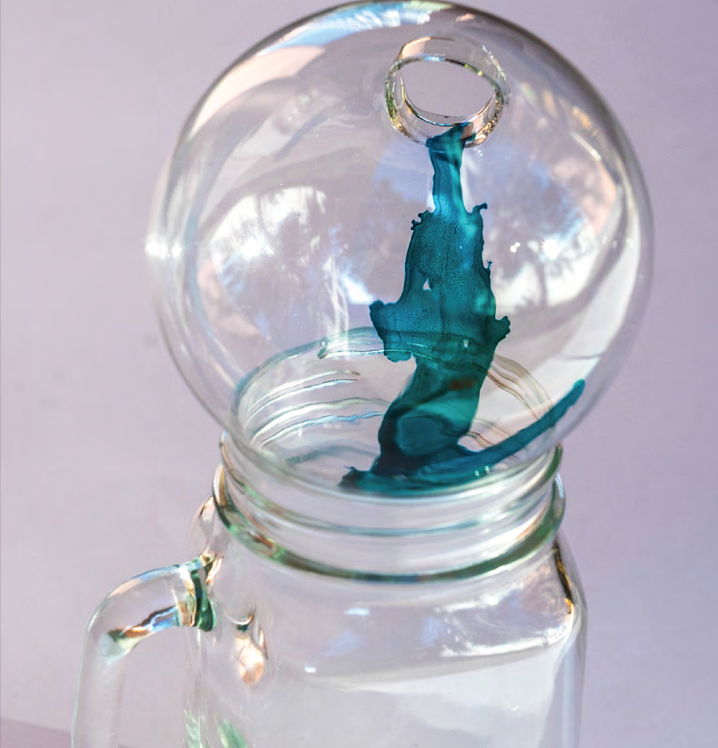
©DisneyParksBlog - Let the ink dry for a few minutes. If you add another color of ink before the first color is dry, the new ink will move the ink you already placed.

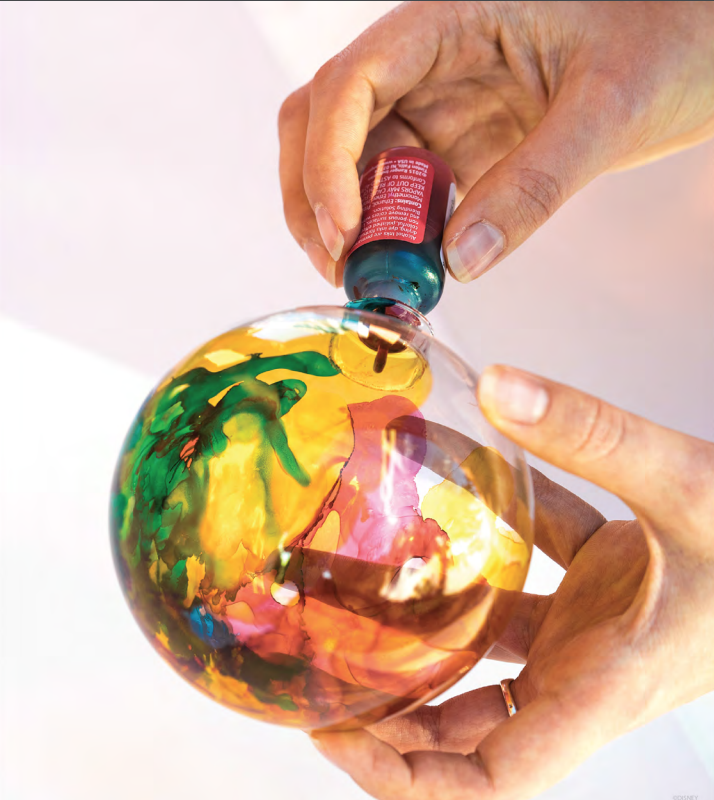
©DisneyParksBlog - Repeat steps 2-4, adding new and different colors of ink to the ornament until you have your desired, marbled effect.

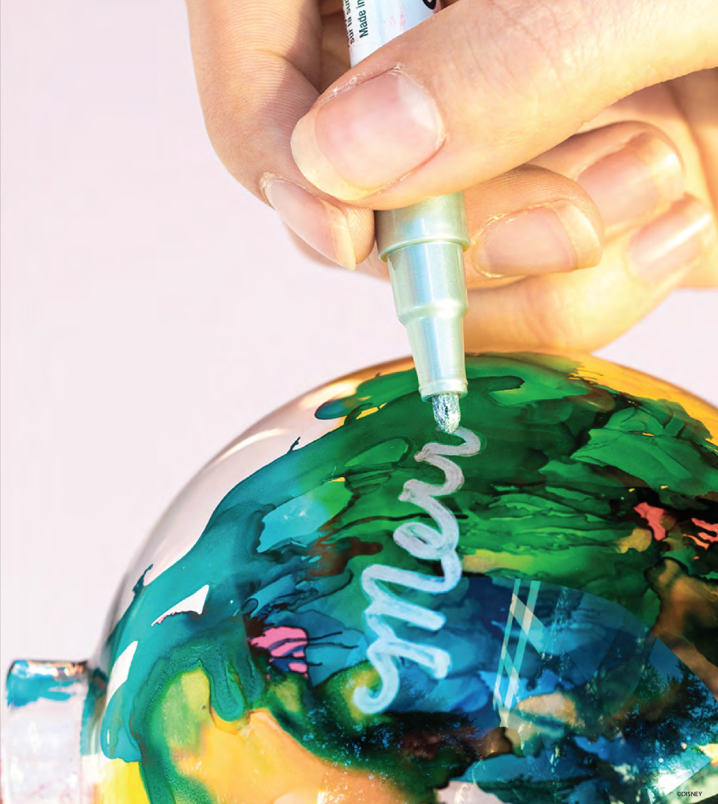
©DisneyParksBlog - After the ink inside is dry, replace the metal cap and clip. Now it’s time to decorate the outside of the ornament! Use the paint pens to draw and write on the ornaments. You can practice your designs on a piece of paper first. If you do make a mistake on your ornament with the paint pens, you can use alcohol to rub it off while it is still wet.

©DisneyParksBlog - Use the stiff felt to make Mickey ears! You can attach the ears to the ornament with hot glue.
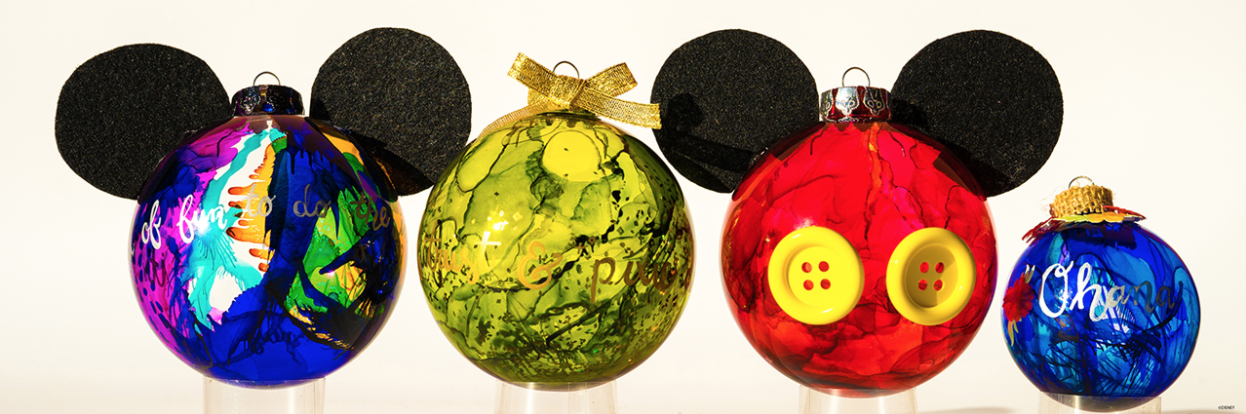
We love how you can mix up the colors and add your own embellishments to make truly unique and one of a kind ornaments. There are endless possibilities of characters and quotes you could make for your own tree! If you’re having trouble getting inspired, check out these ideas from the Disney Parks Blog:
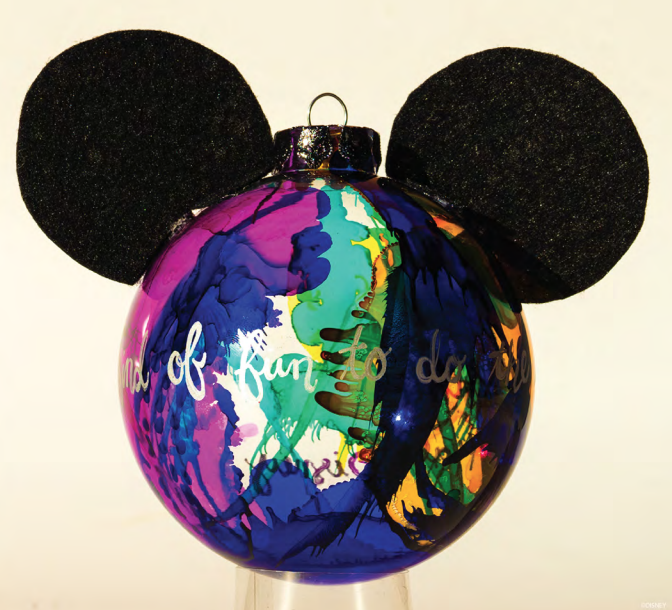
The Walt Disney Quote Ornament: Perfect to display your favorite quote from Uncle Walt! This ornament needs orange, indigo blue, and magenta ink, 2 large black felt ears and a silver paint pen.
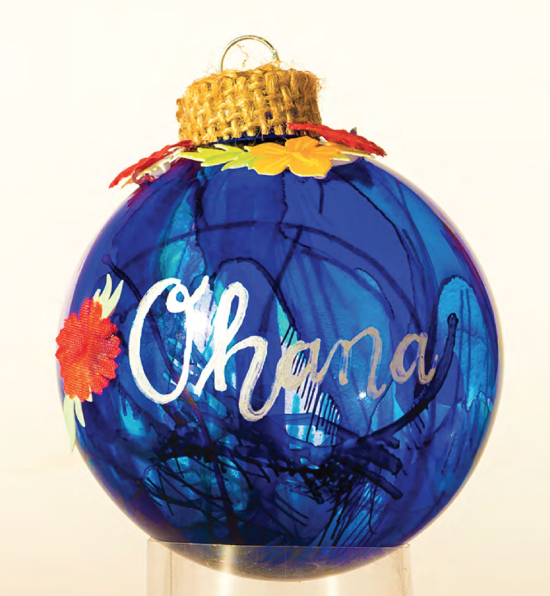
The Ohana Ornament: This ornament is themed after Lilo and Stitch! For this design, you will need turquoise, indigo blue, and purple ink, Hawaiian themed stickers, burlap, and a silver paint pen.
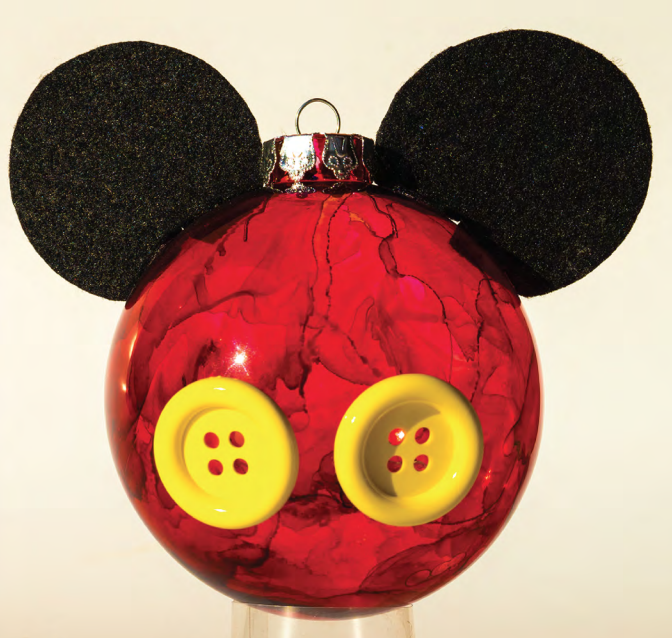
The Mickey Ornament: Represent your favorite mouse with this ornament! You will need red ink, 2 large yellow buttons, and 2 large black felt ears.
The Tinkerbell Ornament: We love Tink! For this ornament, use medium and dark green ink, gold ribbon, gold holographic glitter (1 teaspoon poured inside the ornament after the ink has dried), and the gold paint pen.
We think a collection of Marbled Fab Five ornaments would be the perfect addition to any tree!
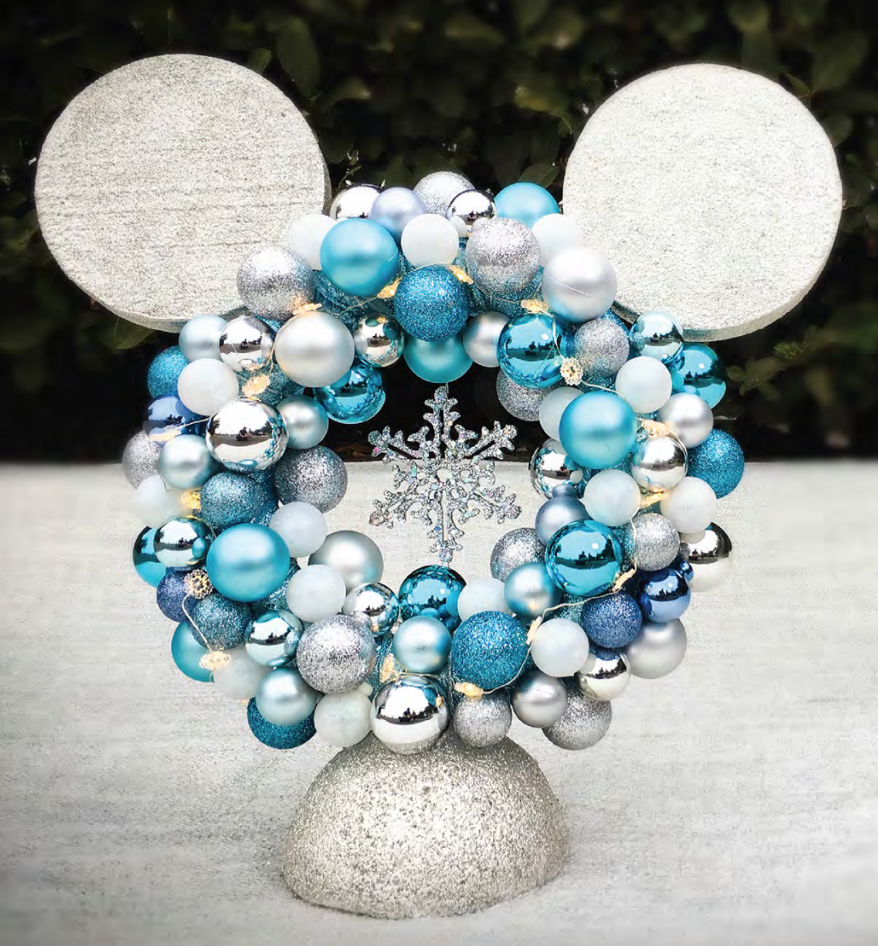
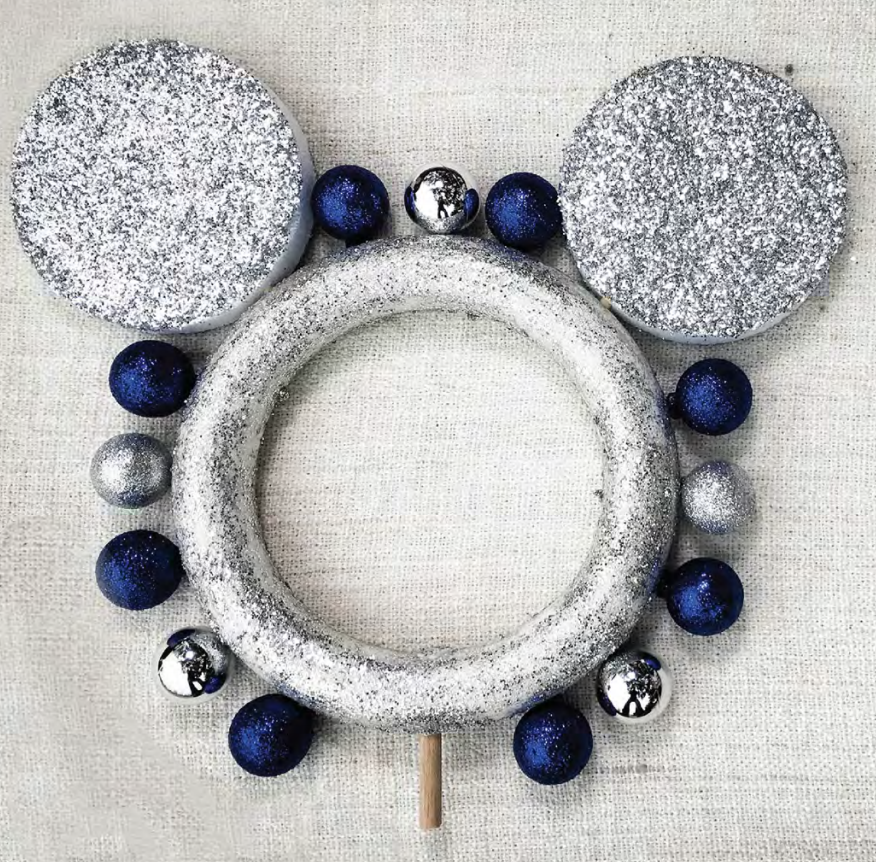
DIY Centerpiece Mickey
If you have some extra ornaments laying around, this is the perfect DIY to use them up! All you really need is some glitter and foam rings, and you’re ready to make an eye-catching centerpiece!

Supplies
- 10″ foam ring
- Two 5 7/8″ foam circles
- Half of a 6″ foam sphere
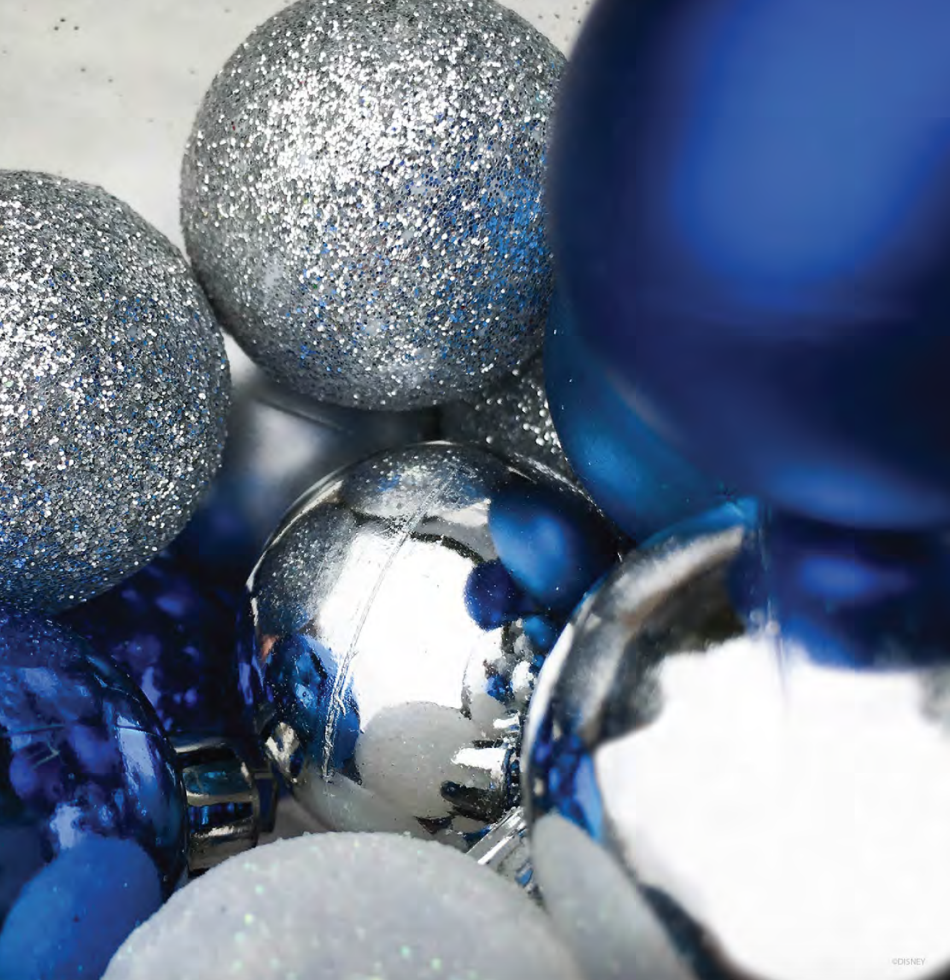
- Eighty 1″ ornaments
- Fifty 44mm ornaments
- 1 1/2″ ribbon
- Hot glue gun and glue sticks
- Tacky glue
- Paint or foam brush
- 3/16 dowel rod
- Glitter
Instructions
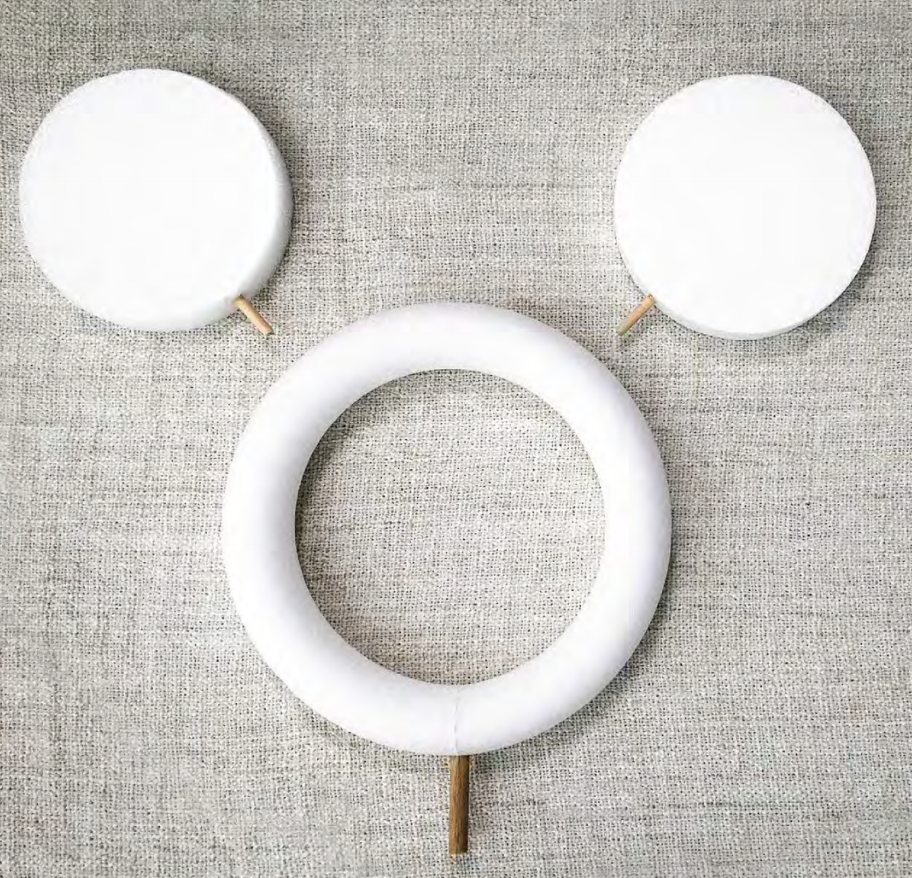
- Cut the dowel rod into three 3″ pieces. Insert one piece into each of the 5 7/8″ foam circles, and the third into the bottom of the foam ring. Remove the dowels, dab with hot glue, and then re-insert the dowel rods in place.

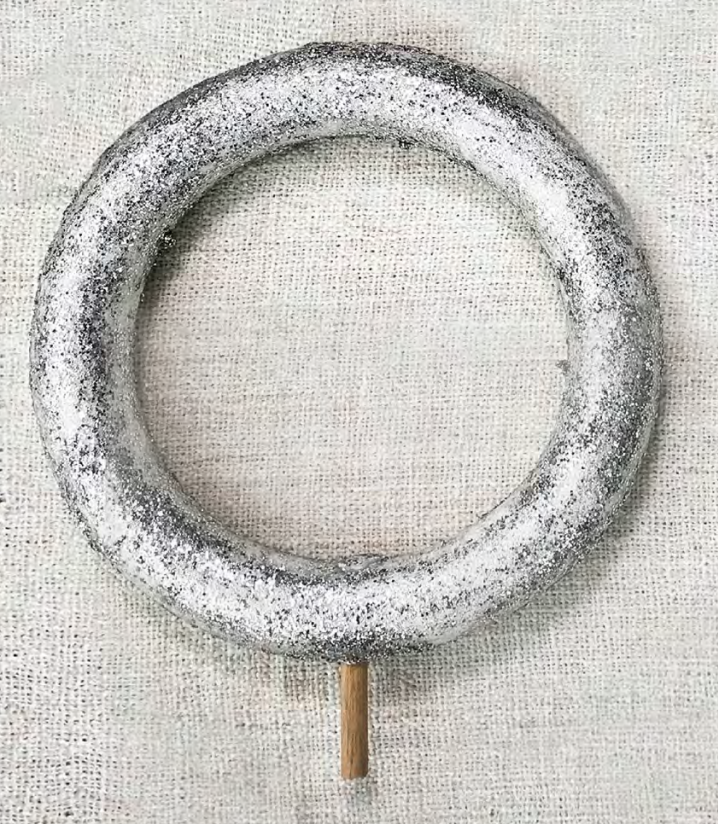
©DisneyParksBlog - Align the two foam circles over the ring to look like Mickey’s ears and insert. Remove, but don’t glue them yet. Use the ribbon to wrap the foam ring, applying hot glue every few wraps, but leave space around the dowel rod and ear holes. (You could also cover the ring with glitter!)

©DisneyParksBlog - Apply a generous layer of tacky glue to the foam circles and coat them with glitter. Once the base layer of glitter is dry, mix equal parts tacky glue, water, and glitter. Use a brush to apply the mixture to the foam circles. When the foam circles are dry, use hot glue on the dowel rods to attach them to the foam ring.

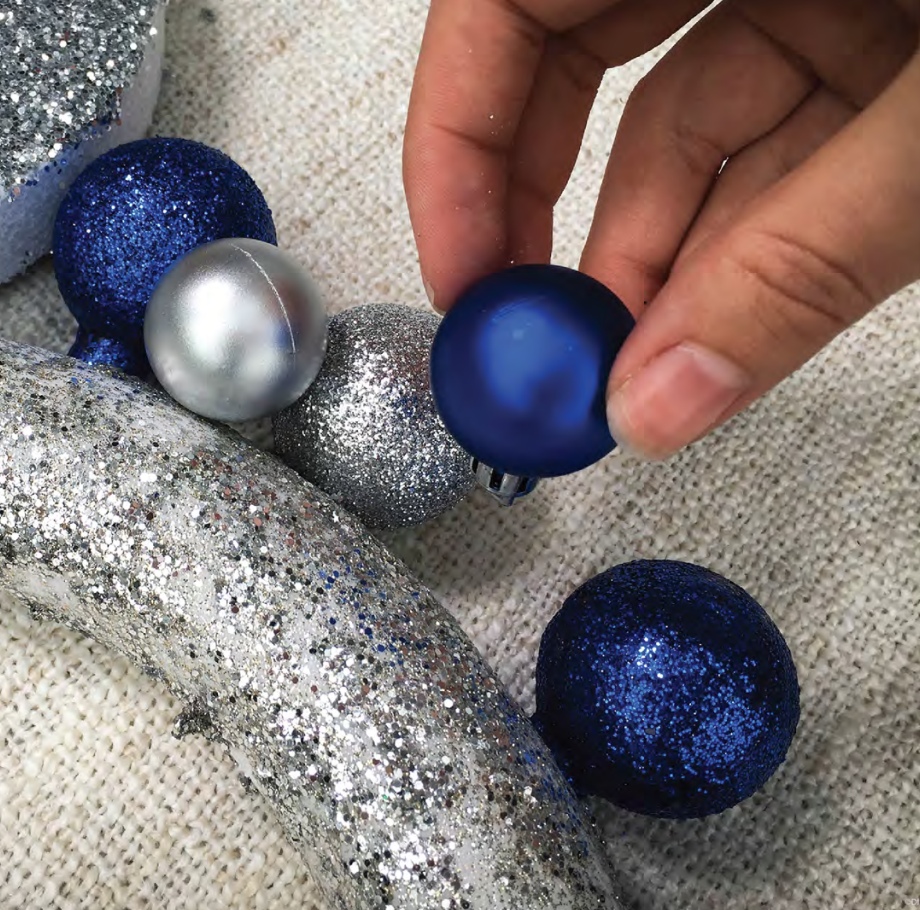
©DisneyParksBlog - Begin hot gluing a row of the 40mm ornaments spaced out around the outside and inside of the foam ring. Leave space around the dowel rod to attach the base.

©DisneyParksBlog - Glue a row of 1″ ornaments between the larger ornaments on the outer and inner ring of large ornaments. Glue two small ornaments between the outer ring and dowel rod, leaving a 1 1/2″ gap on each side of the dowel rod.

©DisneyParksBlog - Use the rest of the ornaments to fill in any remaining space on the foam ring.

©DisneyParksBlog - Use the same technique in Step 3 to apply glitter to the half of the 6″ foam sphere. One dry, press the dowel rod of the foam ring into the center of the base. Remove, dab with hot glue, and re-insert. For a final touch, you can add a Disney ornament to the inside of the foam ring to complete the centerpiece!

©DisneyParksBlog

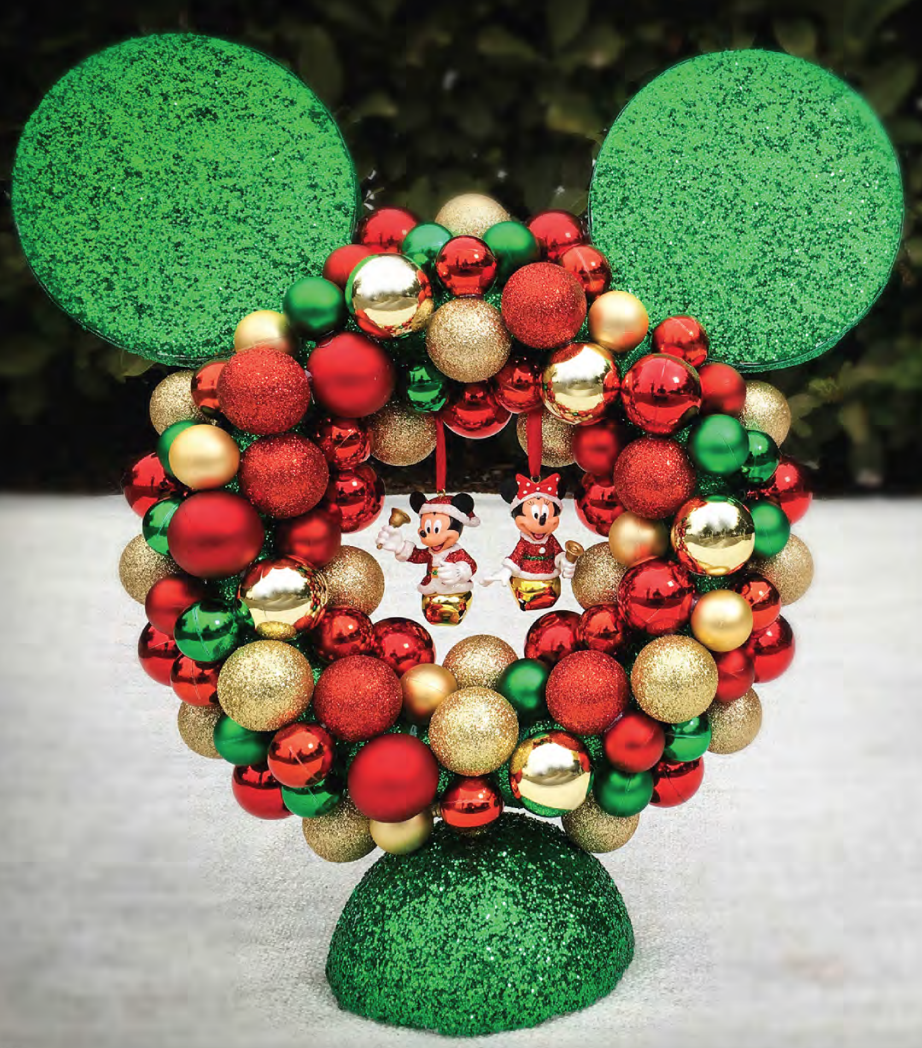
These DIYs are sure to add a bit of sparkle and Disney Magic to your holiday decorations! We hope you have tons of fun and feel inspired!
Which DIY do you want to make first? Tell us in the comments below!
Join the AllEars.net Newsletter to stay on top of ALL the breaking Disney News! You'll also get access to AllEars tips, reviews, trivia, and MORE! Click here to Subscribe!


Trending Now
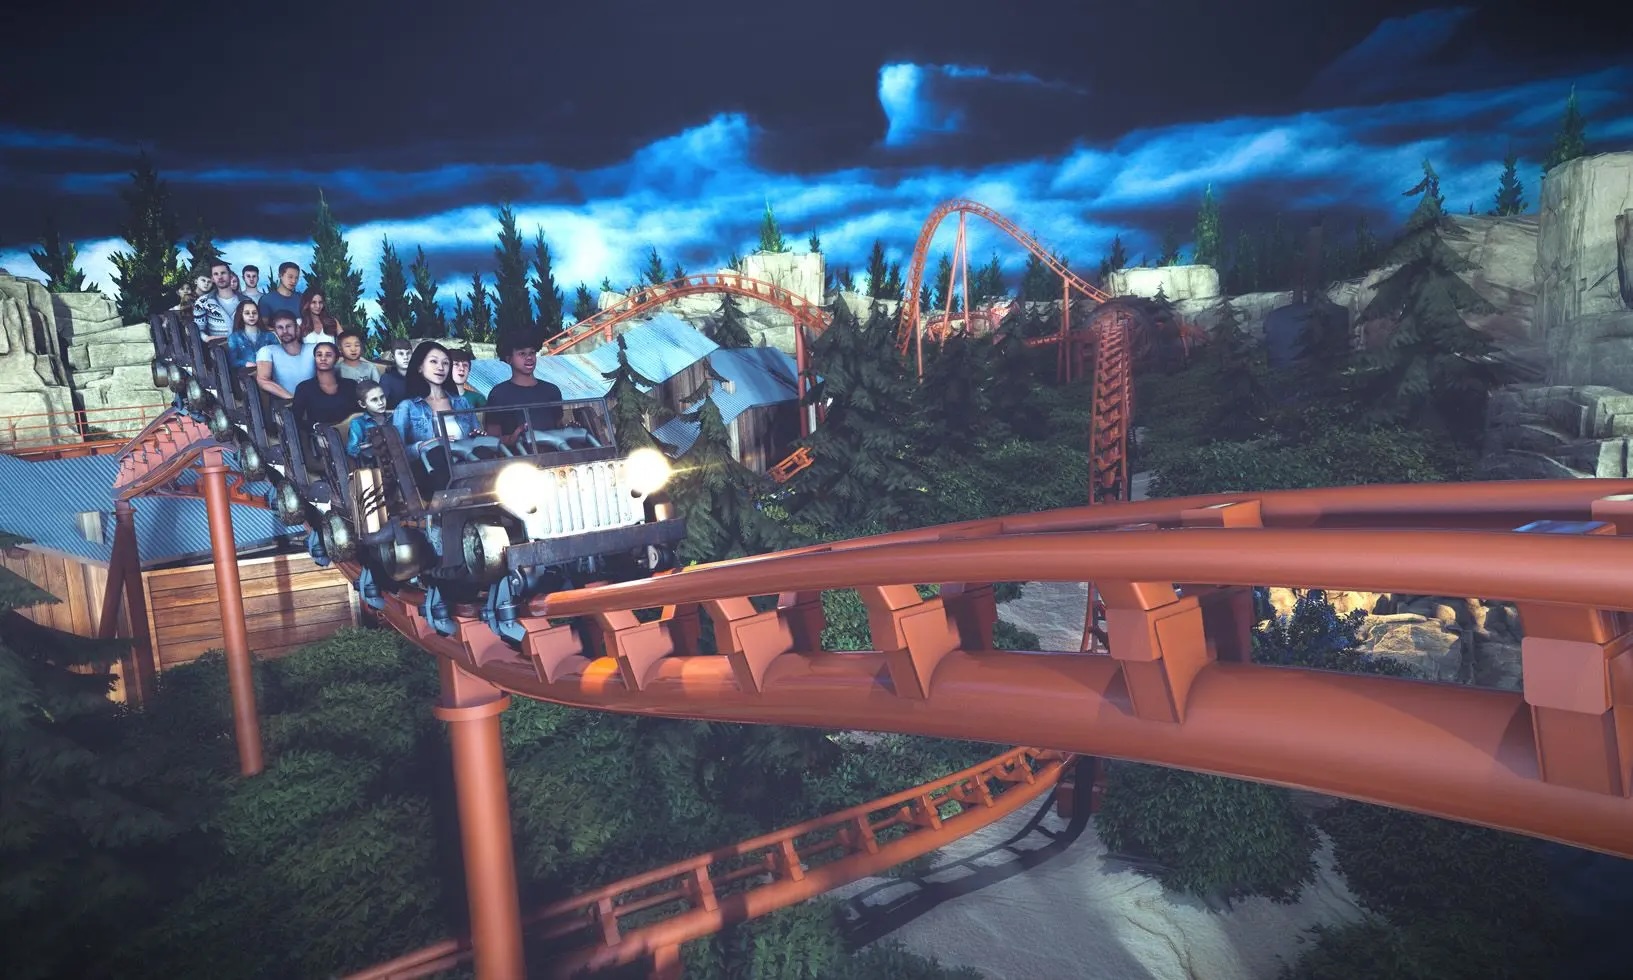
The longest family launch coaster in the world is coming to Six Flags Fiesta Texas!
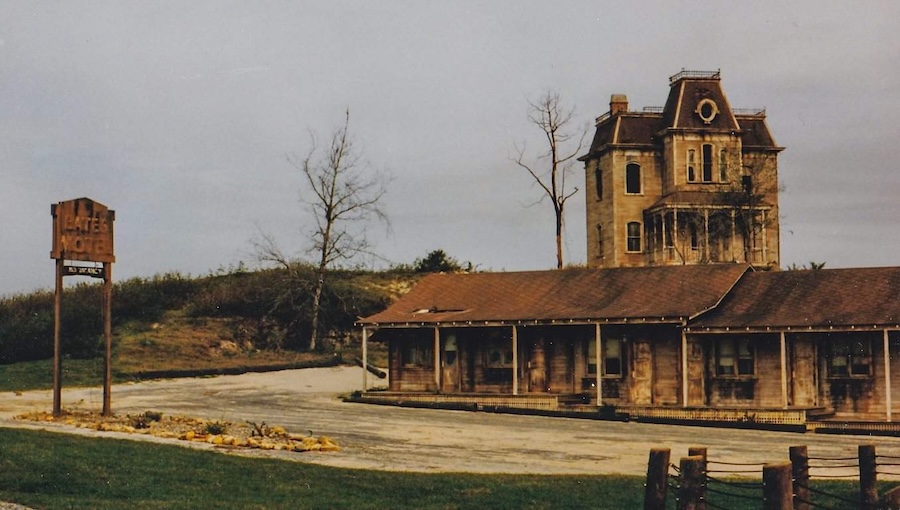
This iconic horror franchise once had a home in Universal Orlando.
We're expecting some BIG Magic Kingdom news in August!
If you think Annual Passes to Disney World will save you money, you might want...
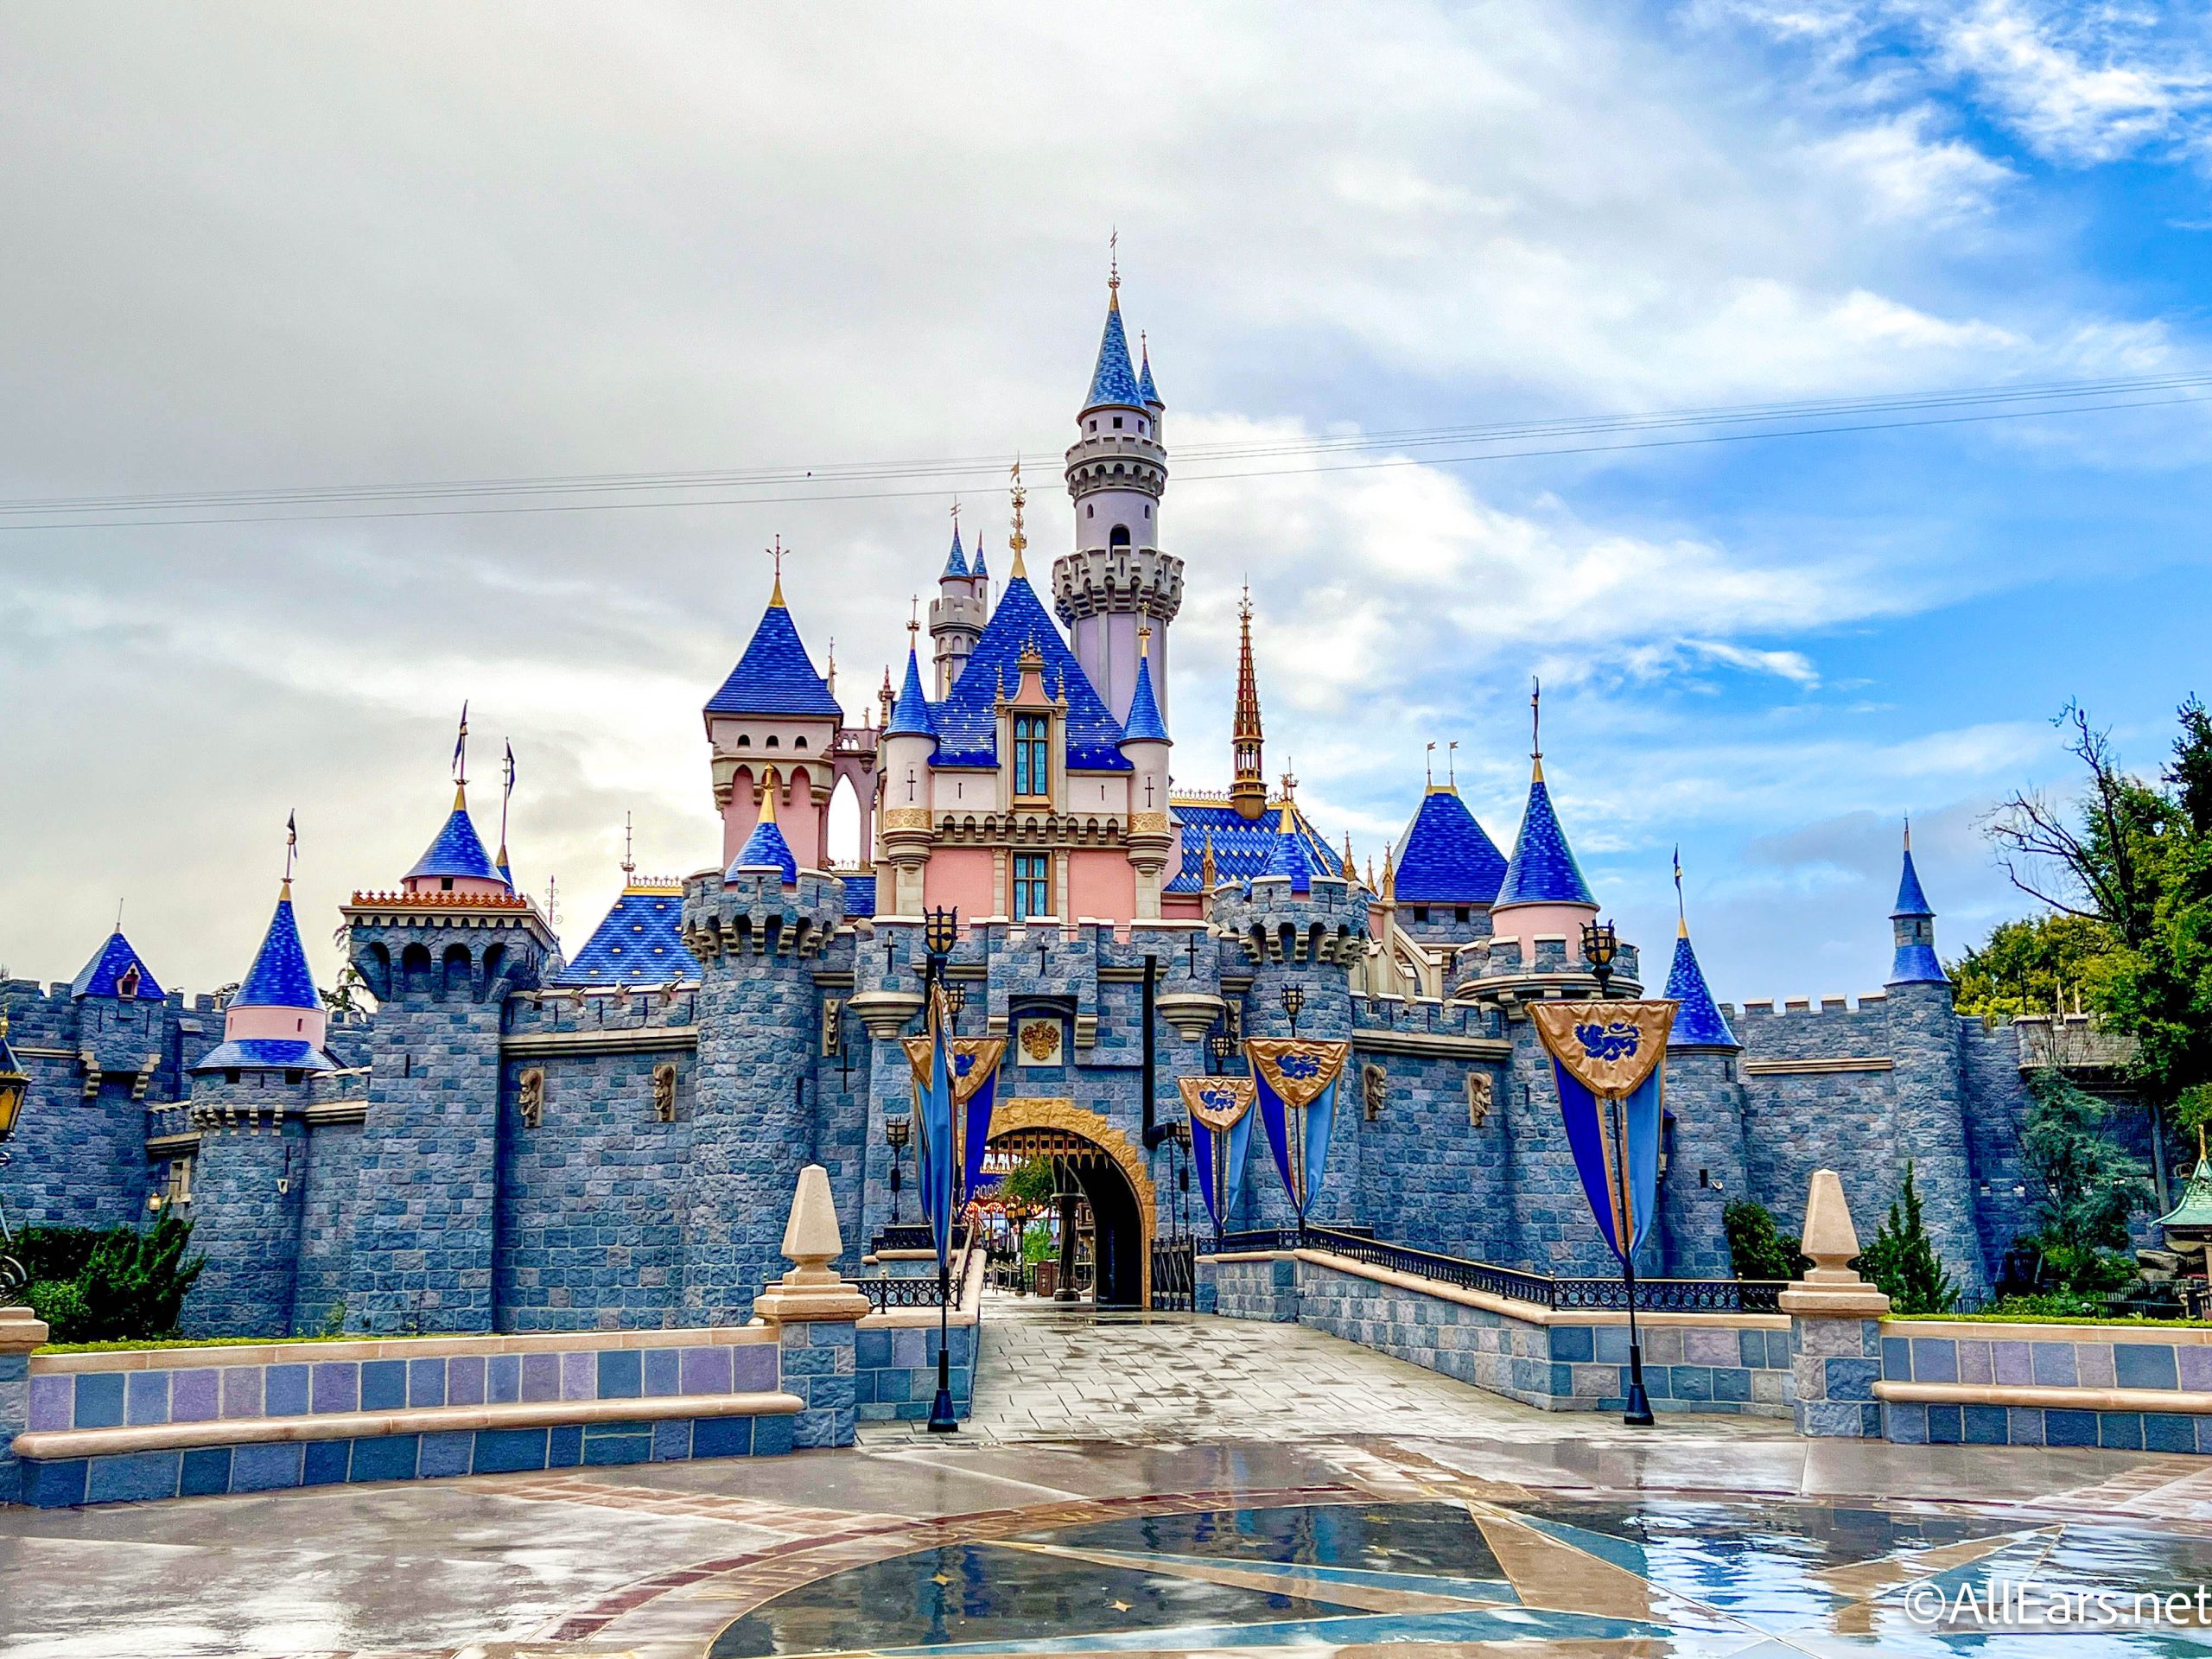
These Disneyland and Disney California Adventure rides won't be available to guests in June.
We've got an update on some attraction closures at Disneyland Resort!
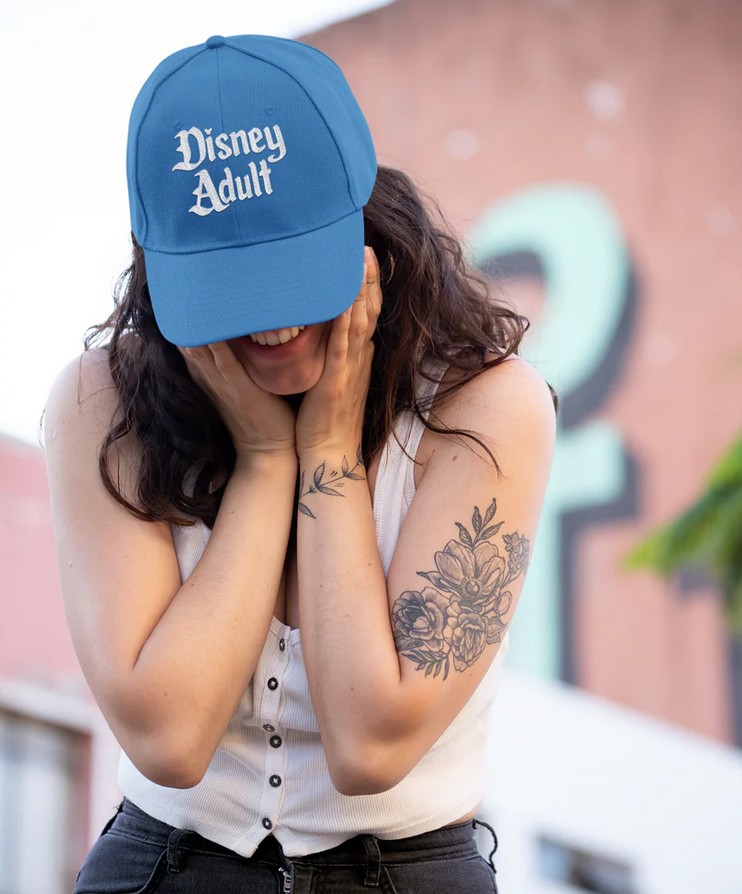
Disney adults in their 30s and 40s, this one is for your inner child AND...
A new permit was filed for this EPCOT pavilion!
Southwest Airlines has ANOTHER seating policy change.
From stained glass portraiture to iridescent cake aesthetics, there's something genuinely new and exciting happening...
Whether you're a ride warrior, a resort-hopper, or someone who spends three hours grazing through...
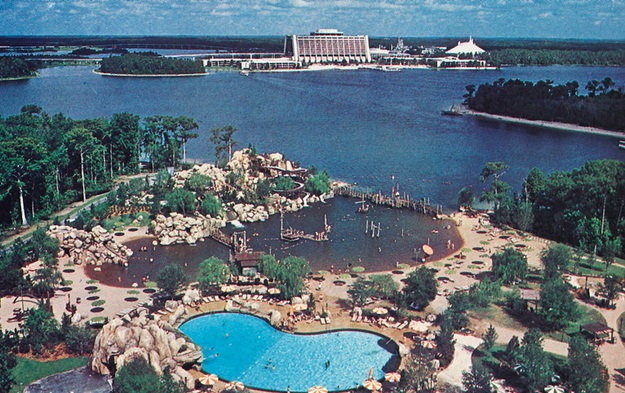
What REALLY happened to Disney's River Country.
Are you planning on DisneyBounding as a Disney Villain at a certain Halloween Party at...
These 7 Disney Loungeflys are fit for a princess.
Disneyland is getting hit with another ride closure!
Disneyland just got a big app update that could make planning your visit EASIER.
A popular Disney World hotel restaurant is CLOSING next month.
We have NEWS about the Ghirardelli Soda Fountain & Chocolate Shop in Disney Springs!
These Disney adults are sharing what we need to change and honestly, they have a...
The best styles for Epic Universe's portals.