

Unlike when you used film, digital photography processing is done inside your camera and produces JPEG images. (dSLRs can also produce RAW images. RAW images are often referred to as digital negatives and require processing on a computer to produce the final JPEG image.) If you are like me, you try to get all your photos as close to perfect right out of the camera. It takes a lot of practice and getting to know your camera as to what settings give you the results you are looking for. I learn each time I use my camera so if you are an old hand at photography or just starting your photographic adventures, you will one day look at the photos and wonder if there is a way to improve them.
In researching this entry I found there is no general “how to” information on approaching digital photo editing. What follows is my approach. The photo editor used was Picnik.com and the steps outlined should be available in most photo editing software. The goal for the photo I selected of my daughter enjoying a hammock on the Polynesian Resort’s beach was to reclaim the colors as I remembered them.
 Before Digital Processing. © Scott Thomas Photography 2008 |
 After Digital Processing. © Scott Thomas Photography 2008 |
|---|---|
| Original Photo Data: Nikon D70/18-200VR, 1/500s, f/10, 200 ISO, -0.3 EV, 18mm Focal Length | |
Step 1: EXPOSURE
The original image on the left is a bit underexposed as I had dialed in a -0.3 exposure compensation (EV). Not a drastic error yet I wanted to recoup the detail lost. In Picnik.com, I start with the Exposure tab which has two sliders for Exposure and Contrast. I first moved the Exposure slider to the right to add exposure slowly until I got back the detail. Picnik.com has an advanced button for brightness, adjusting highlight and dark areas and local contrast. I like to use the local contrast tool instead of the general contrast slider as it gives me a little more control. Your software may or may not have this option. I used a radius of 5 and strength of 25%. This brought out even more detail in the hammock and tree bark.
Step 2: COLOR
After adjusting exposure, I move on to the Color tab. Here I always first try the Auto Color button. Sometimes I like it and sometimes I don’t. As they say YMMV (Your Mileage My Vary). In this case, I didn’t like it and hit the Reset button to start over. Next I adjusted the two sliders available. One for Temperature and one for Saturation. I set up my camera to saturate colors so I usually don’t have to add any more. However, my camera settings tends to give my photos a reddish cast to light objects. In this case, the sand and hammock color is off. In some software, you may see a Blue and Red indicator on the Temperature slider. I moved the Temperature slider to the left or blue end to a -5 bringing back the natural colors to those photo elements.
Step 3: SHARPENING
I’ve been learning about sharpening over the last few days and was surprised to find out most digital photos need to be sharpened. Picnick.com allows for two ways to sharpen: a simple slider and a more advanced Unsharp Mask. Don’t let the unsharp mask confuse you, it is a sharpening tool. The name is a hold over from film processing days. The simple slider is great and I have used it with excellent results but no higher than a setting of 10 or less. Beyond that, photos start to look unreal.
There’s a whole bunch of ways people use unsharp mask tools in photo editing software. Some are very complicated and require very expensive software. However, I want to share with you three simple recipes as recommended by Scott Kelby in his book, The Digital Photography Book (page 18):
For people, set Amount to 150%, Radius to 1 pixel and Threshold to 4 levels
For cityscapes, urban and travel photography, set Amount to 65%, Radius to 3 pixels and Threshold to 2 levels
For general everyday use, set Amount to 85%, radius to 1 pixel and Threshold to 4 levels
In the example photo, I used the general recipe in Picnik.com’s Unsharp Mask tool (note: Picnik.com does not have the Threshold setting).
Now, all these adjustments are to MY taste. Yours will be different. What I have found in reading about photo editing is it is very subjective to the person doing the editing. There are techniques you can learn but no rules to follow. If you own a photo editing software product, I encourage you to find Internet resources, books, and video training for it.
I am much happier with the new version of my example photograph. To see larger versions of the Before and After photos, click on either of them. I hope this gives you some ideas on how to approach your photo editing tasks.


Trending Now
We've compiled a list of some of the best items you should pack for your...
New Stained Glass Disney Loungeflys just released on Amazon!
Upgrade your Universal fit with these new Loungefly souvenirs!
Let's talk about some of the downsides to staying at Disney's Port Orleans Hotel.
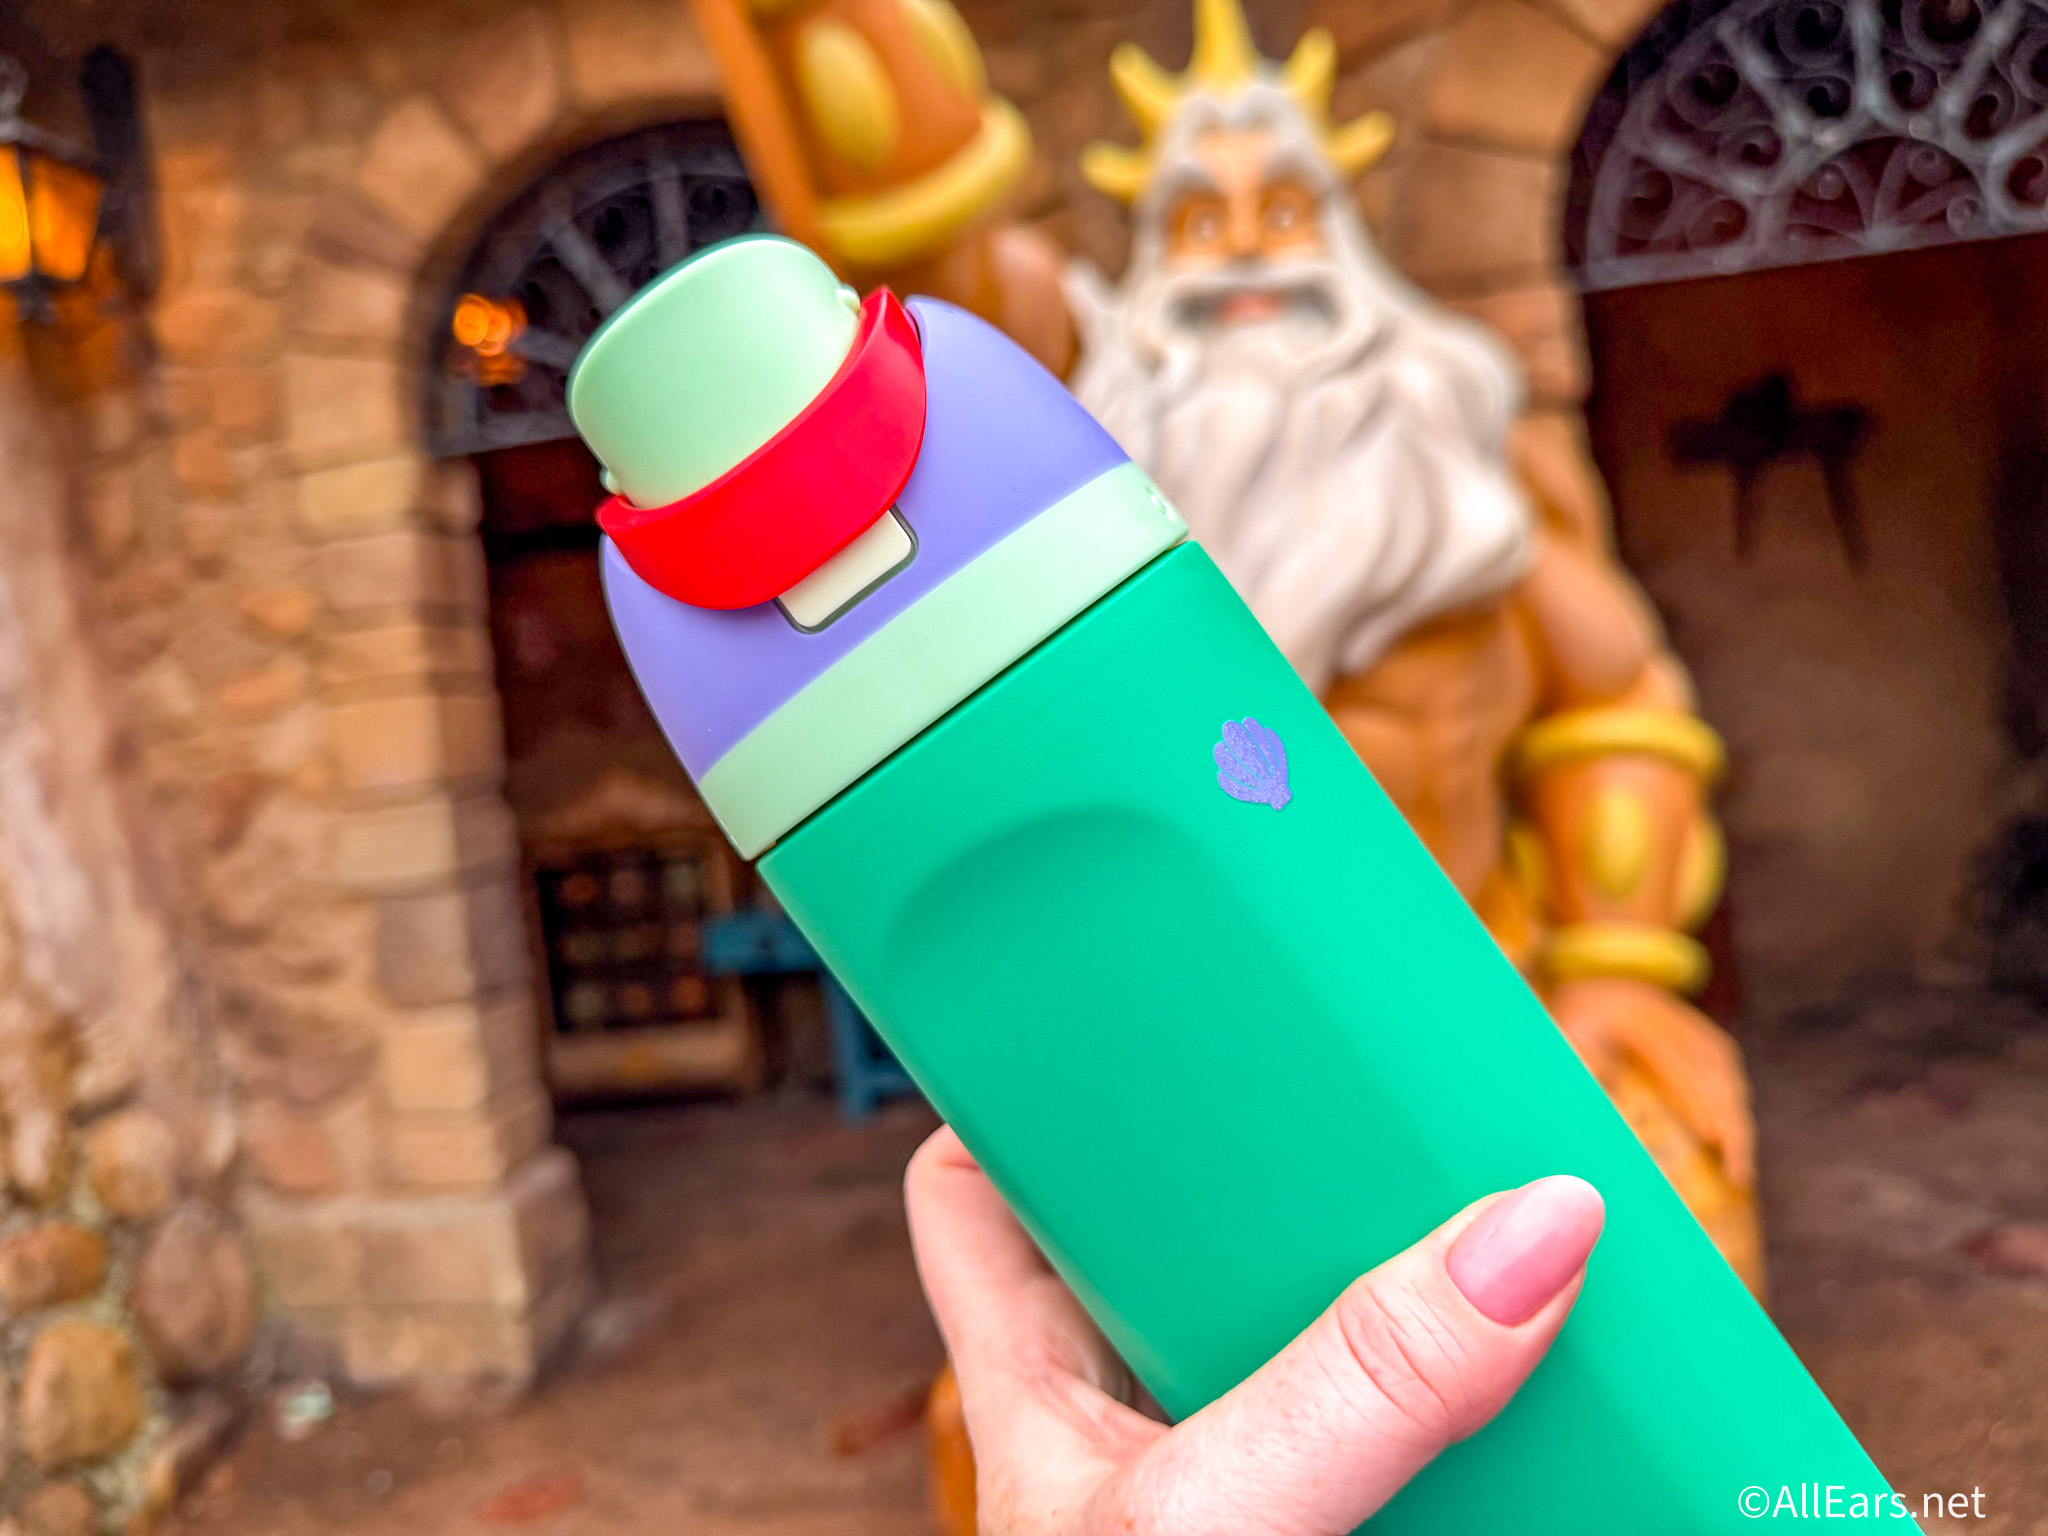
If you’ve been trying to find a water bottle that survives rope drop through fireworks,...
These Disney Loungefly bags online have us OBSESSED!
There are TONS of new menu items coming to Disneyland Resort on April 28th
There's a good chance you'll hear these white lies during your next Disneyland visit...
The new Universal Kids Resort is shaping up to be something special!
These Disneyland rides will be closed at various points in May.
Looking for the right Disney World shoes? Amazon has nine Brooks pairs for you!
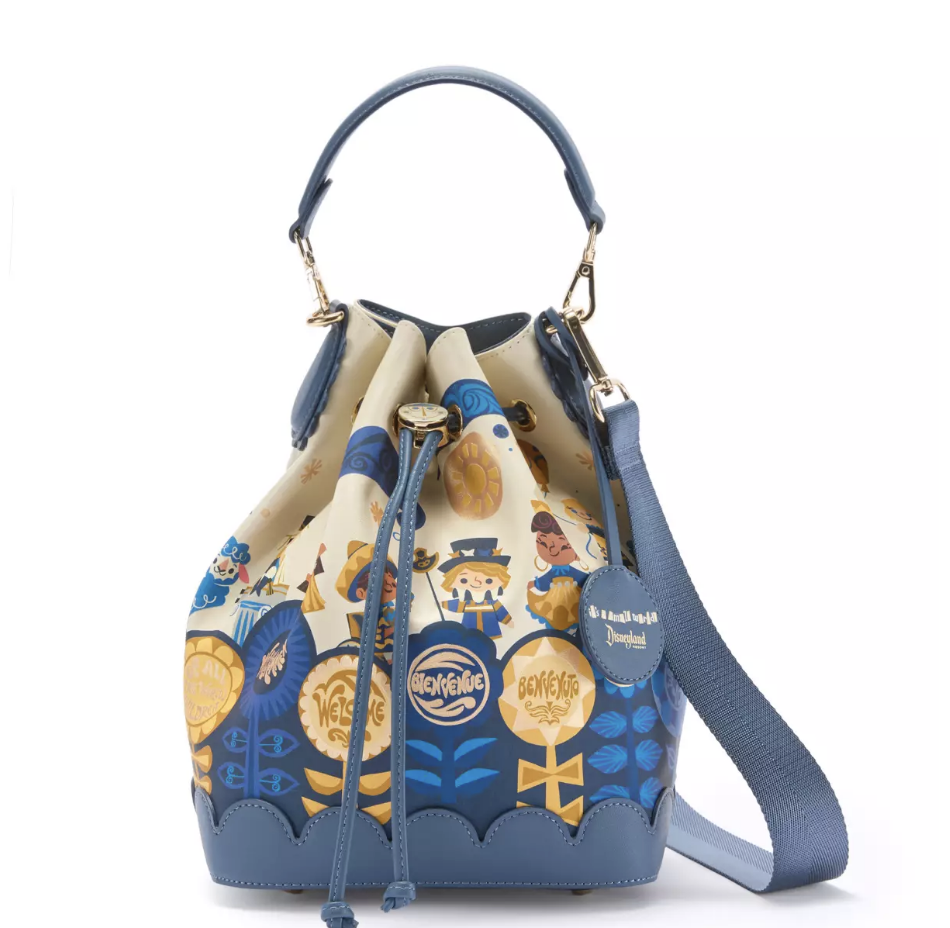
Love "it's a small world" over in Disneyland as much as we do? Then this...
New stores are headed to Disney Springs!
Jollywood Nights is coming back to Disney World in 2026!
Amazon has 50 Loungefly bags up to 50% off!
We tried eight different snacks at the Disneyland Resort, and we're sharing with you!
It’s been more than 21 years since Disney’s ambitious Animal Kingdom theme park opened. Much...
What EPCOIT ride should rope droppers race to first? It depends...
If you're an introvert, you might want to avoid this Disney World ride!
The best Disney kitchen merch just dropped online!