

Many photographers don’t like to use flash. After learning all the ways of exposure, ISO settings and the use of the exposure compensation button, flash poses another learning curve. I’m here to tell you, learning to use flash is not hard and can give you another tool for getting professional-looking photos at home and in the Disney parks. I know what you are thinking, you can’t use flash at many of Disney’s shows and attractions. That is true but don’t forget there are many places were flash can be used like restaurants, resorts, character meets and meals, and outdoor photography.
Before we get started, I would like to you meet my model, Shirley. Shirley doesn’t get out much as she’s been living in a box for the last 10 years. However, when I came up with the idea to do a blog entry on bounce flash, she was the first model that came to mind. Since this is a Disney blog, I let Shirley model some Golden Mickey Mouse Ears.
 No Flash Bounce |
 Flash at 0 degrees |
|---|---|
| Here’s the typical look of the straight on flash. Harsh light, flat features, washed out colors and shadows haloing the subject. Not a very flattering look for Shirley. If Shirley was a live model, you might also see the red eye effect. | |
 45 degree Flash Bounce |
 Flash at 45 degrees |
| When you invest in a flash for your digital SLR, make sure the head of the flash can be adjusted both up and down and side to side. This allows you to bounce the flash off of ceilings and walls. This softens the harsh light as it spreads out from the surface it hits. By putting the flash at an angle of 45 degrees, you can see Shirley’s facial features and color return. As an added bonus, the ears of the hat are now seen clearly as light is coming from above. | |
 90 degree Flash Bounce |
 Flash at 90 degrees |
| To soften the flash even more, angle the flash a full 90 degrees. This spreads out the light even more. You can see the different light direction in the Mickey Mouse ears. The only issue I have with this one and the 45 degree angled photo is the shadow under Shirley’s eyes. If you subject had on a baseball cap (which many young people wear these days), it would be really hard to see the person’s eyes. | |
 90 degree Flash Bounce with card |
 Flash at 90 degrees with bounce card |
| Many of the flash units, also called speedlights, have a small white tab that can be extended out from the flash’s head. This will deflect some light in your subject’s direction. If the subject is a person or animal, you’ll get pleasant specular highlights or catch lights in their eyes. My flash does not have this tab so I used a white piece of cardboard and attached it with a rubber band. You can see how Shirley’s features are still there and the shadow under her eyes have disappeared. | |
I have to warn you to look out for colored surfaces. The light of the flash will pick up the color. The best ones to use are white surfaces or shades of grey. Next week I’ll show you how to handle bounce flash when you are outdoors or have no light surfaces to use.
Further Reading: Here’s some more great articles on bouncing your flash.


Trending Now
You can't miss this new HOKA drop!
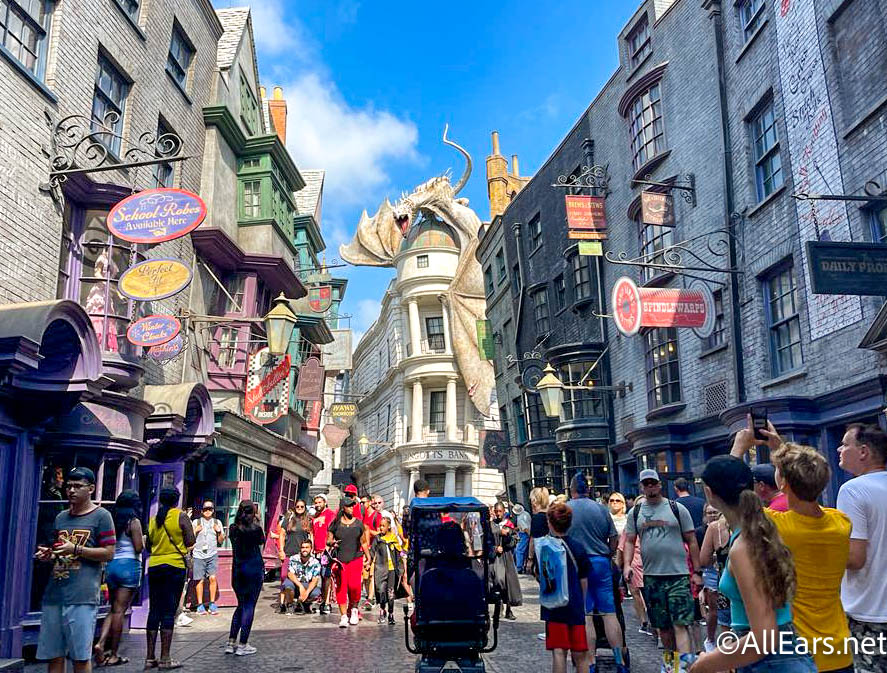
There's a NEW snack in the Wizarding World in Universal Orlando.
Picky eaters are going to LOVE these four new snacks in EPCOT!
Disney fans, mark your calendars for a photo session with the new Cinderella Castle!
A new Disney partnership seeks to reimagine banking as we know it!
Fort Wilderness just opened up a brand-new pool!
Some rides experienced closures in Disney World yesterday.
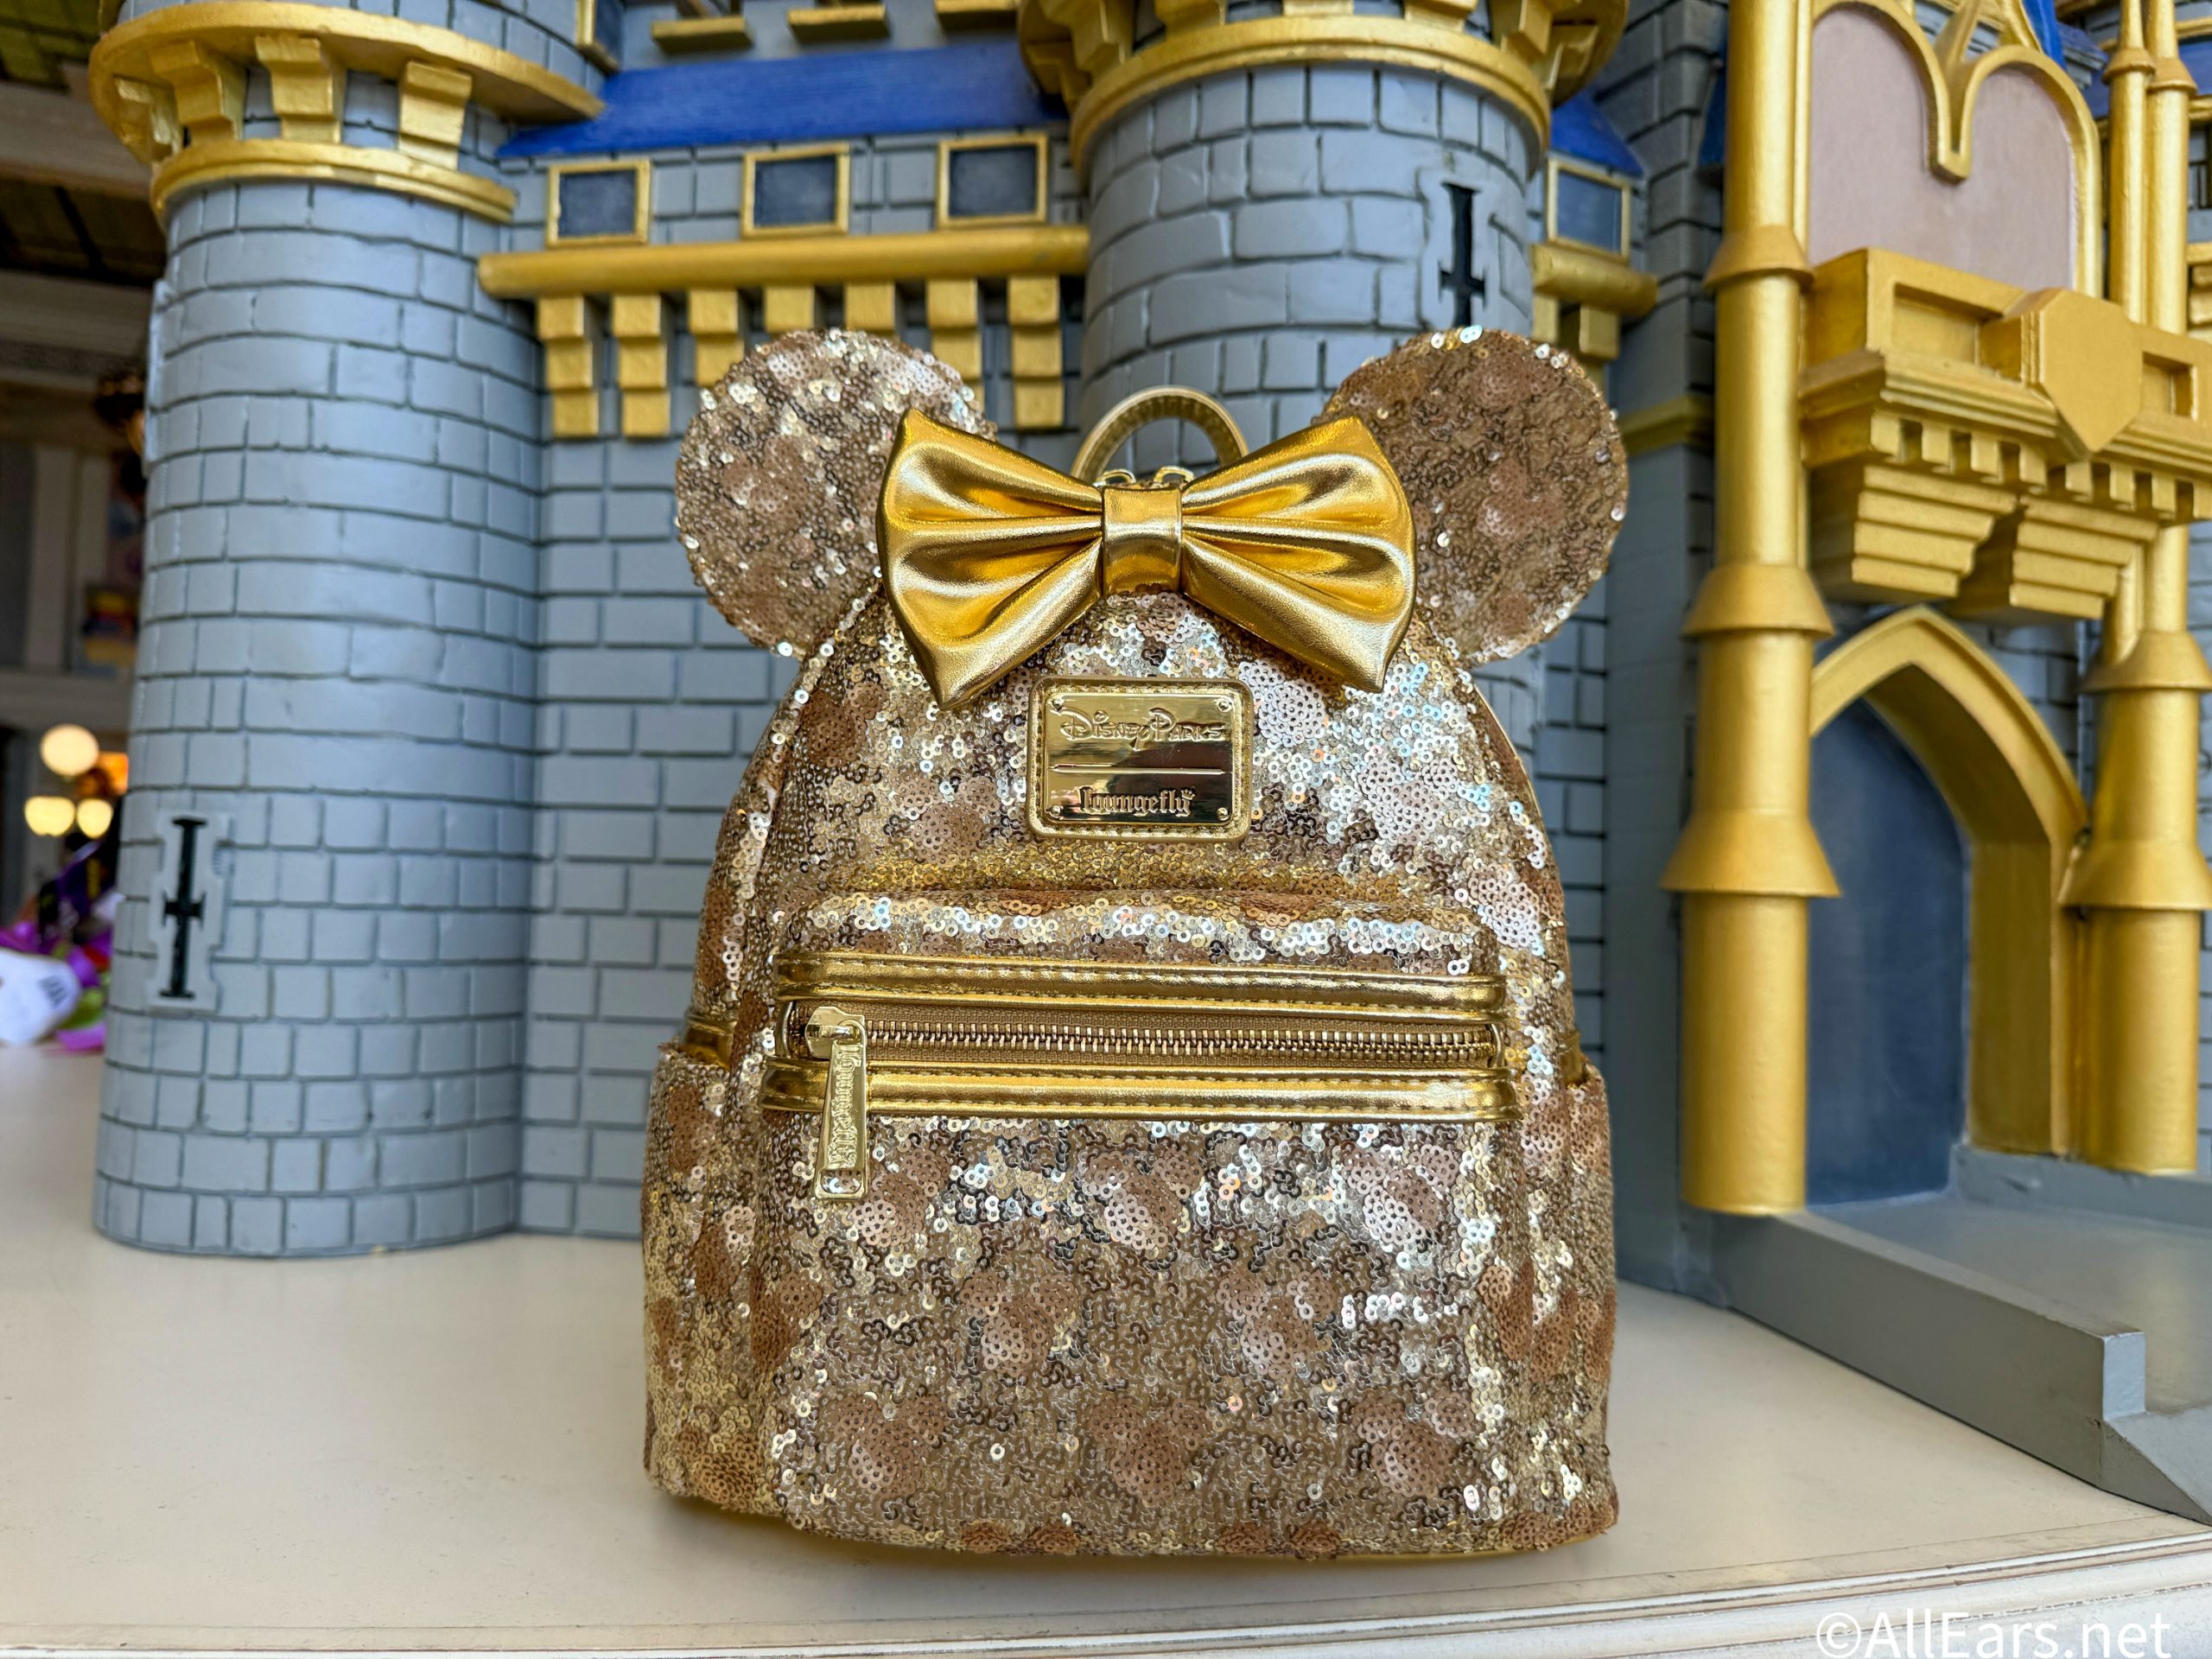
Taking a Loungefly to Disney World? You can't forget these rules!
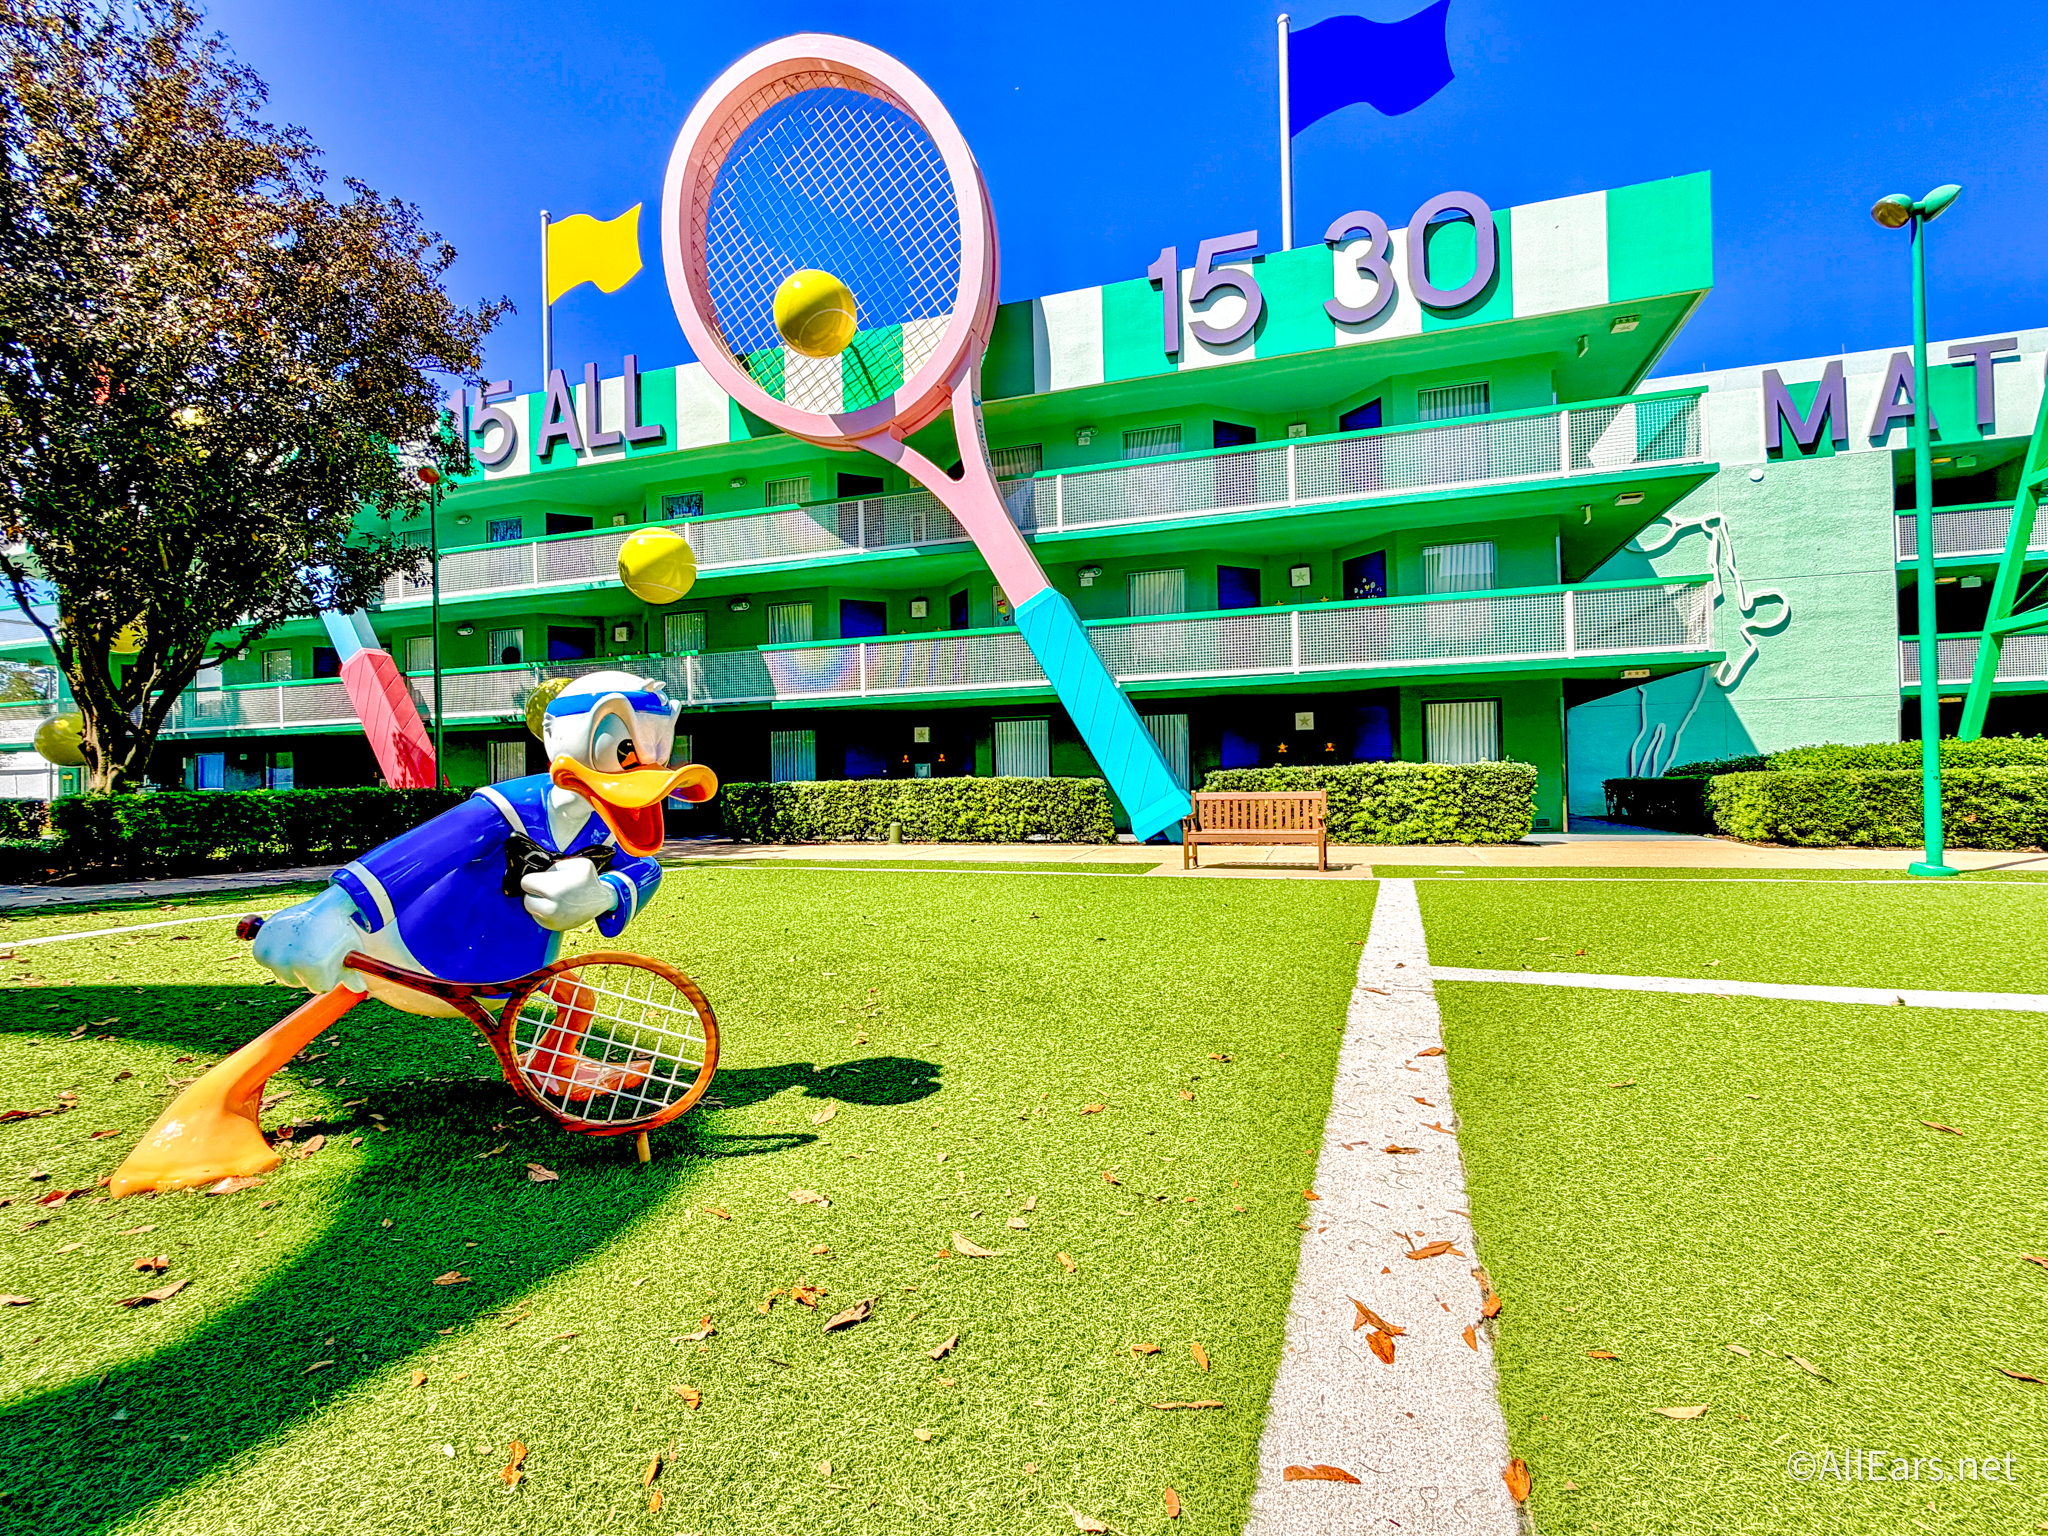
This Disney World hotel perk is coming back next year.
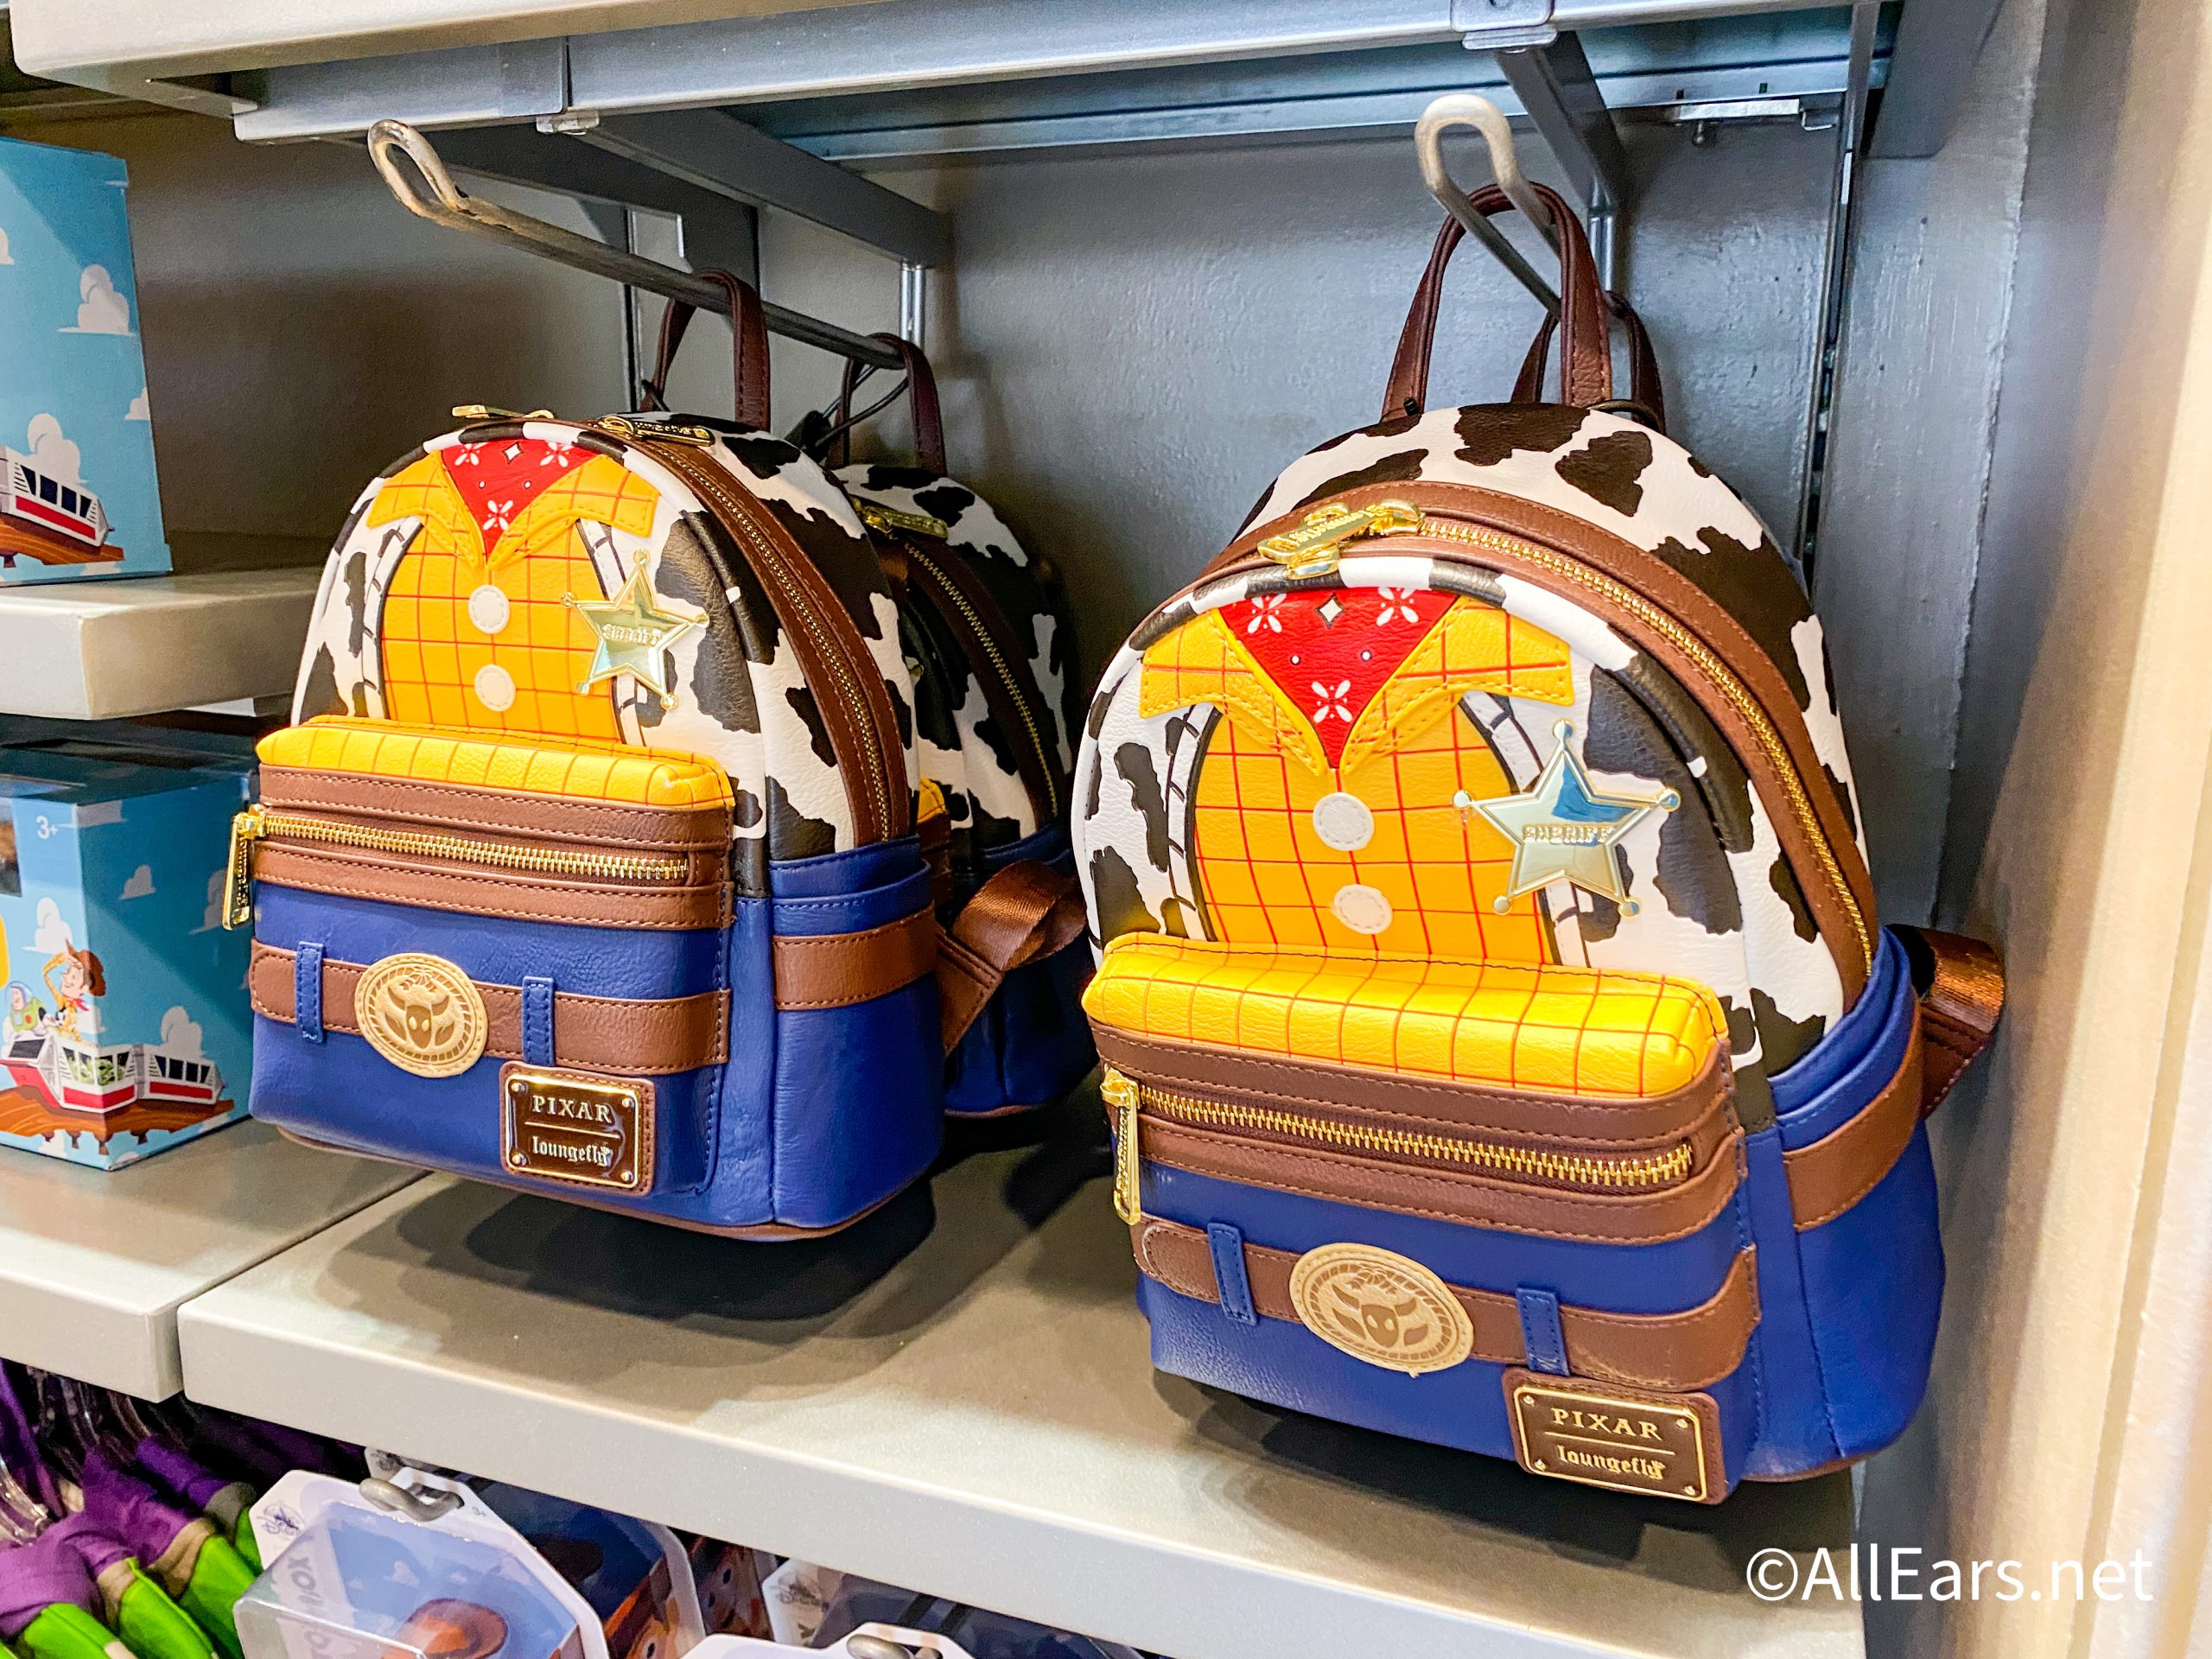
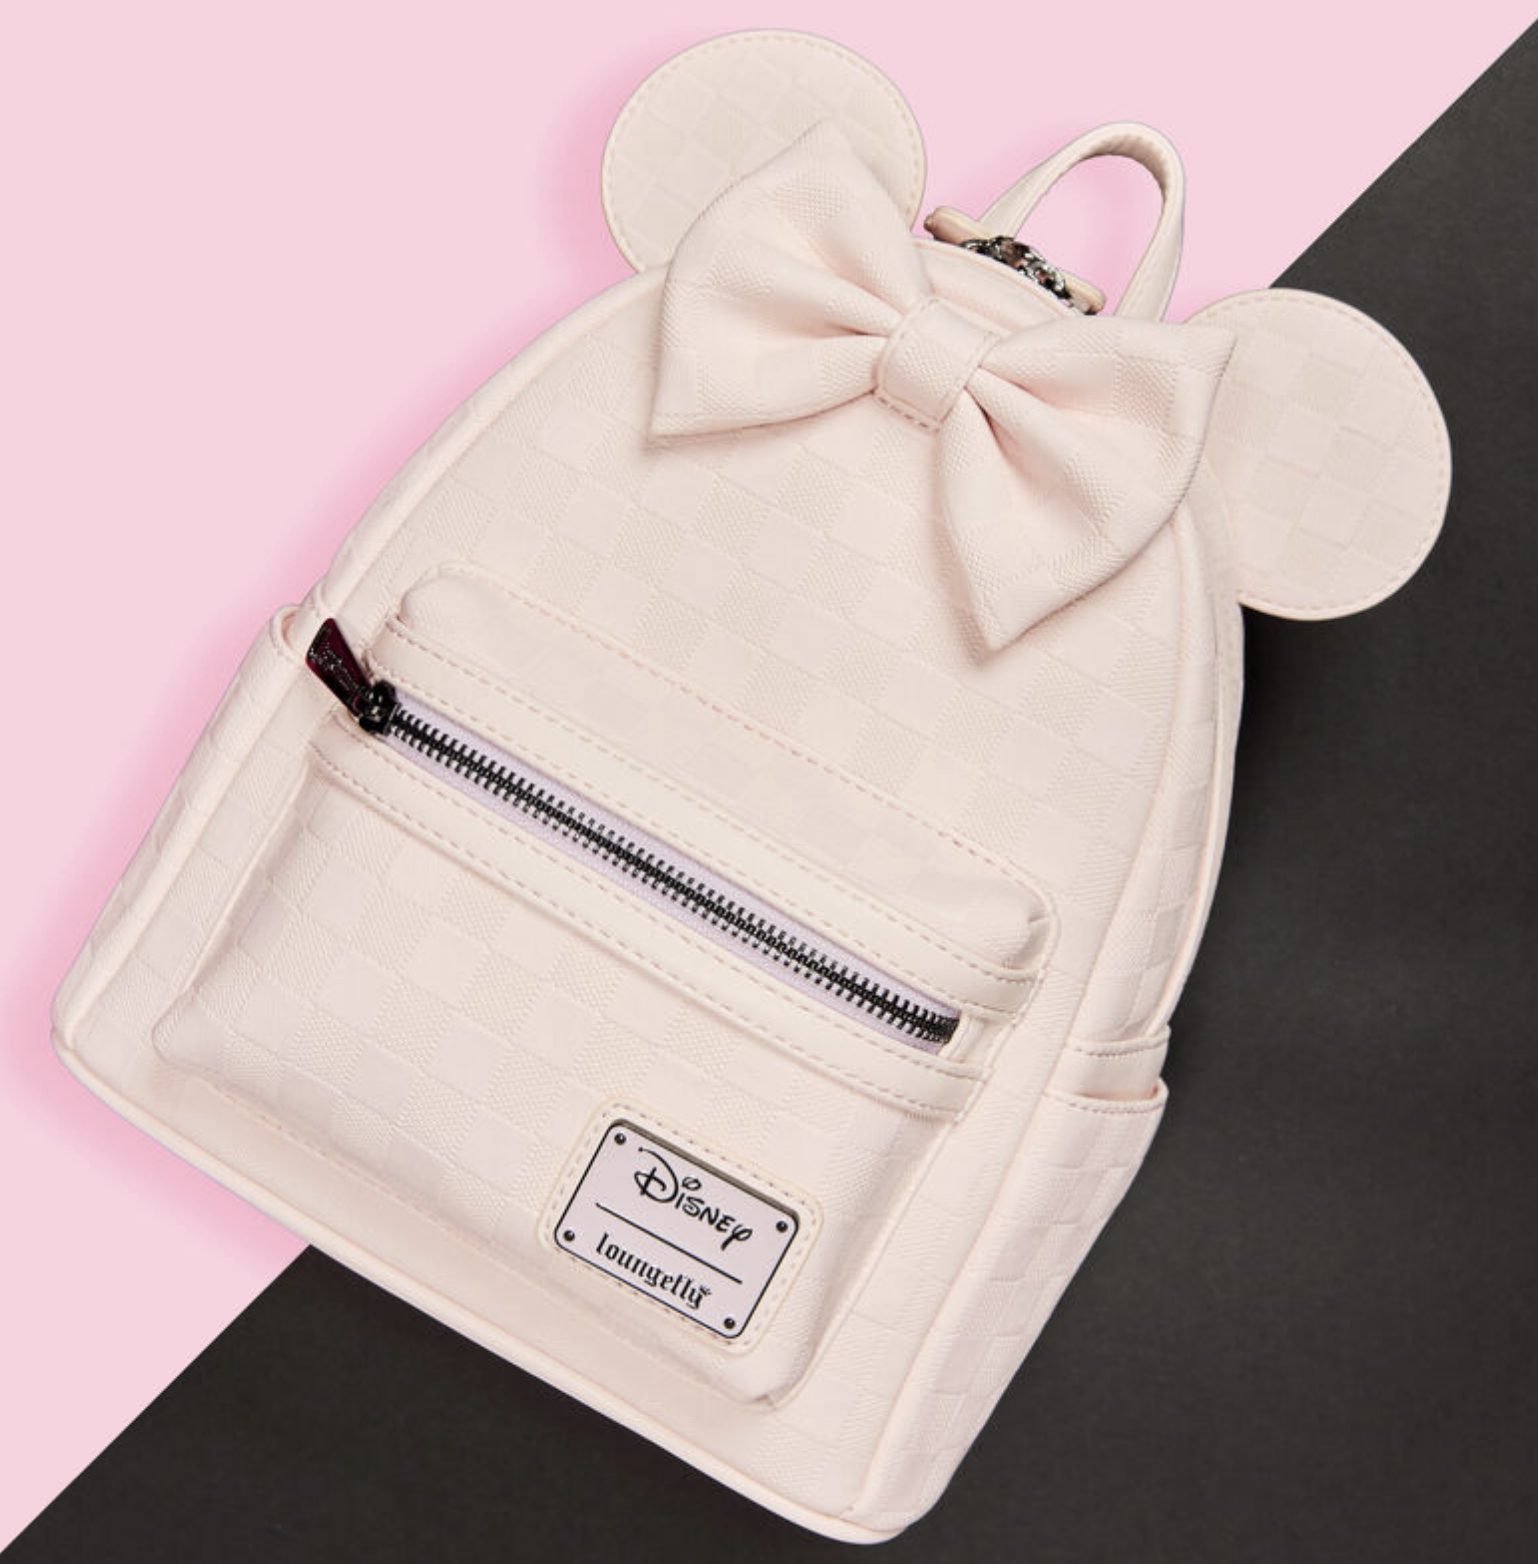
If you’re planning a Disney trip or just want a fun everyday bag, these Toy...
A new lawsuit alleges a guest was bitten by bed bugs in Disney World.
We're sorry to have to break the news to you about this huge ride change...
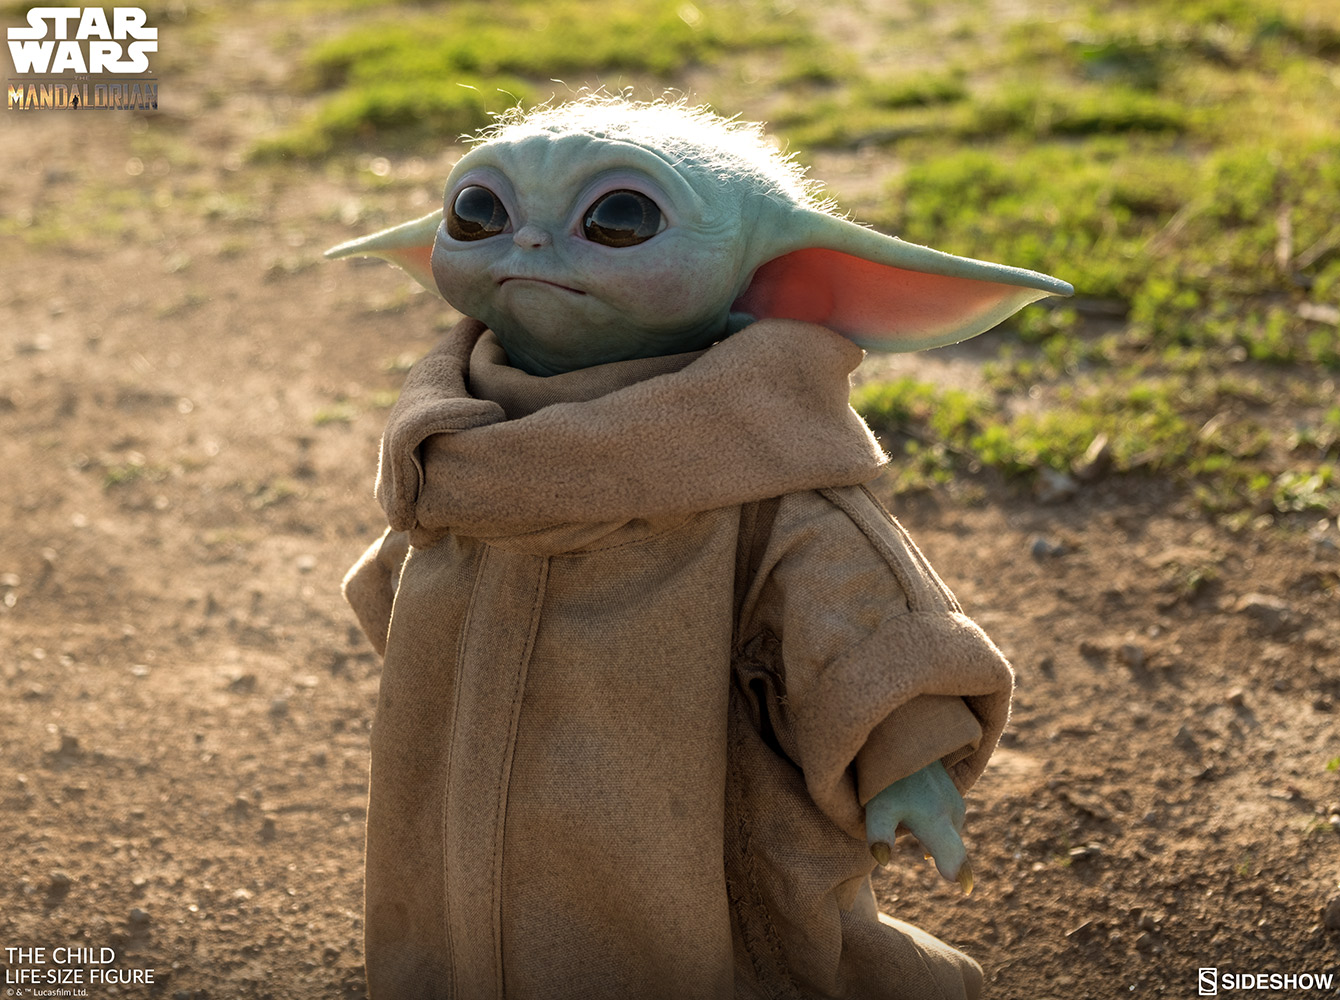
This is not a drill! You can now purchase a life-size version of Baby Yoda...
This Pixar Pier attraction will be reopening SOON after a lengthy refurbishment!
Get these Disney Loungefly backpacks for the Minnie to your Mickey, or the Dutchess to...
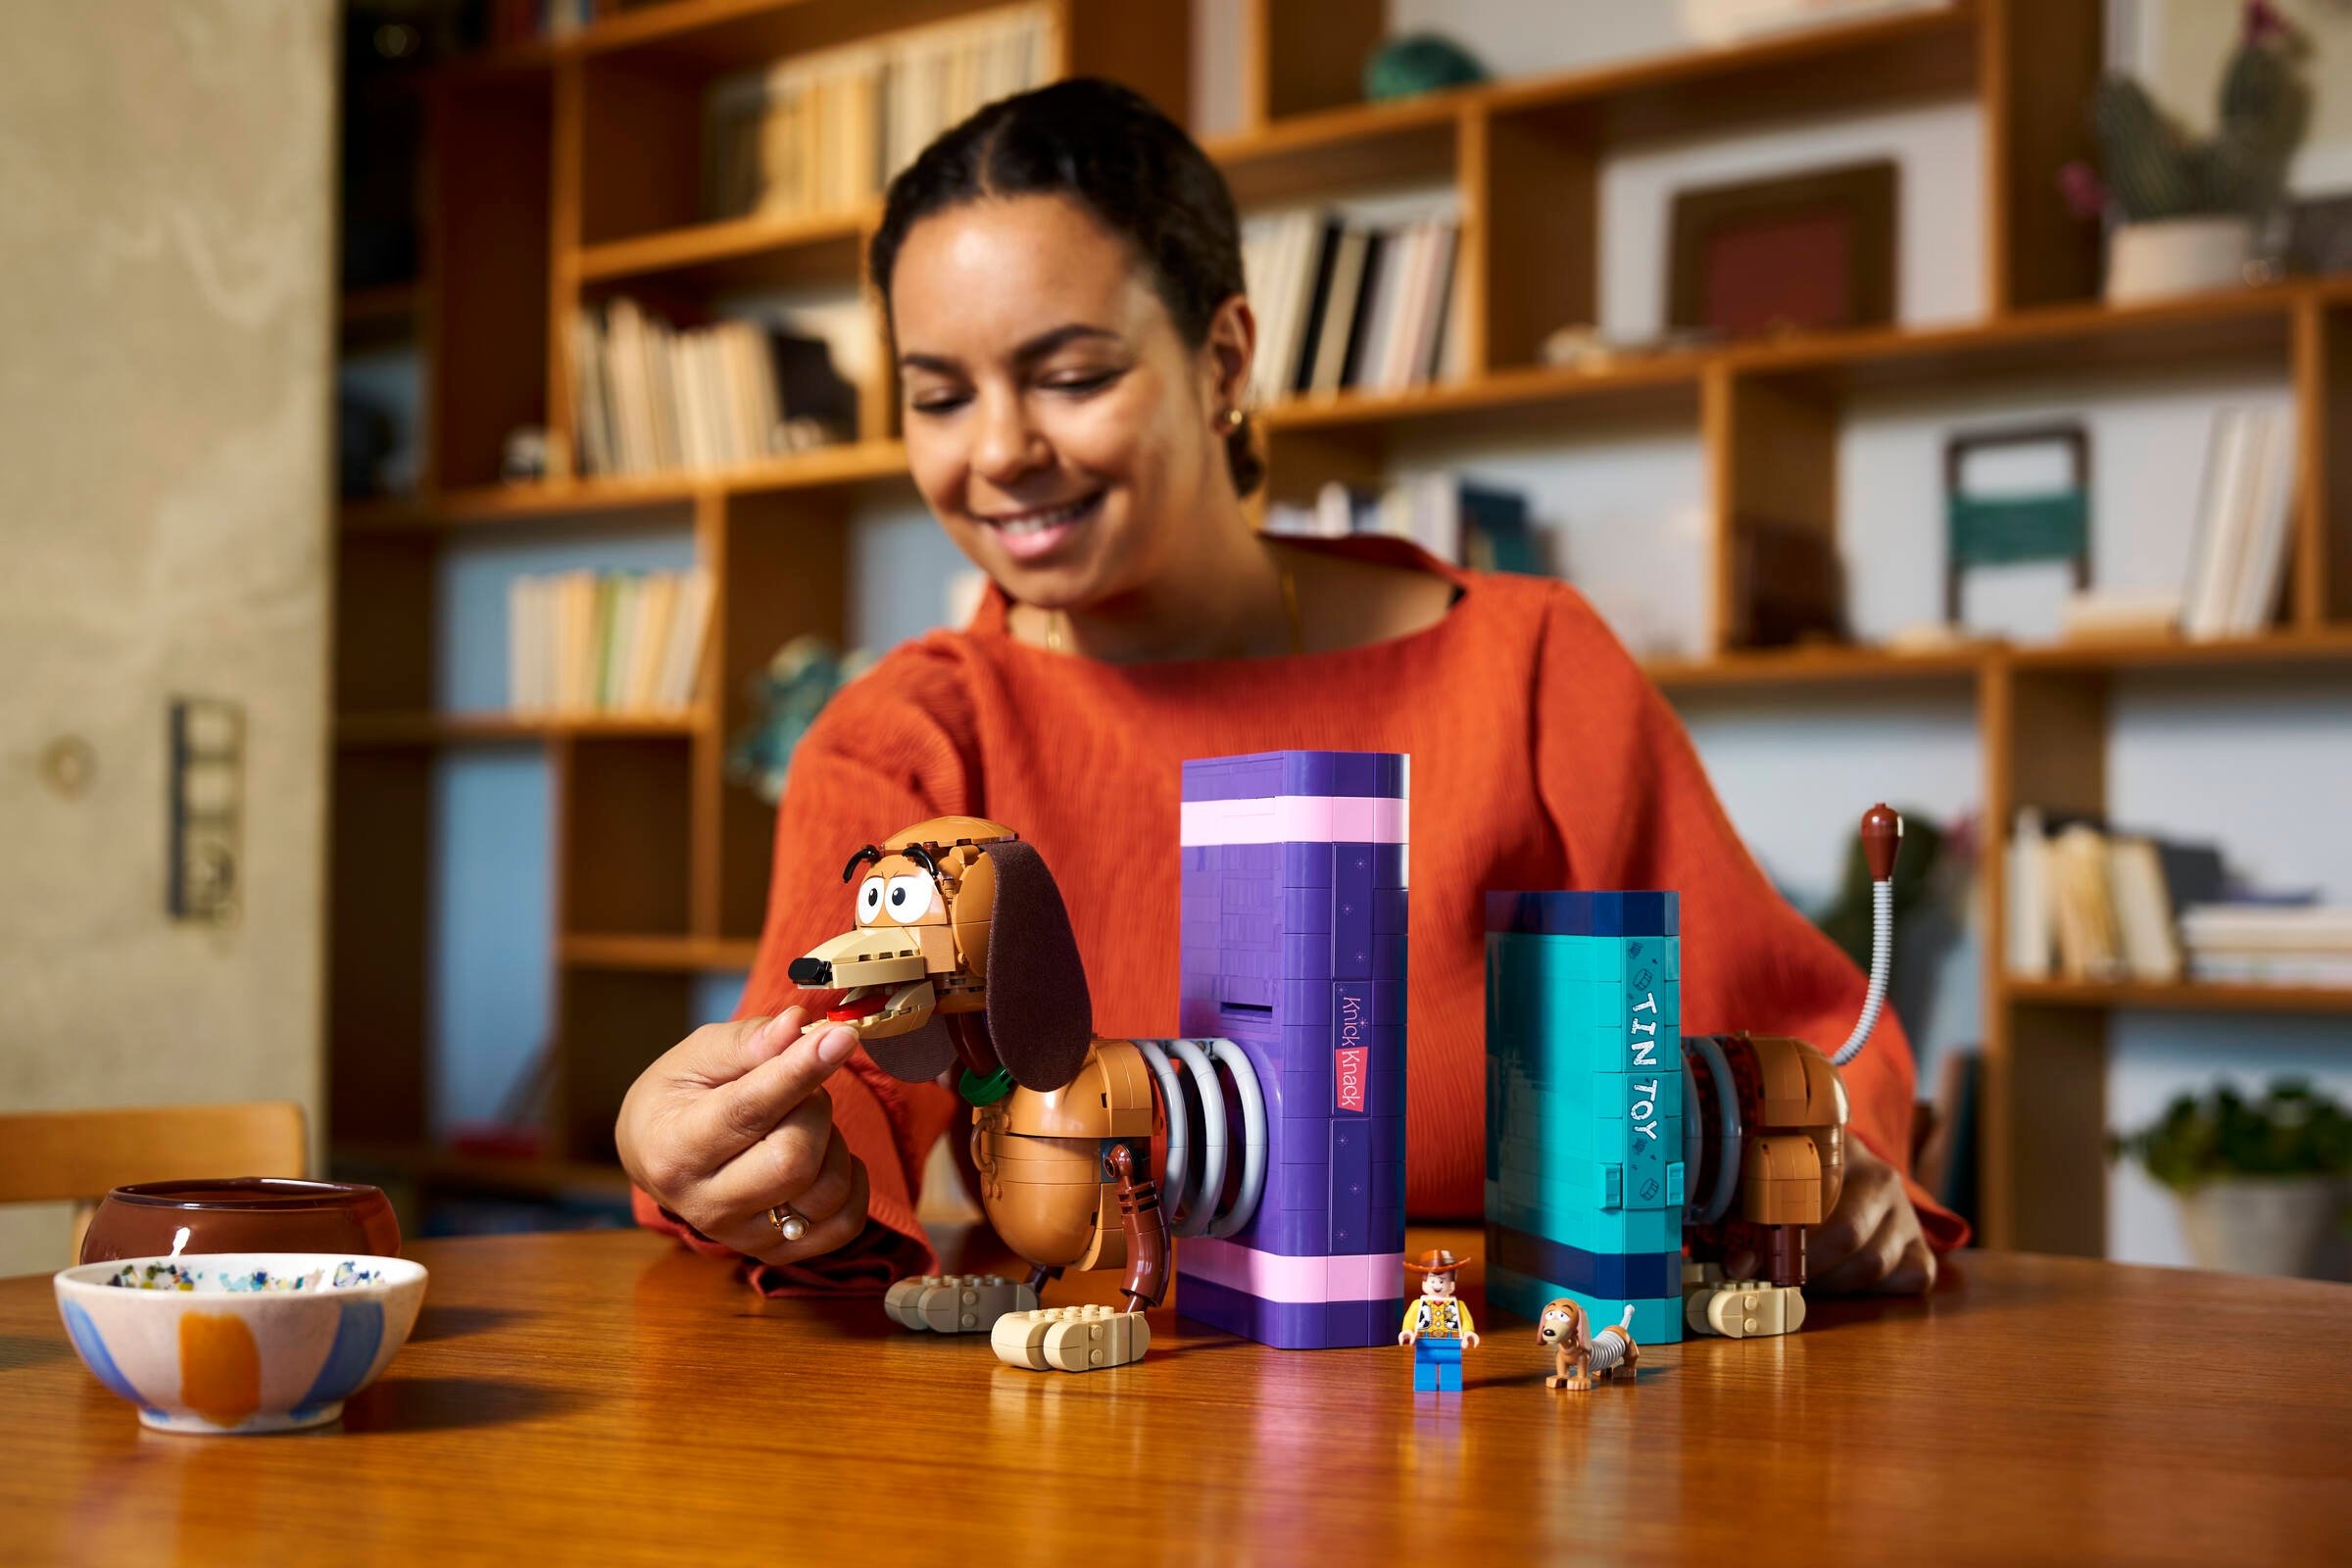
These LEGO sets will act as great pieces of decor in your home!
Here's all 25 closures across Disney World right now!
Pooh fans, this is your warning: Amazon still has a bunch of Winnie the Pooh...
A popular Disneyland show is coming to Disney World, and know we know the showtimes!
Did we just have one of the best rotational dining experiences on a Disney Cruise...