

Howdy friends — Molly here! If you’re like me, you’ve been spending some extra time in the kitchen during this time of staying at home. Nothing like trying to whip up some DIY Disney Favorites if we can’t go to the parks right?
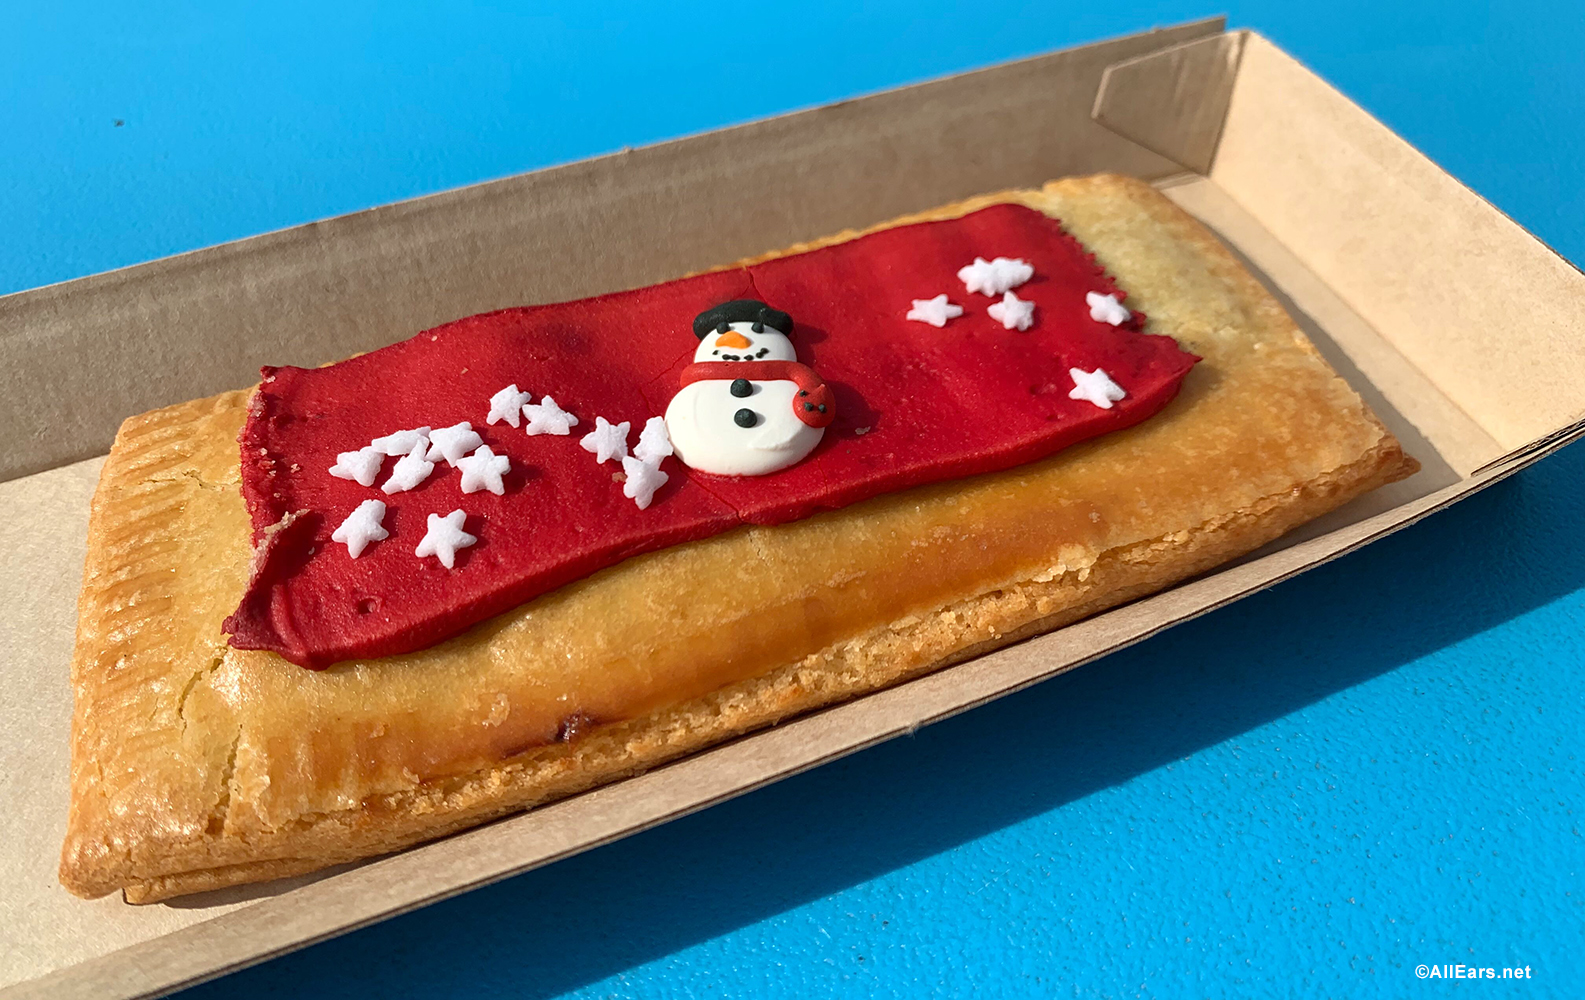
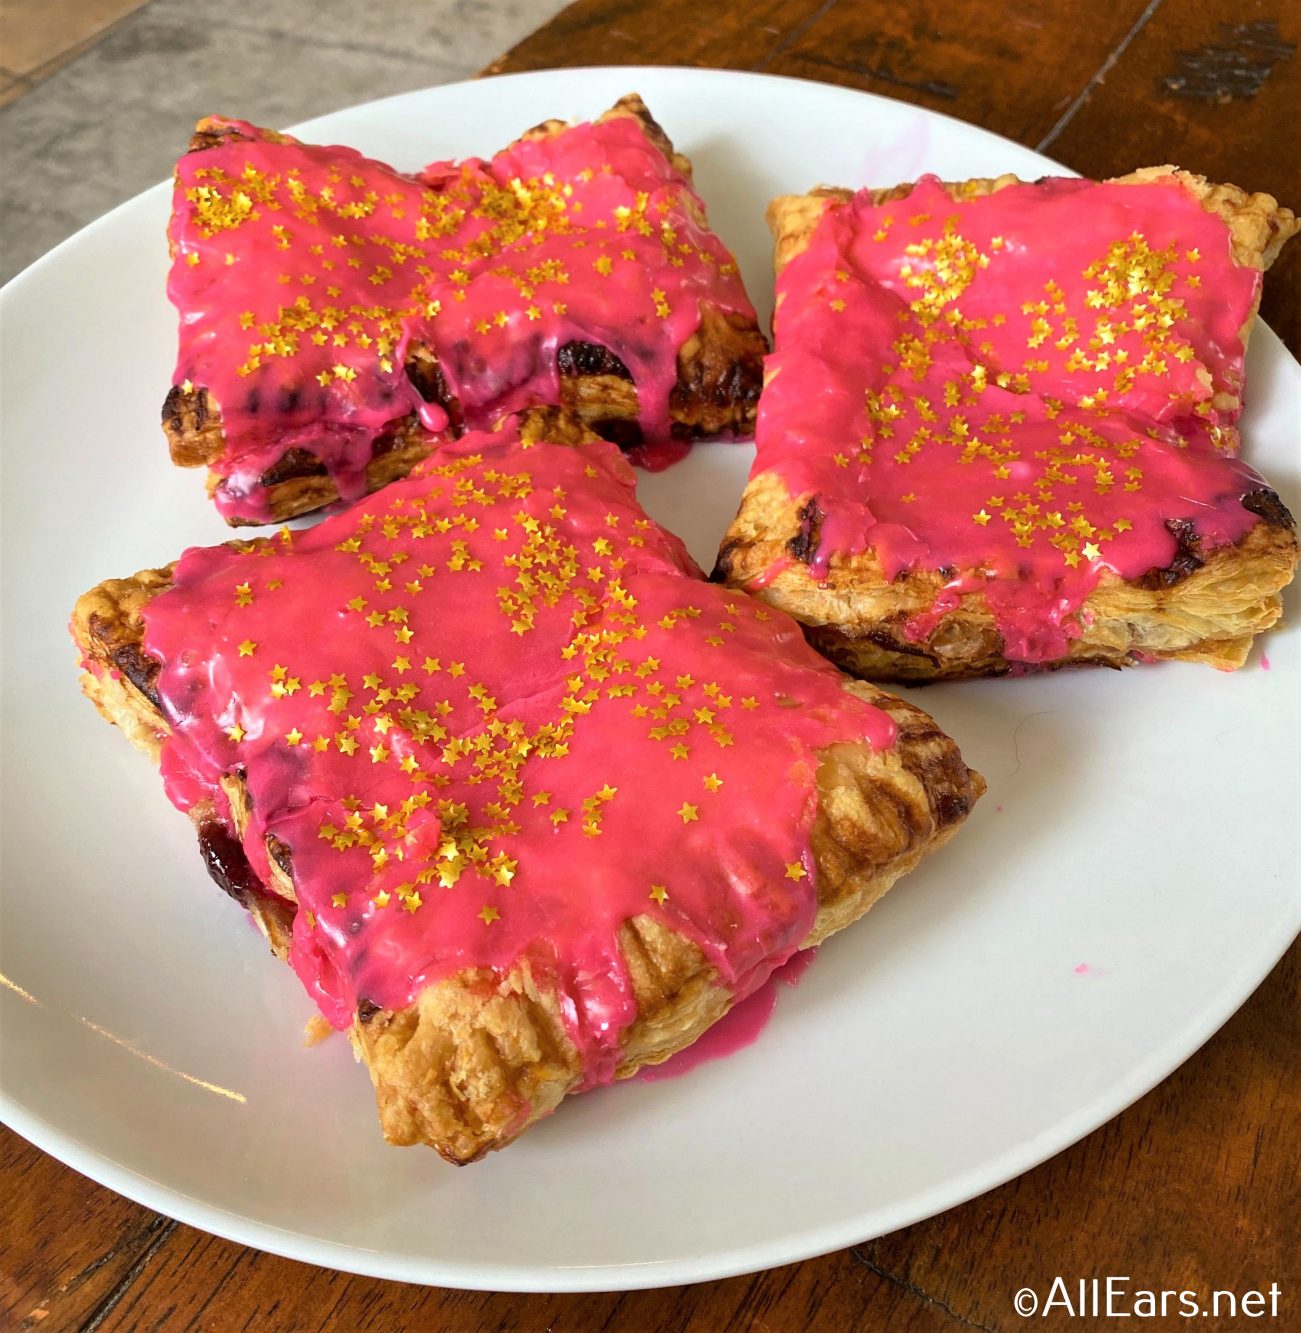
For this week’s DIY Disney Treat, I decided to make a homemade version of the yummy Lunch Box Tarts from Woody’s Lunchbox in Toy Story Land! These are basically fancier poptarts, that come in a variety of flavors. Let’s get cooking!
DIY Woody’s Lunchbox Tart
First things first, this is everything you’ll need:
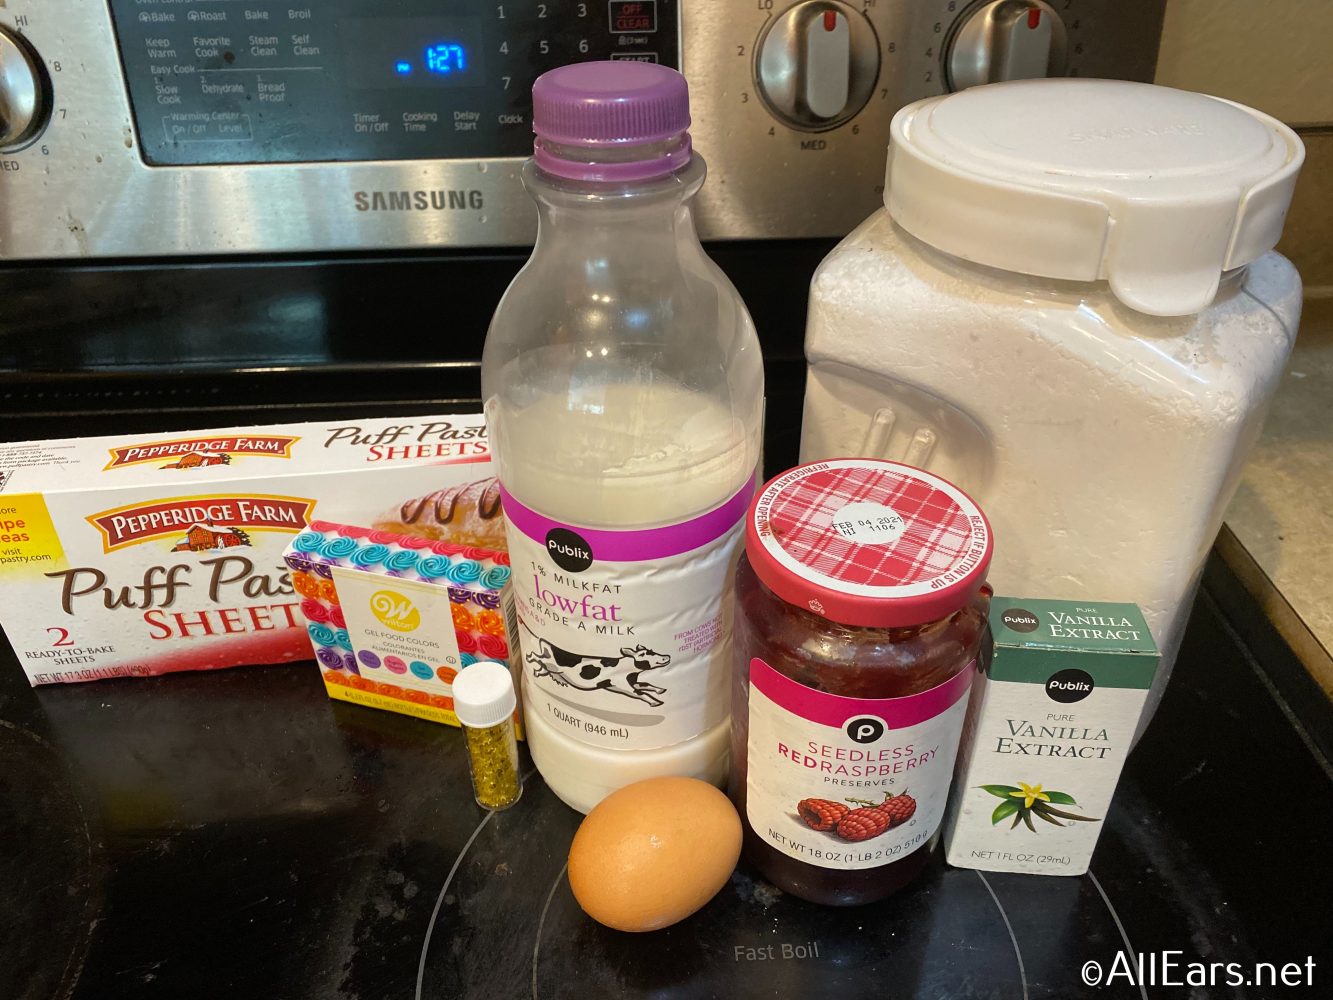
Ingredients
TARTS
- 1 puff pastry sheet or pie crust rolled out
- fruit jam (choose your favorite or mix a few together!)
- 1 egg
- 1-2 tablespoons of milk
ICING
- 2 cups powdered sugar
- ¼ cup low fat milk
- ½ teaspoon vanilla extract
- food coloring, of choice
- sprinkles, optional
Now that you have all your ingredients, let’s get to baking!
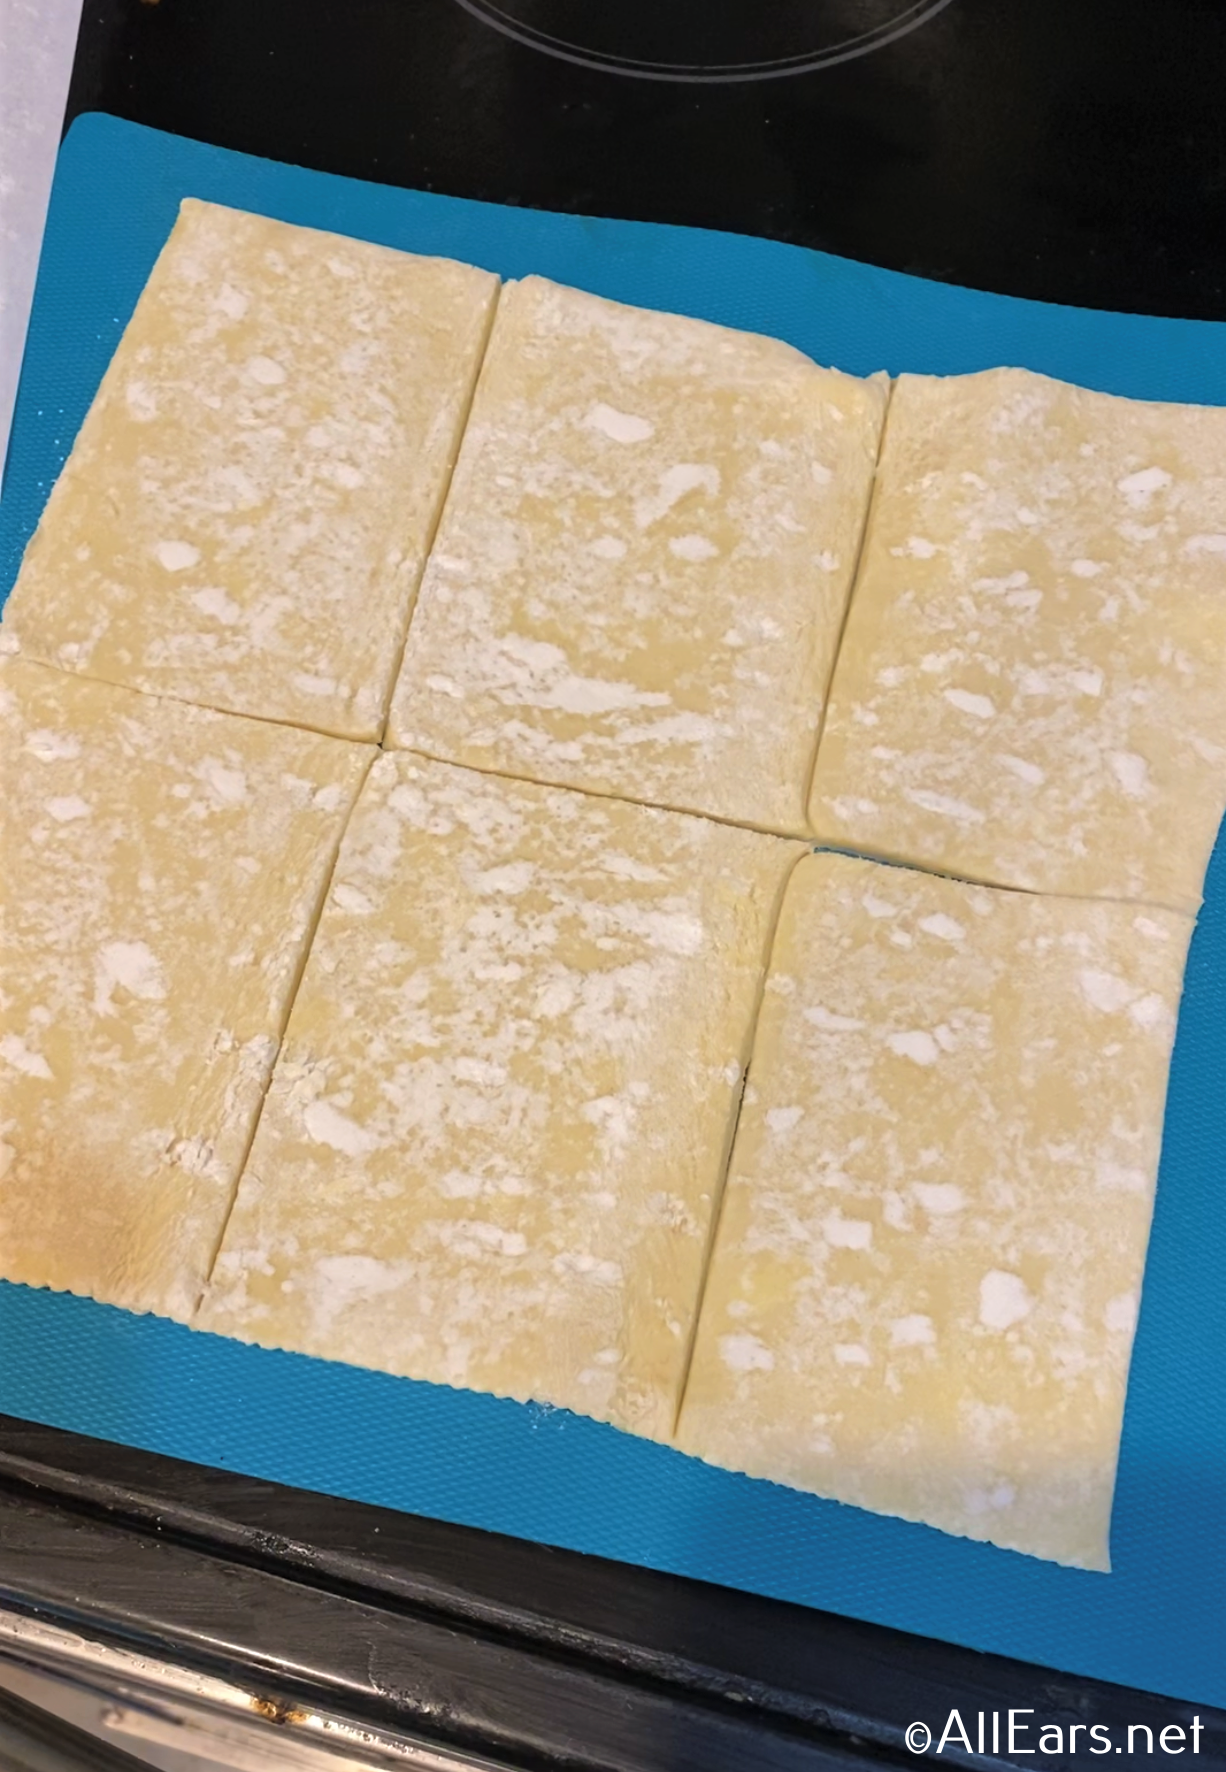
If you’re using puff pastry crust (which starts frozen), you need to set it out to thaw.
Once thawed, unfold it (or roll out the pie crust if that’s what you’re using), and cut it into 6 equal rectangles.
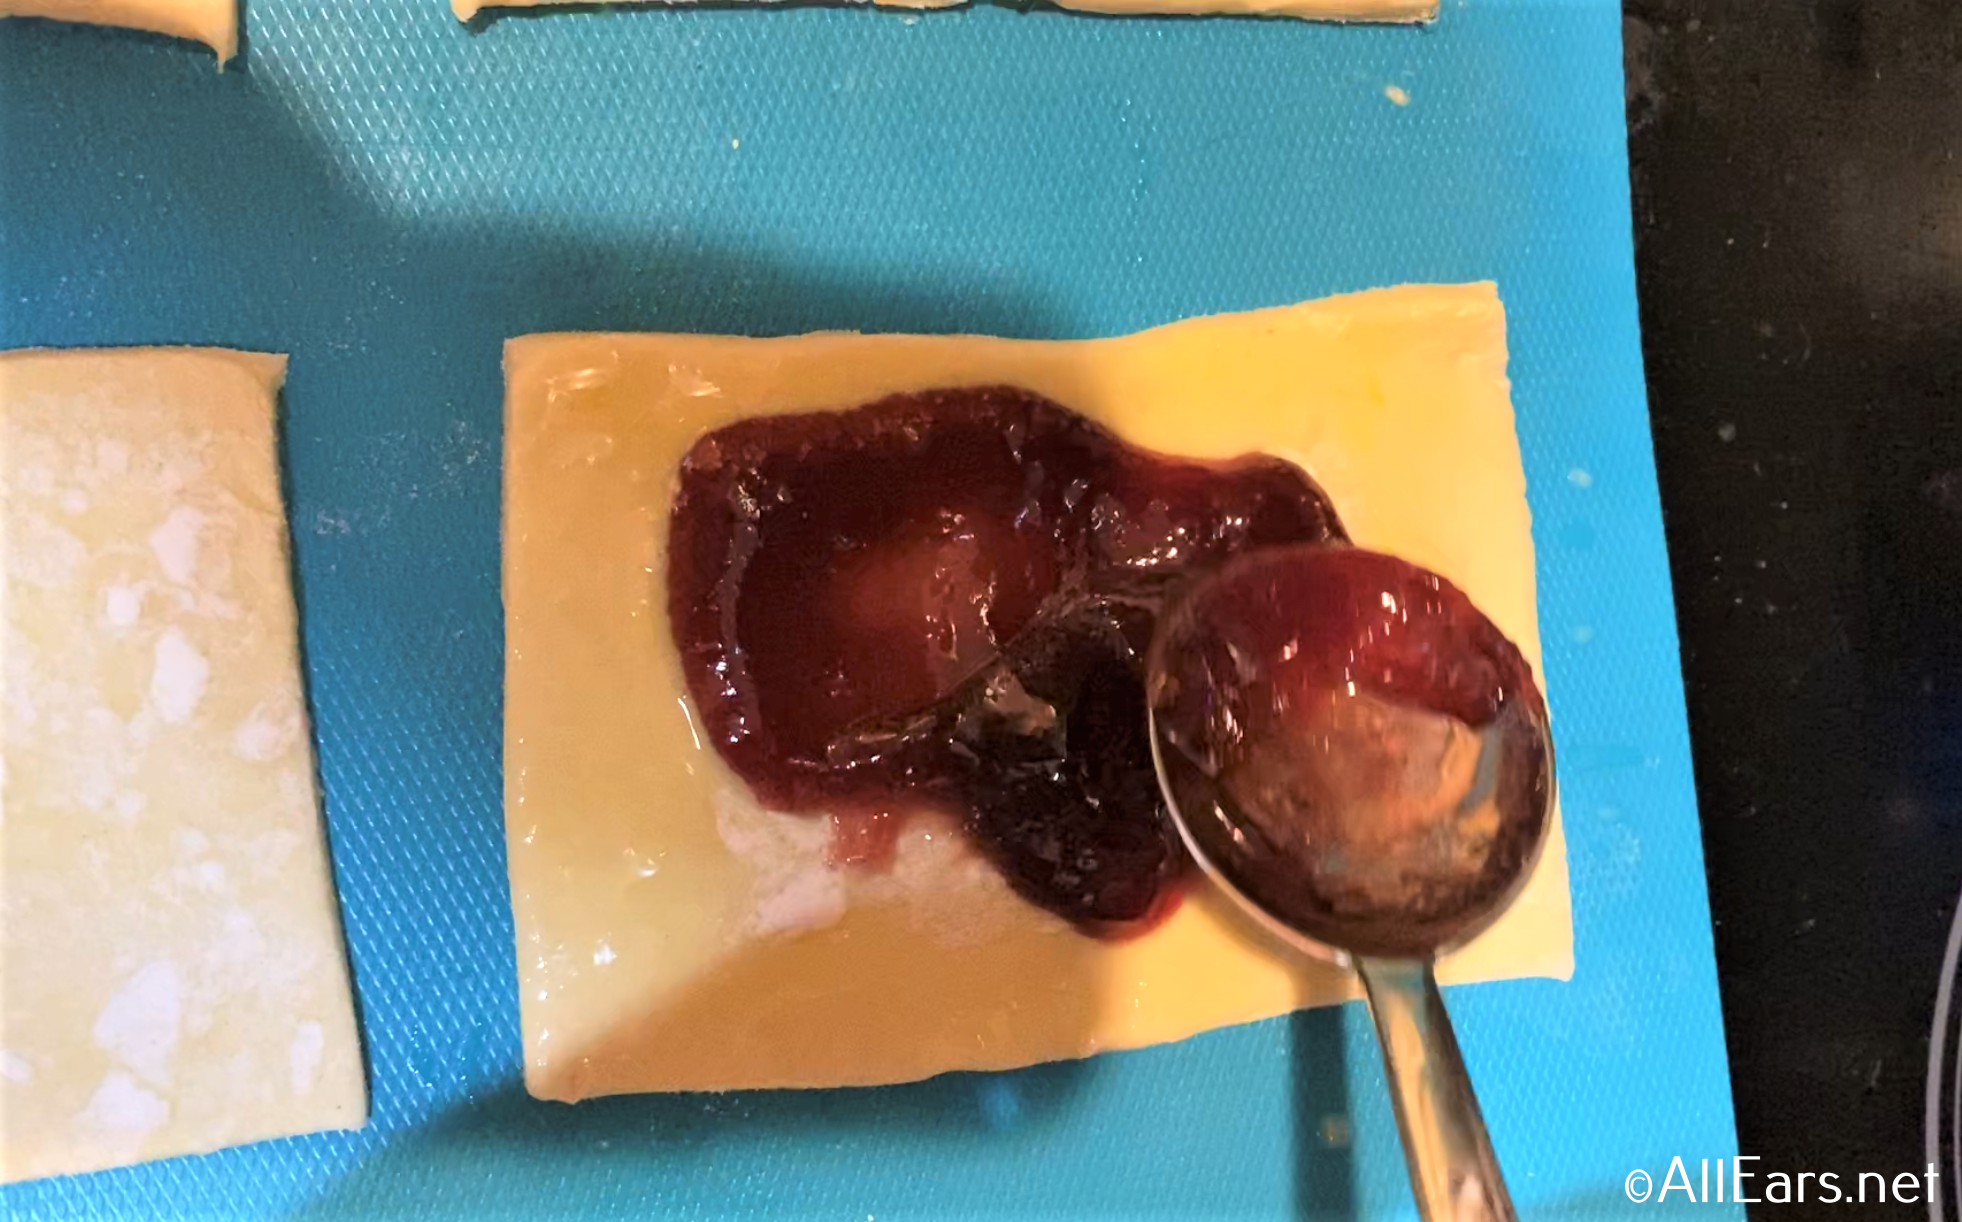
Next, make an egg wash by whisking one egg and 1-2 tablespoons of milk together.
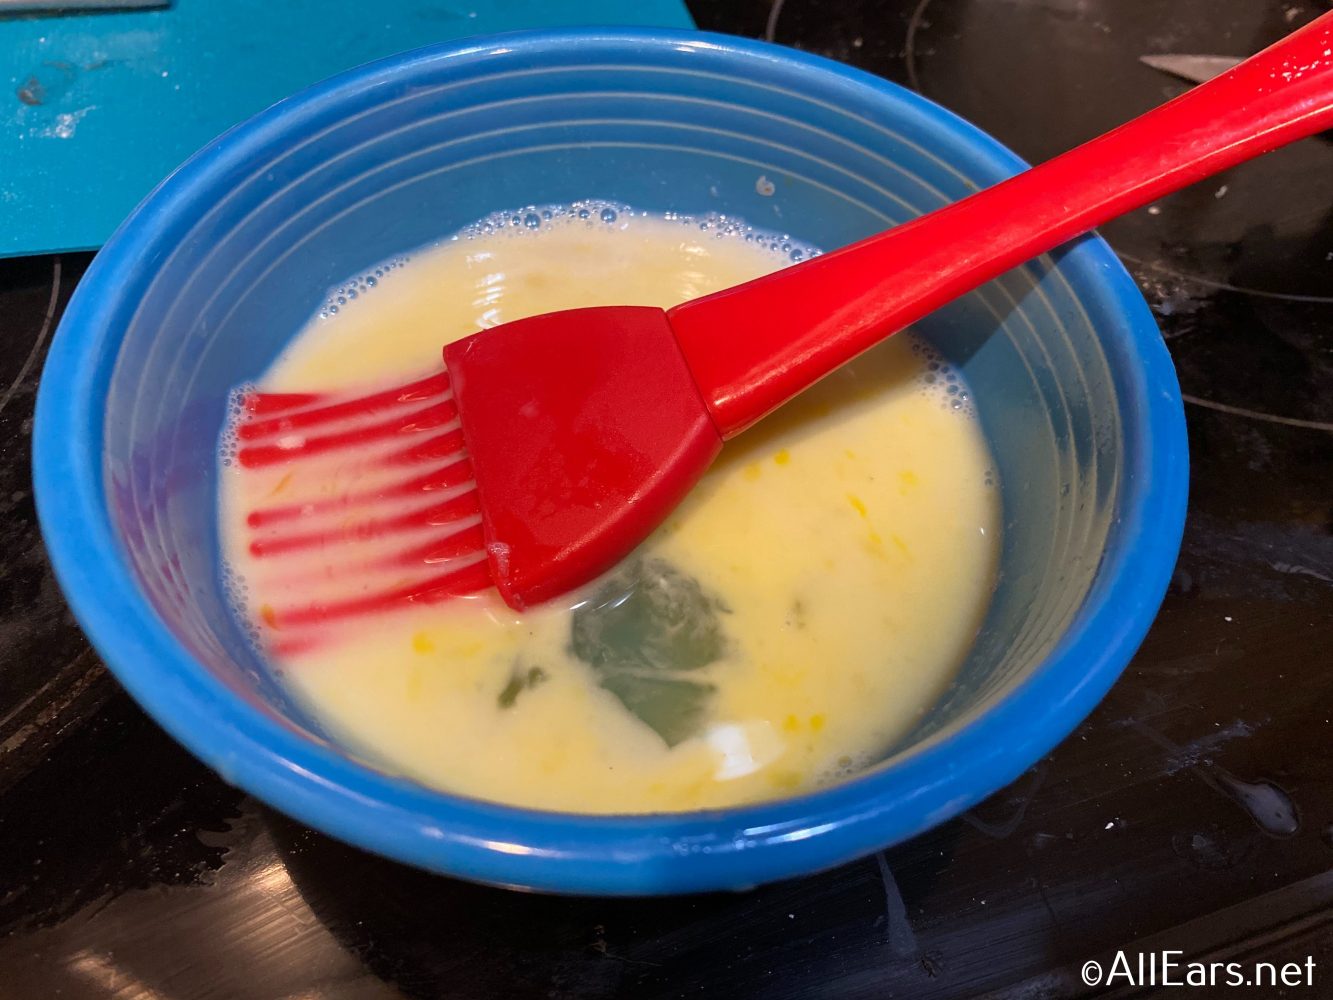
Brush it on the edges of half of the dough rectangles. Then fill those squares with the jelly of your choosing! I used raspberry, but you can pick your favorite — or even get crazy and mix a few together!
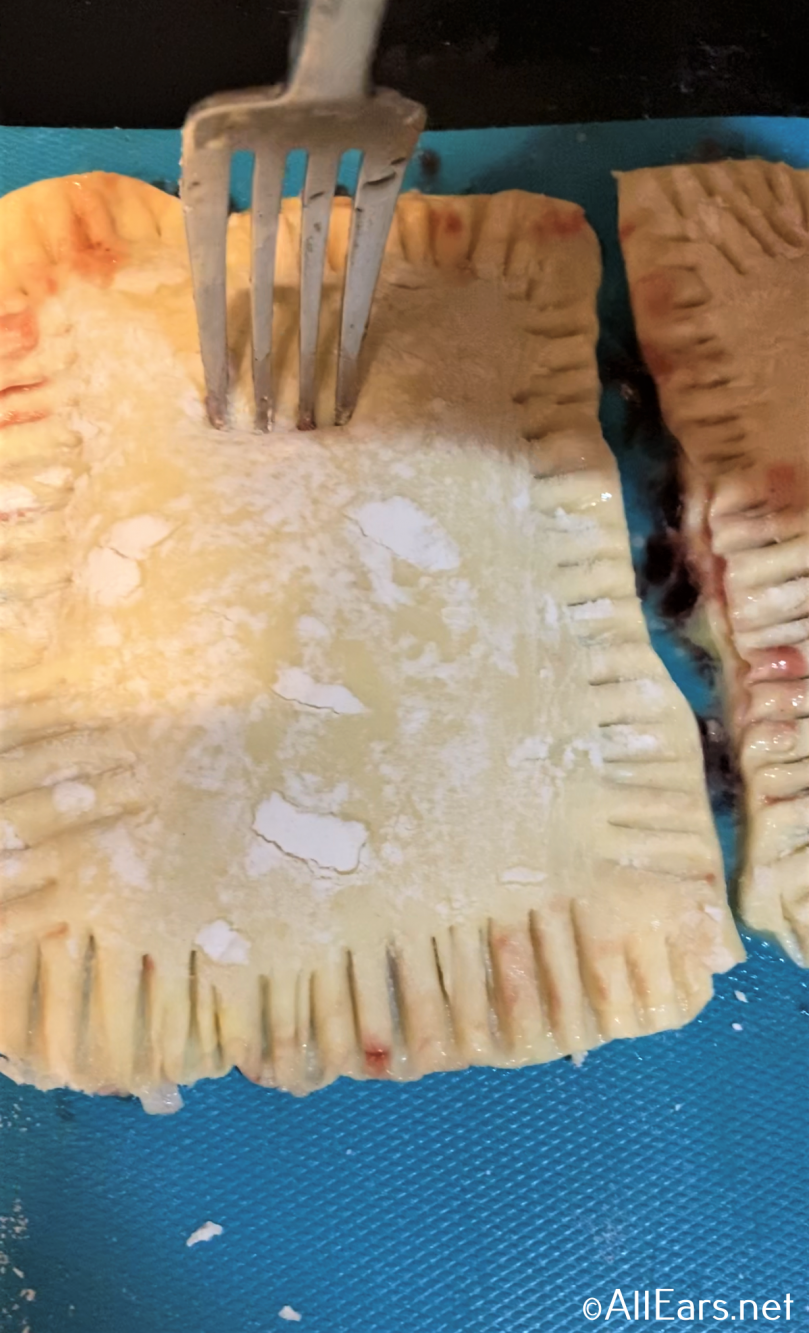
Place a second piece of puff pastry on top of each. Use your fingers to push the edges together, and then seal with a fork.
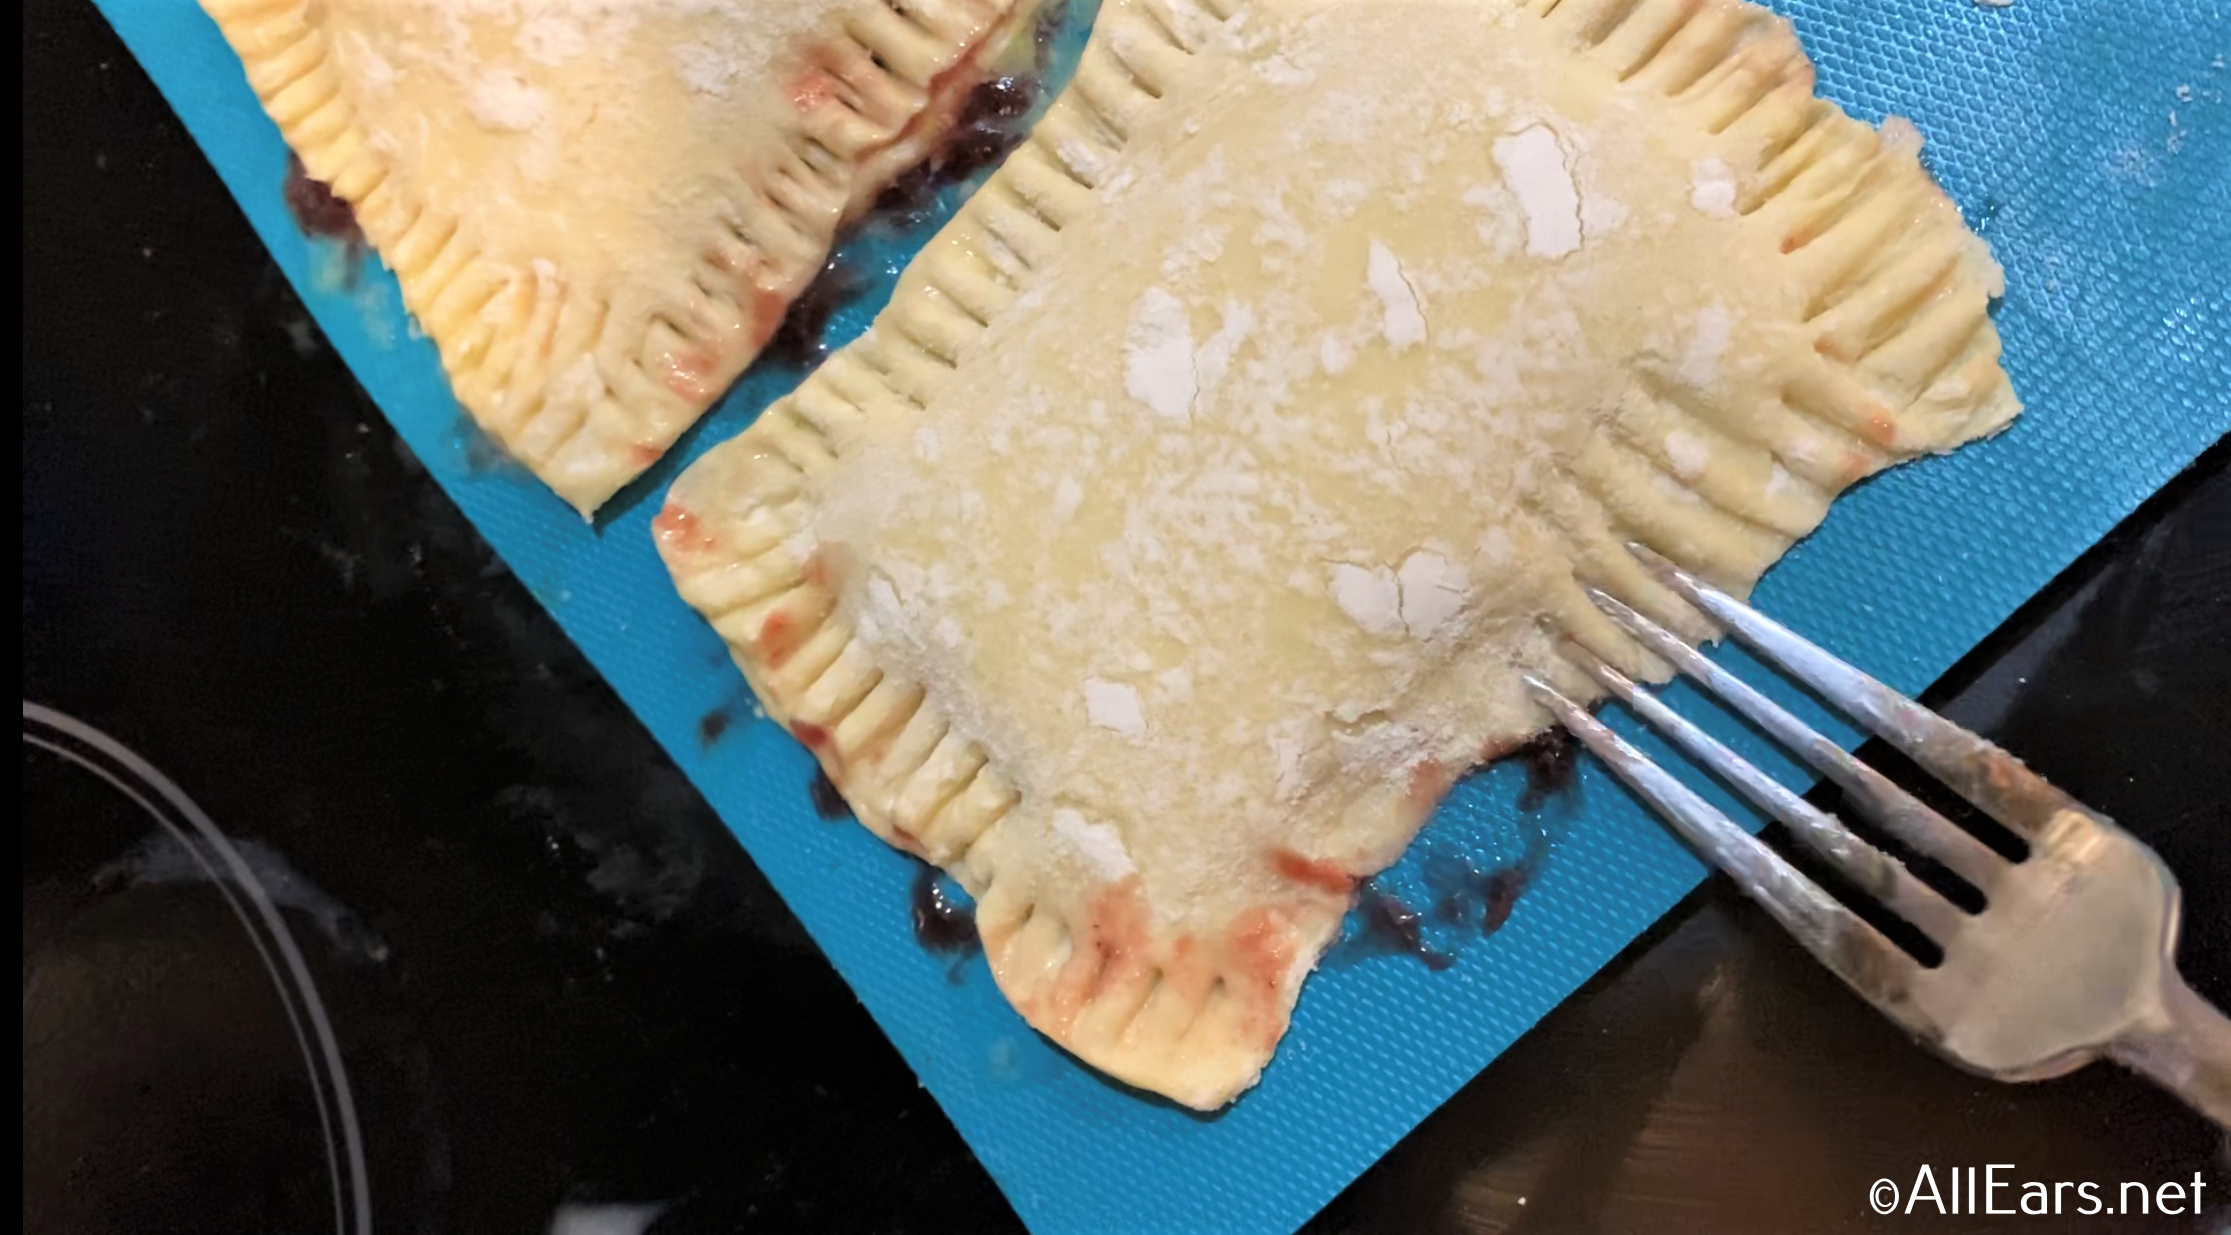
Make sure to poke a few sets of holes with the fork in the top of each pasty.
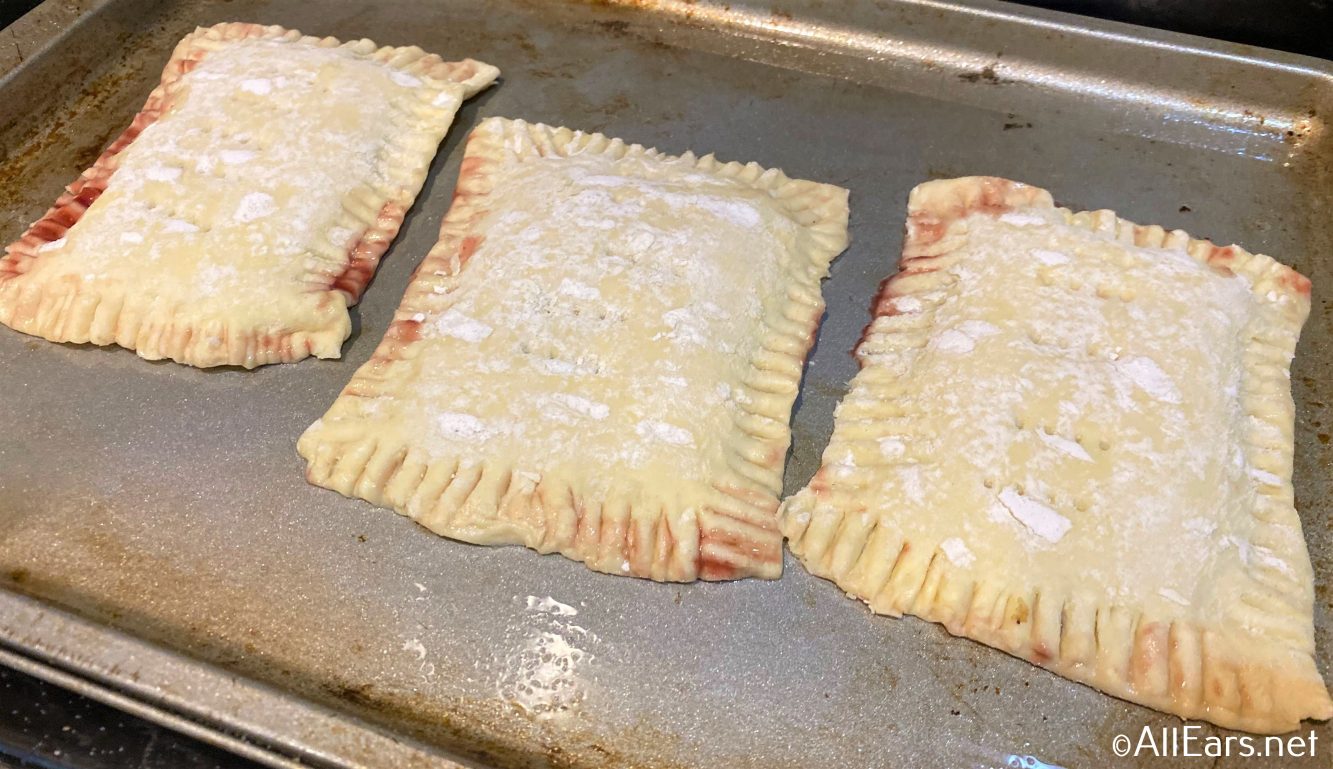
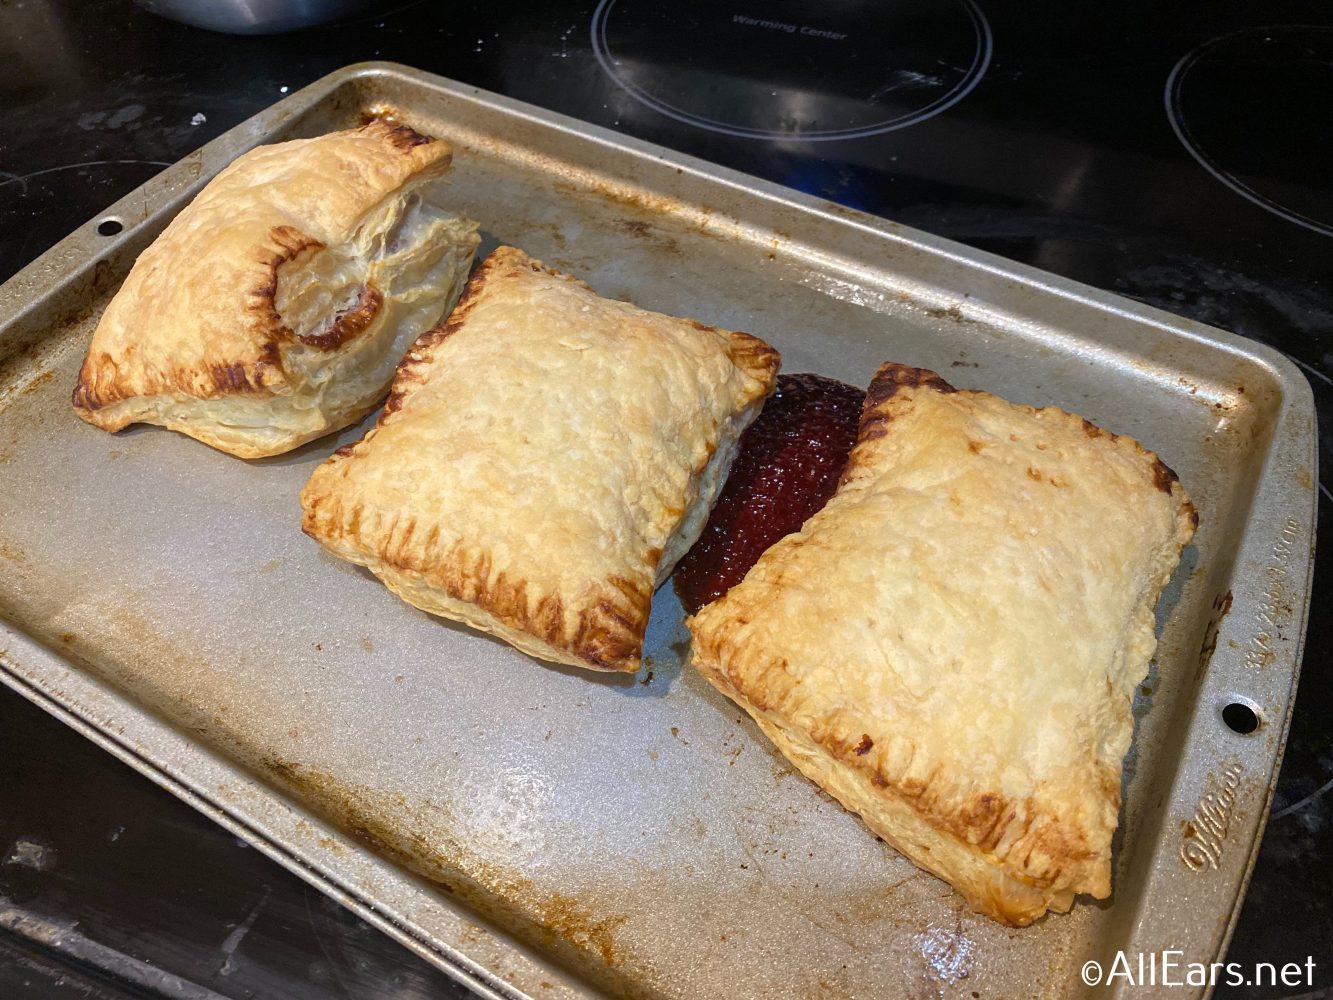
Time to toss those puppies into the oven! Bake on wax paper or a lightly greased cookie sheet for 20-30 minutes or until golden brown and puffy.
While pastries are baking, make your icing! Simply mix all ingredients together. Reminder: it’s 2 cups of powdered sugar, 1/4 cup of milk, and 1/2 teaspoon of vanilla. (This made too much icing in my case so you may want to cut this down.)
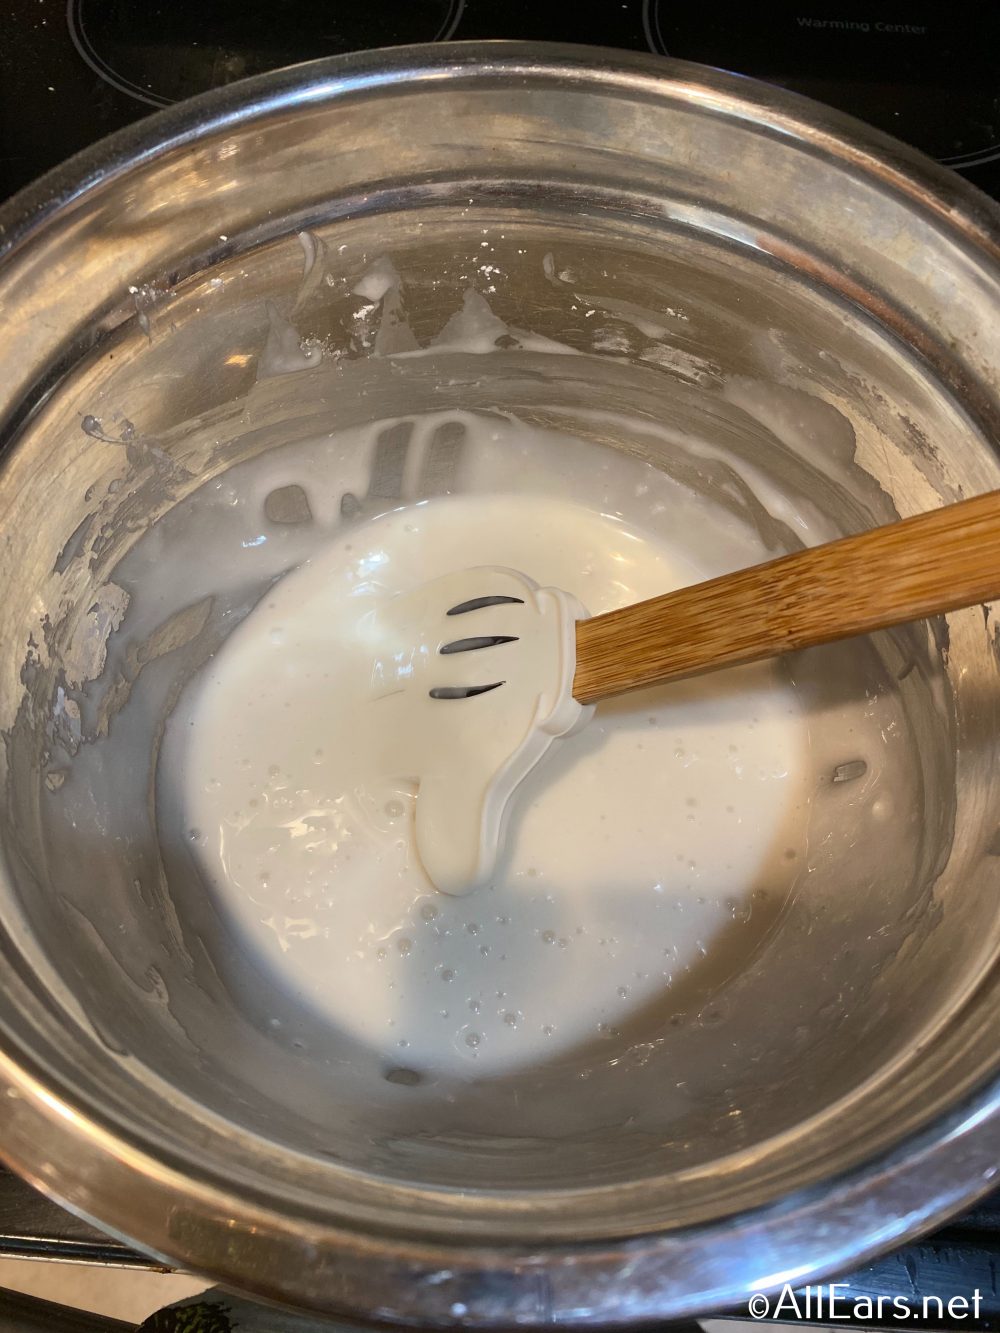
I mixed the icing first and then added the color so I could control it better. This is the fun part of this snack because you can choose your favorite color. Or hey, make more than one! Get creative!
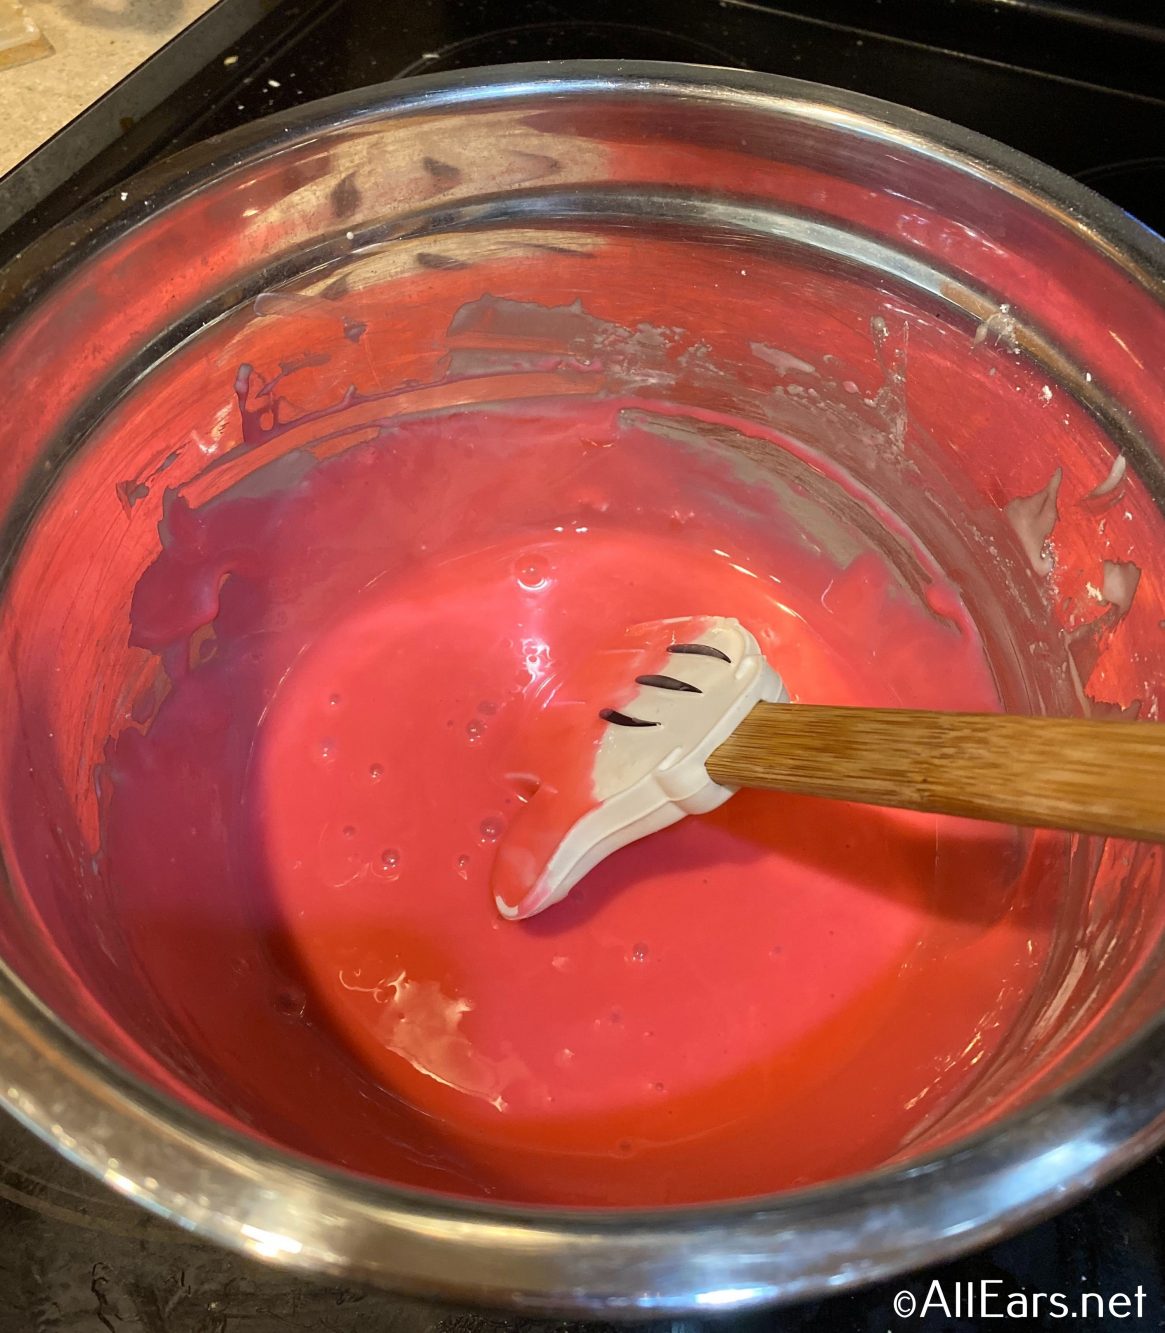
Here’s the NEON food coloring I ordered — it comes with awesome, fun colors!
When the pastries are done, let them cool slightly. Because I used puff pastry mine came out…puffy. 🙂 So I squished them down a bit with a spatula. I have a feeling if you use pie dough, this won’t be as much of an issue.
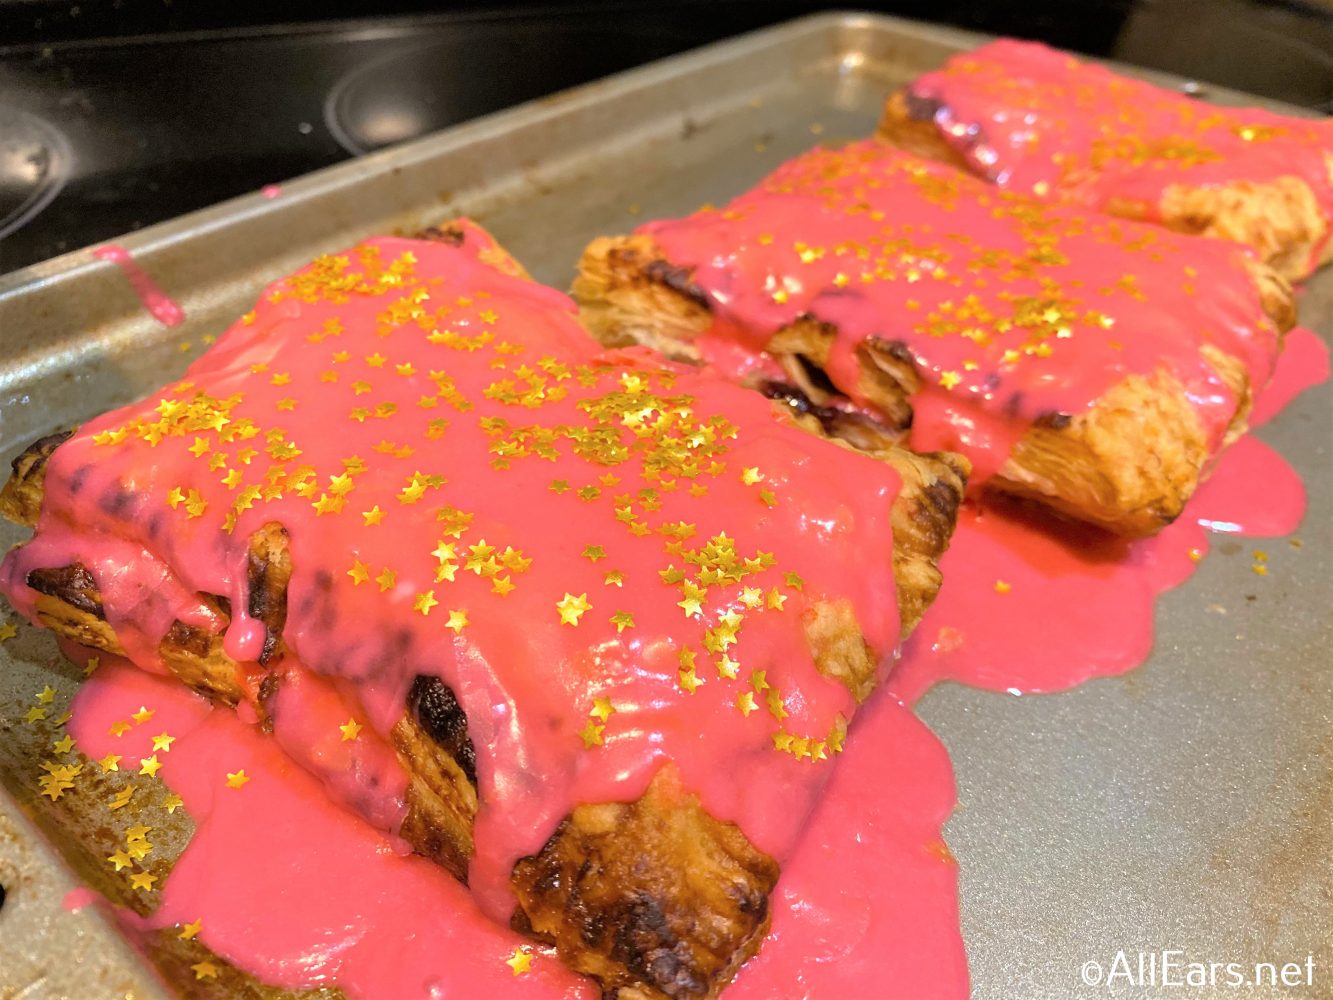
After they’ve cooled a bit, it’s time to frost! Drizzle on your desired amount of icing. Add sprinkles if you want to take it even further! (Here’s the glitter stars I used.)
To make it more fun, you could top with anything you want — mini m&ms, chocolate chips, crushed oreos. Go nuts! Hey…you could also use nuts.
Let the tarts sit for a bit so the frosting hardens. You may also choose to plate them, like it’s the last 10 seconds of Chopped.
And that’s it!! The very last step is to ENJOY your homemade treat!

(Also, I haven’t been to the salon in so long my natural hair color grew out. It’s pink because I’m actually a mermaid. Shh, don’t tell.)
I loved making these because they were really easy — even for someone as challenged in the kitchen as me — but super fun! They would be a great activity to do with kids, because they can pick their favorite jelly, color for icing, and sprinkles, and really make it their own!
Now it’s your turn to make your own Lunchbox Tarts! Be sure to share a photo and tag us on social media so we can see your delicious creations!
For more DIY Disney Eats, check out our HUGE Recipe Catalog!
Want More AllEars? You know you Do! Follow us on social media!


Trending Now
Disney World has just revealed ticket prices for 2027!
A brand-new theme park is about to attract guests from all over the world with...
This Disney World hotel perk is coming back next year.
You can't miss this LEGO sale at ALDI!
There are new flower LEGO sets coming to ALDI tomorrow!
Something very fun is happening at this Disney hotel on May 5th, and it includes...
Disney World has confirmed these hotel perks for 2027.
We tested three of the most popular walking shoes guests show up in (Hoka Clifton...
This Disney park survival kit is for everyone who forgot to pack for heat, rain,...
If you are looking for a Mother's Day gift for the Disney Adult in your...
There are three new perks coming to Disney World hotels this summer!
Head over to Amazon and find your new favorite Disney Loungefly!
A NEW Disney Dining Plan option for 2027 has been announced!
You can't miss these deals!
Disney just announced the opening date for Rock 'n' Roller Coaster Starring The Muppets!
10 changes are coming to Disney World this May!
We played Hide & Seek in Disney Springs, and you can find out who won...
Let's talk about this unnecessarily complicated ride rule at Magic Kingdom that Disney has yet...
I think I finally met my (dessert) match at The Cake Bake Shop Restaurant in...
Two NEW Disney Visa Cardmember offers have just been released!