


Ready for Christmas yet? Shopping all done? Gifts wrapped? Yeah, me neither. Here is something you can start doing at Walt Disney World today. Taking pictures of the fabulous Christmas decorations in the themeparks and resorts. With more coming by the end of November with the Osborne Family Spectacle of Dancing Lights at Disney’s Hollywood Studios, Christmas parades and special events held all through the holiday season.

How best to capture the millions of lights Disney Imagineers use is our topic for today and I have a some tips for you. Let’s start with something people often overlook as it gets dark so early in November and December. Take photos of lighting displays during the magic hour after sunset when the sky and lights become balanced. Though it’s not a Christmas display, the photo of the Planet Hollywood sign demonstrates what I am talking about here. I used AWB (Automatic White Balance) here while others will say to switch to a Tungsten or Incandescent white balance for best results. A tripod would be useful but I get good results shooting down to a quarter second (1/4s) with image stabilized lenses. The key is to wait for the sky and lights to come together. Keep taking shots until you start to see the results you are looking for. The provided link will go into more detail.
Now you are saying to yourself, who has time to wait for the light at Disney besides it’s mostly full night when you are there. The lights are so pretty, there’s got to be a way to photograph them. Well, you are right. Below is a technique you can use called “Dragging the Shutter”. This technique is used a lot in wedding photography to allow for room lighting to be seen instead of stark dark backgrounds in large banquet halls.

Nikon D70/18-70D, 1/30s, f/4.5, ISO 400, +0.6 EV, 46mm Focal length
On camera and external flash are normally synced at shutter speeds between 1/60 and 1/250 of a second. When you use a flash and purposely use shutter speeds below the normal flash sync speed, it allows more time for ambient light to be captured by the camera’s sensor. This gives a more pleasing and natural look to the photograph as you see on the right hand photo of the Donald Duck topiary I took at Epcot during Mousefest 2006. Both photos were taken the same way except for the use of flash. This can also be called Slow Sync in your camera manuals.
Using flash for photos of large areas is not practical. For best results, we have to use long shutter speeds (of less than 1/60th of a second), high ISO speeds of 800 or greater and find a way to stabilize our cameras. In the photo of Main Street USA, I was able to do all three.

Magic Kingdom’s Main Street USA all decked out for Christmas.
Nikon D70/18-70D, 1/20s, f/4.2, ISO 1600, +0.3 EV, 35mm Focal length
As you can see, I am using a very high ISO of 1600 (my camera’s highest available), a shutter speed of 1/20 of a second and I stabilized the camera by leaning against a garbage can and using my elbows to form a human tripod. I took several images to make sure I had a few which would come out sharp. If I had a real tripod, I could have used even slower shutter speeds and smaller apertures but I’ll leave that discussion for another time.
By using these tips both at Disney or at home, your Christmas light photography will make your friends and family envious of your talents. Click this link for more tips on capturing the spirit of Christmas photographically. That’s my gift to all of you!


Trending Now
Trying to make it through a day at Disney World with wet shoes? That’s one...
We've got a huge Piston Peak update!
Our hearts are breaking over the fate of this beloved Disney ride.
This is easily our favorite thing to toss in my park bag!
Here's everything closed at Universal Orlando in August 2026.
This Epic Universe attraction has a secret mode! Here's how to unlock it.
Things will be changing in EPCOT soon.
There's a part of Disney transportation that just got more difficult than it was last...
You can't miss this two-week long vacation for completely free!
This Disney World hotel is absolutely worth going out of your way for because of...
Tons of Disney Loungefly bags are on sale on Amazon!
There are so many hidden details in The Beak and Barrel, but these are some...
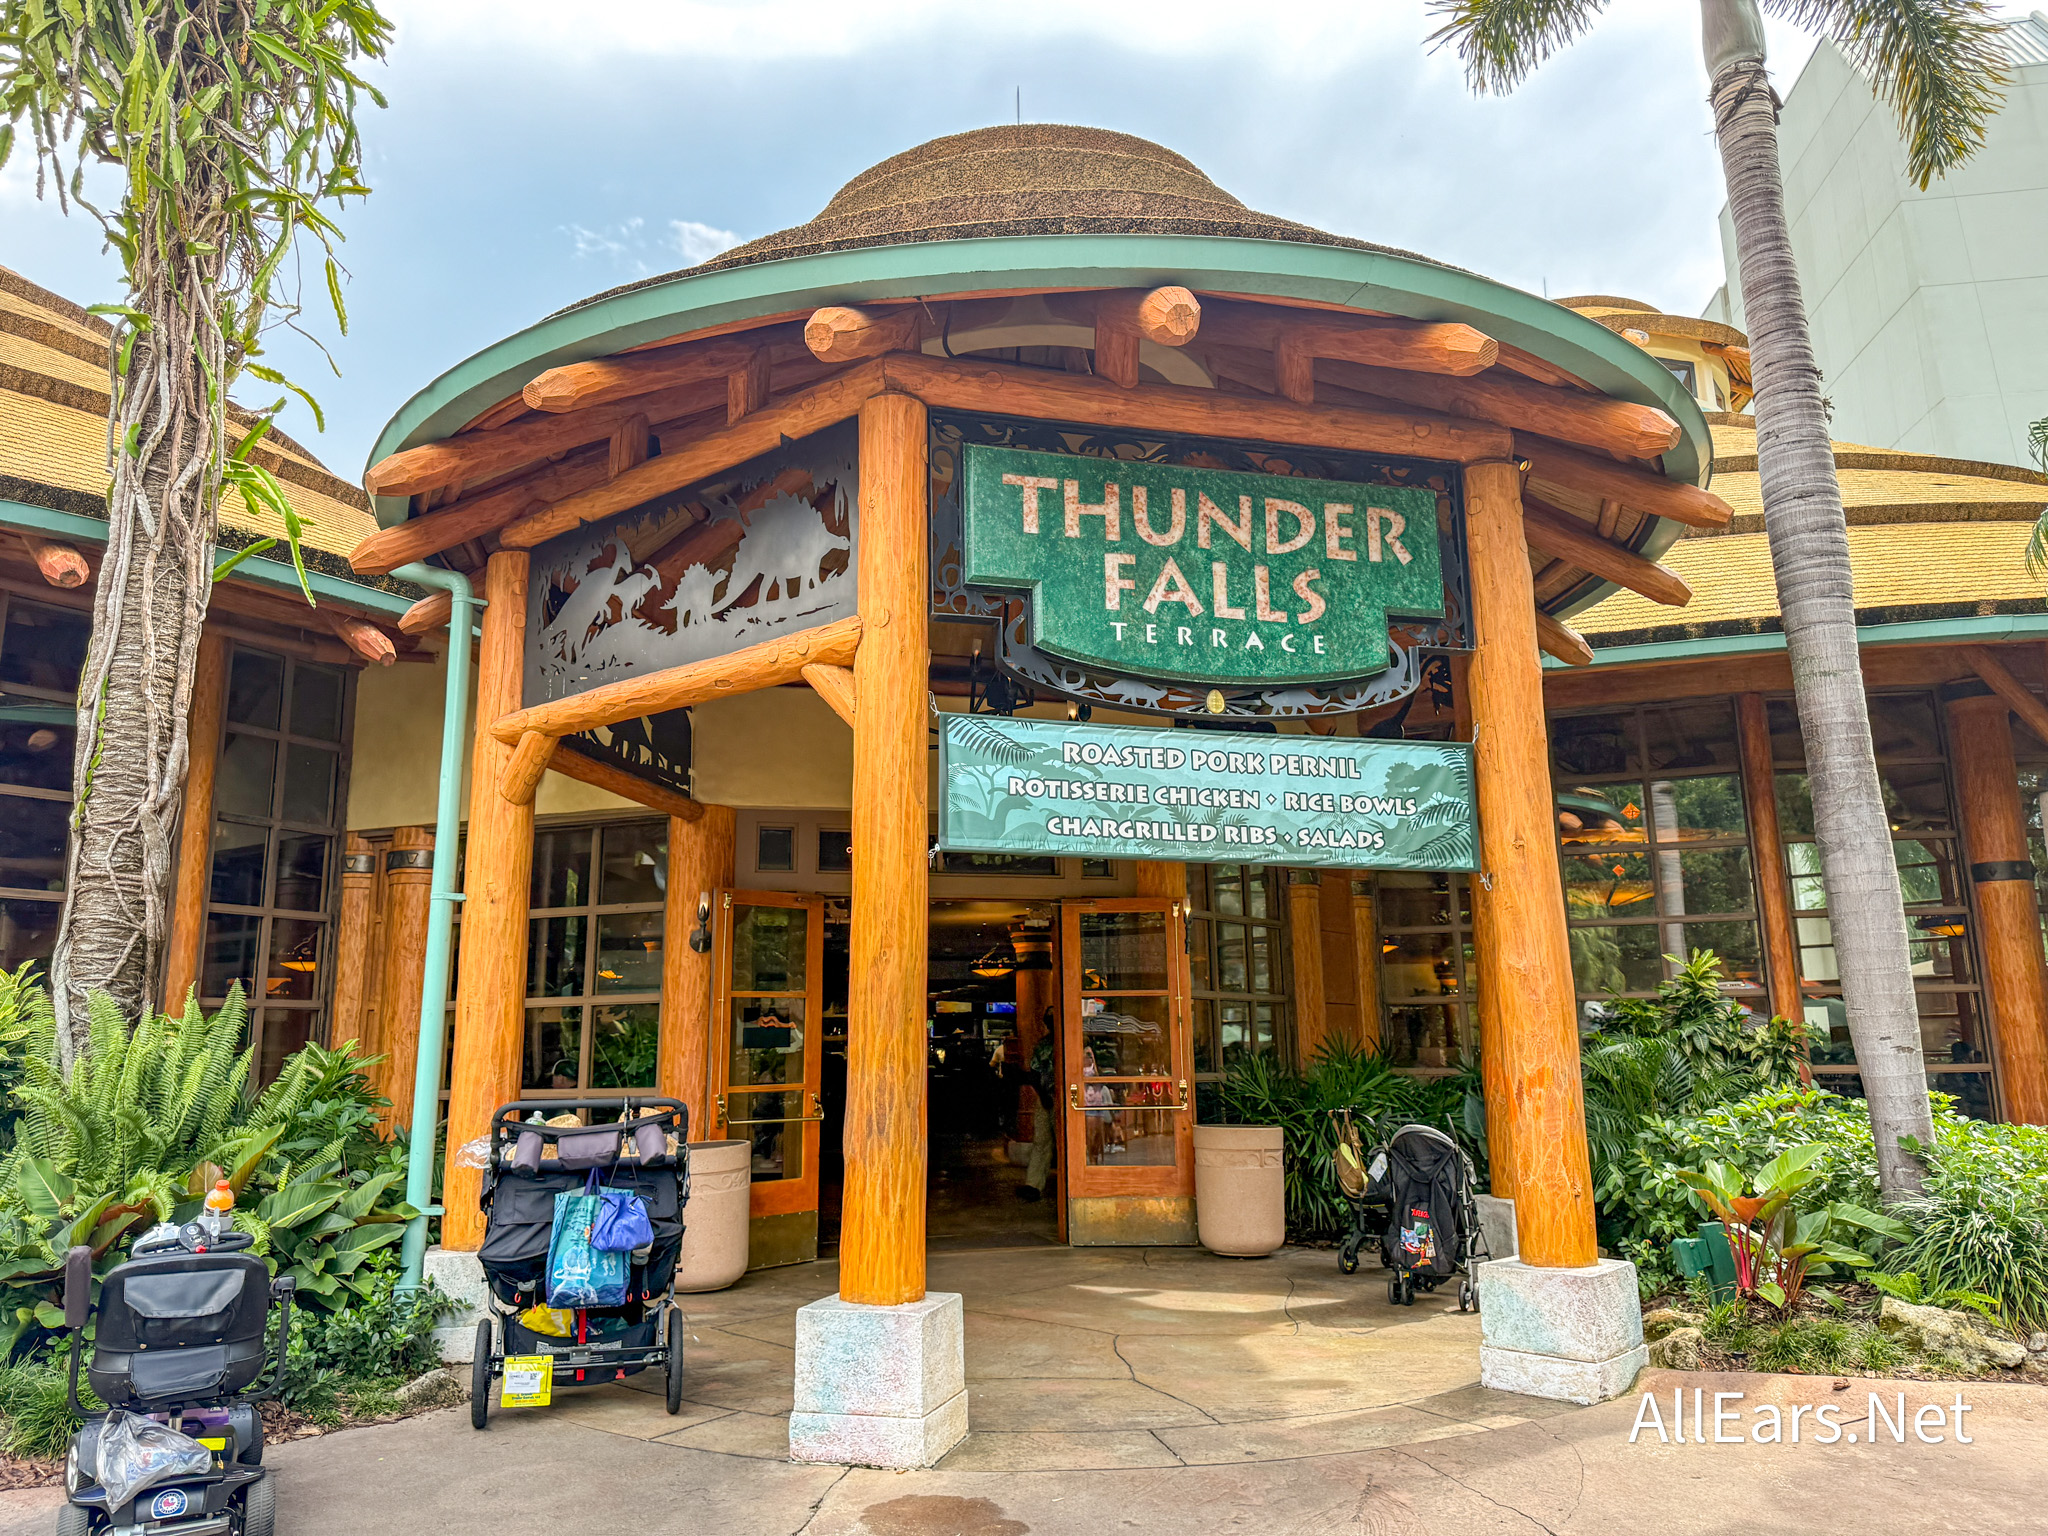
Did Universal Orlando just quietly close a restaruant?
Tons of new perks just arrived for DVC members!
We just got some BIG news about Disneyland's spooky guided tour!
The best way to get through a day at the "Most Magical Place on Earth."
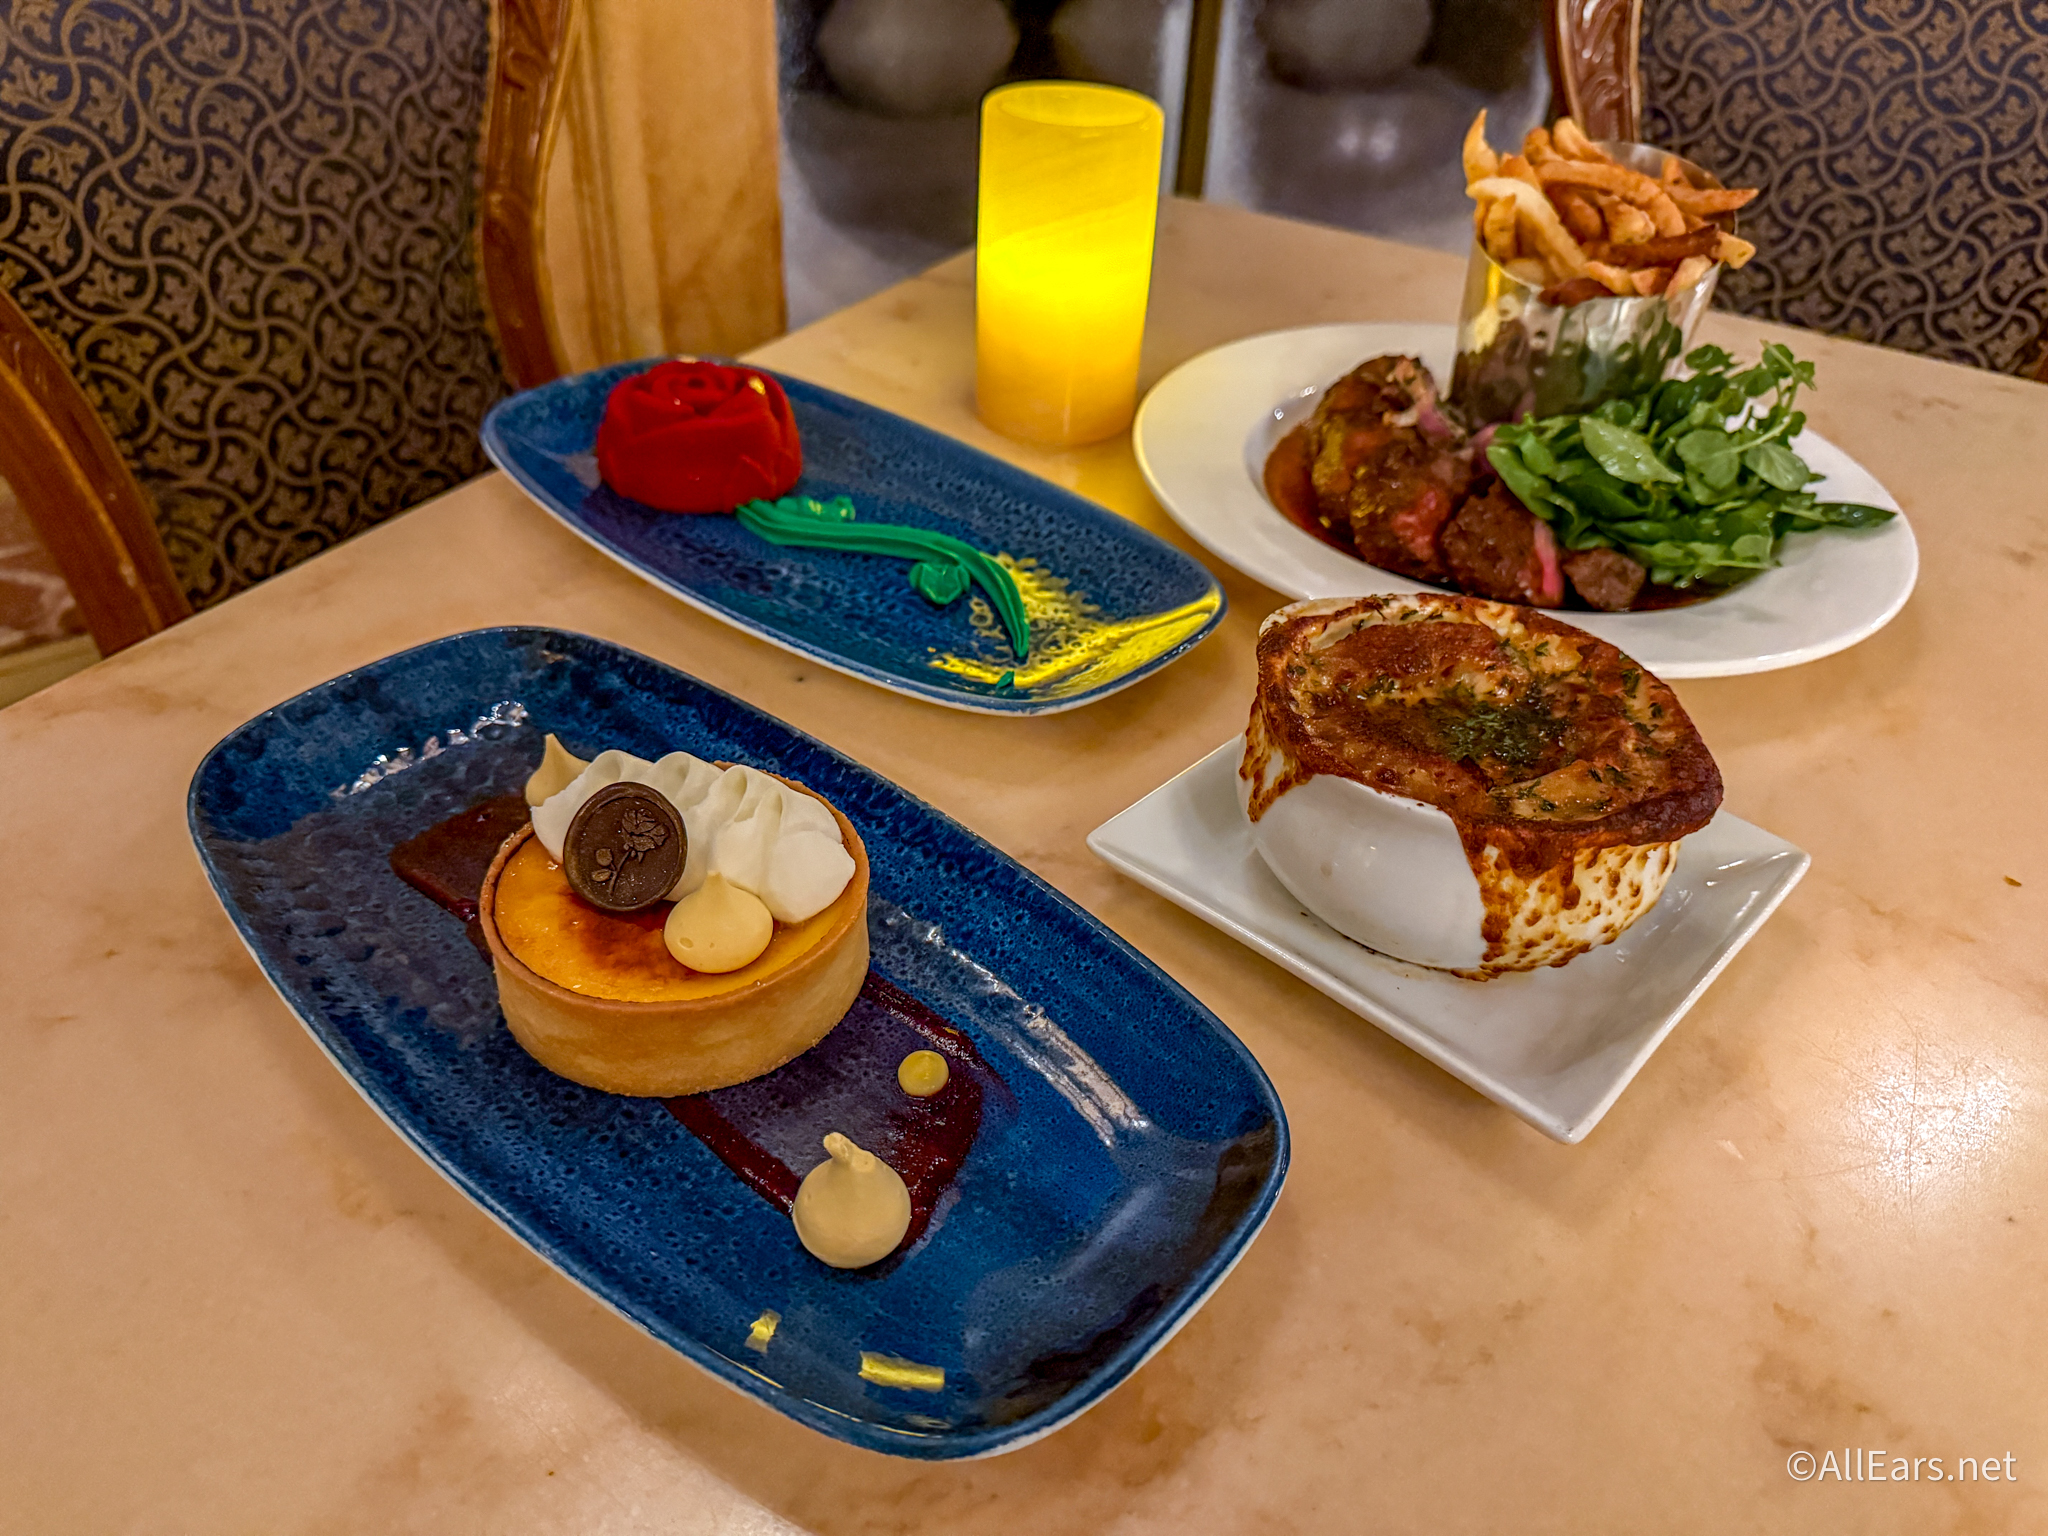
There are NEW menu items at Be Our Guest Restaurant in Magic Kingdom, and we...
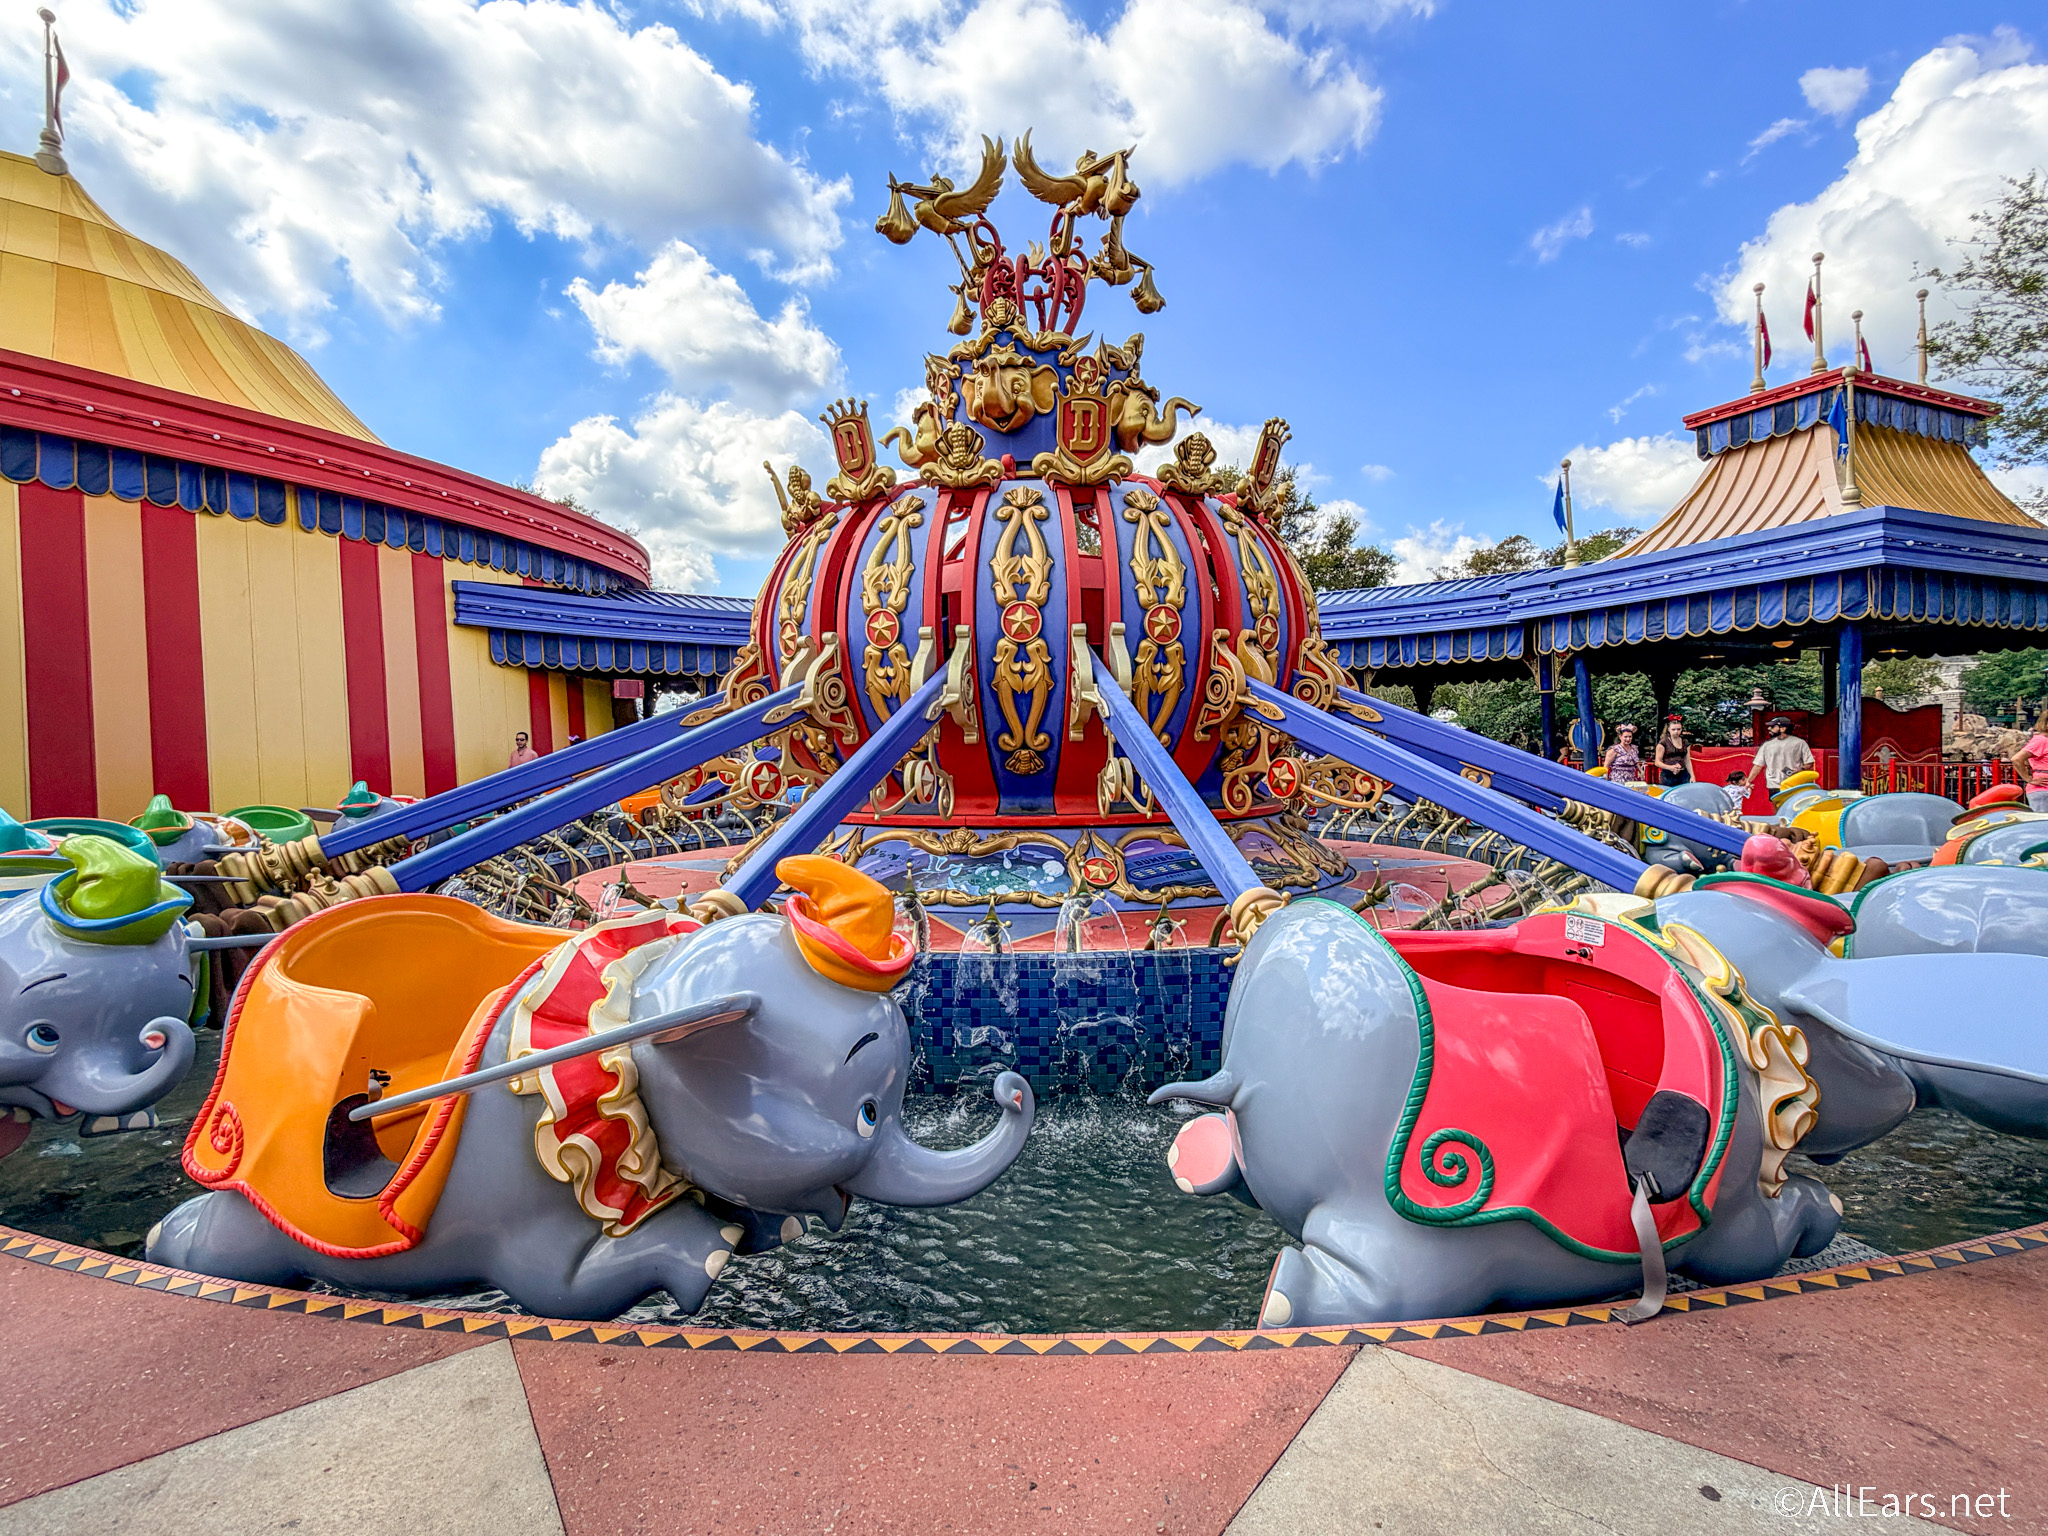
These ride vehicles are not kind to Disney Adults...
There has been one problem with some popcorn buckets -- the cover can fall right...
Are big changes coming to this Disney World icon?