


When you use Auto mode with a digital SLR camera, the programing in the camera will do its best to give you a “good” exposure. Even in Program mode if you do not understand how to use it, the camera will give you a “good” exposure. I put good in quotes because, while you will get “good” exposure, I would say 9 times out of 10, the exposure will not be the one you were looking for.
I say this because what our eyes see and what the camera sees are very different. The camera in Auto or Program mode will go for safe exposures meaning it will give you the fastest shutter speed first before setting the Aperture (which controls the depth of field or area of focus) and ISO which controls how grainy the final image will be.
By using Program mode correctly or changing to Aperture (A) mode, you take control of the depth of field. Below are three examples where I took control of the Aperture. I wanted a large area of focus to cover from the front to the back of the image. This would put everything in focus. Many travel images you see in magazines and on websites are photographed this way.
The first was taken from a Friendship boat leaving the Swan & Dolphin Resort dock heading to Epcot’s International Gateway. I wanted people to know where I took if from and the relationship between the boat and the resort.

Dolphin Resort from a Friendship boat.
Nikon D700/28-300VR, 1/125s, f/16, ISO 400, EV +03, 28mm focal length.
The Tree of Life in Disney’s Animal Kingdom was taken in mid-afternoon. I used five bracketed photos to create the HDR image to make sure to cover the full range of light from the dark shadows under the tree to the bright sky. Each photo was taken with a small aperture for maximum depth of field. Every plant in the foreground is as sharply focused as each carved animal on the Tree of Life.

Tree of Life in Disney’s Animal Kingdom.
Nikon D700/28-300VR, f/16, ISO 200, EV 0, 28mm focal length, HDR image.
I photographed a few trains at Big Thunder Mountain Railroad in the Magic Kingdom before I got the engine positioned at the top of the grade with the large rock formation behind it. A small aperture was used to keep sharp focus from the train back to the towering rocks. Well, except for a little blurring of the train since it was moving which was what I wanted, too.

Big Thunder Mountain Railroad in the Magic Kingdom.
Nikon D700/28-300VR, 1/160s, f/16, ISO 200, EV +0.3, 28mm focal length.
Each of the photos above were taken at an aperture of f/16. That is a good setting to start with. If you use a Point & Shoot camera, look for the Landscape mode setting for the same effect.


Trending Now
New Disney Hallmark Keepsake ornaments are online right now, and you'll want to act fast!
Is rope drop still worth it at Disney World? Our readers have THOUGHTS.
One big closure happened in Disney World this past week, but we're more excited about...
These are the go-to park bags for Disney Adults in 2026!
A new lumpia stand just opened in Downtown Disney!
We've got NEW Disney+ subscriber perks to share this month!
This is the one thing I always forget to do when visiting Disney World, no...
Disney World just won another HUGE property tax lawsuit.
These rules will help you collect the best Disney ornaments while finding ways to save...
NEW HOKA colorways have landed online!
We can't believe how many people still make this HUGE mistake in Disney World!
The 2027 Points Charts for Disney Vacation Club members were just released -- time to...
Shockingly, this summer may be the best time to visit the Disneyland Resort!
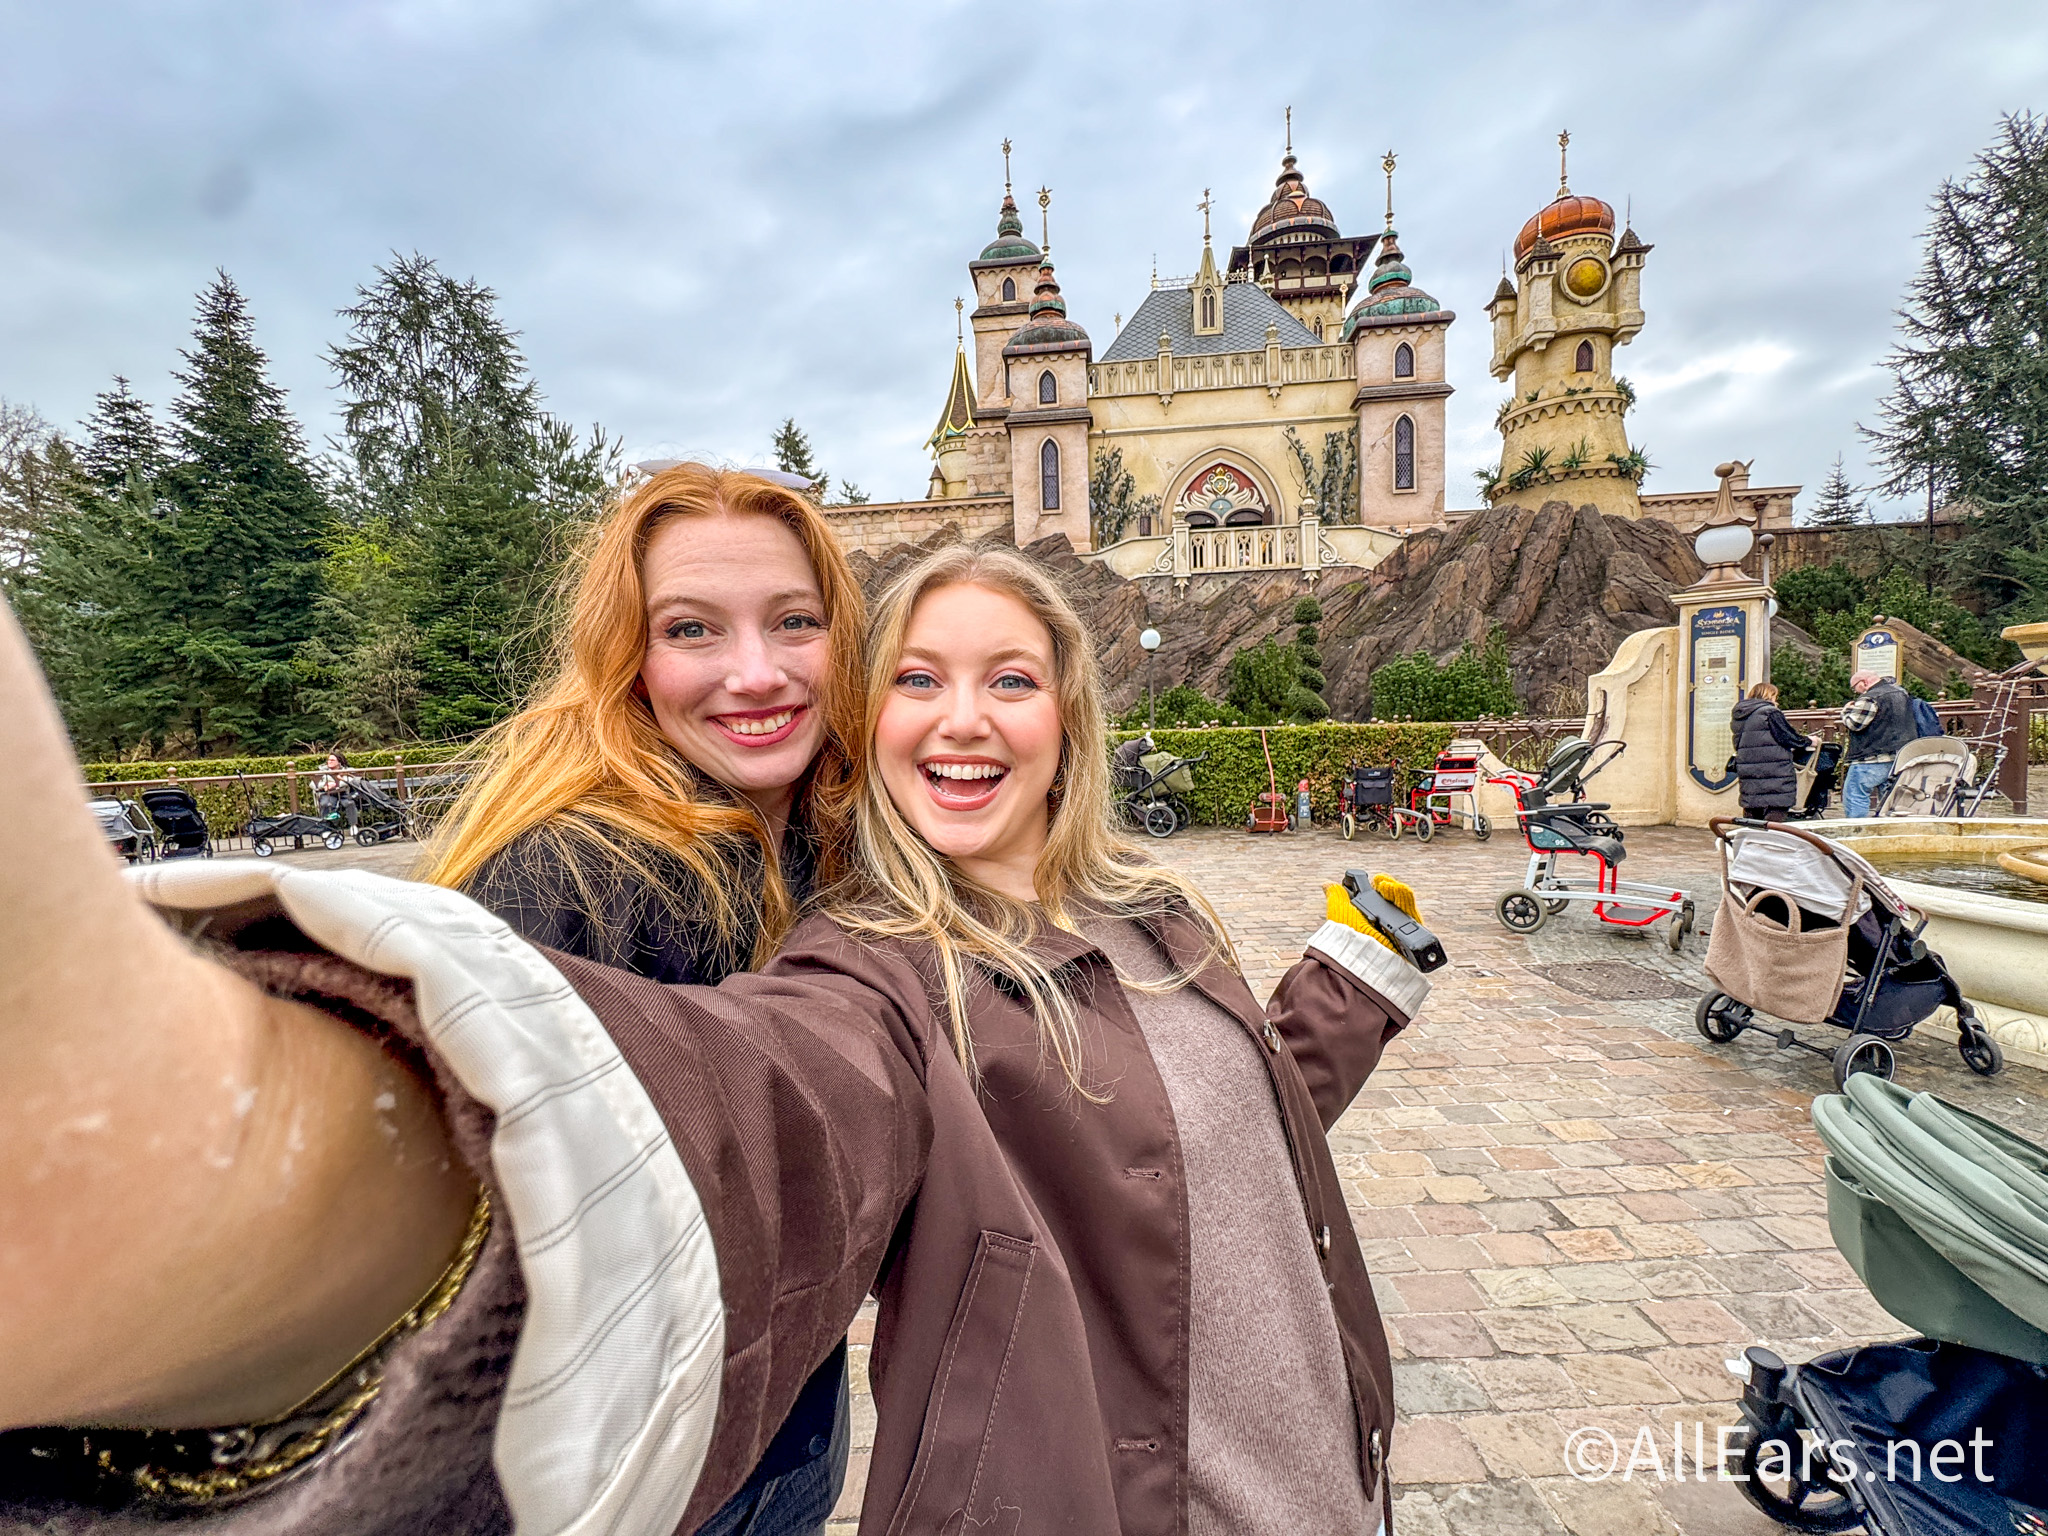
A NEW roller coaster is coming to Efteling in 2029!
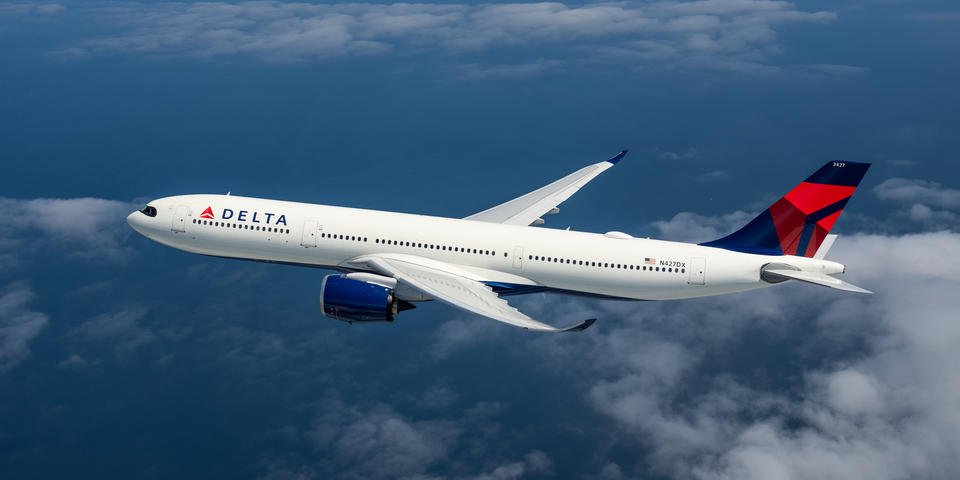
Delta Airlines is now offering a new tier of seating called Basic Business, and here...
The wait times trend we've seen for this Disney World park have completely been turned...
These Disneyland and Disney California Adventure rides won't be available to guests in July.
If you've had your eye on any of these Disney-themed builds, now's the time to...
Before you book your trip to Disney World in 2027, here are six important rules...
ALDI has tons of Disney World summer essentials coming next week!