


A great many vacationers depend upon their point and shoot camera’s Auto setting to make all the right decisions for them, photographically speaking. Within the self-regulating and all-powerful mode, there are few additional options for the owner. One such set of privileges is the election between ISO Auto and ISO Hi.
ISO (also referred to as ASA) is the film speed and the difference between using ISO Hi and ISO Auto can make or break your shot.
Stage lighting changes frequently. Spotlights can illuminate one subject fiercely. Actors move. Lights move. These are just a few of the obstacles one faces when shooting live theater. I took my Canon PowerShot SX100 IS to Finding Nemo: The Musical at Disney’s Animal Kingdom to illustrate to you the difference between ISO Auto and ISO Hi under challenging circumstances.
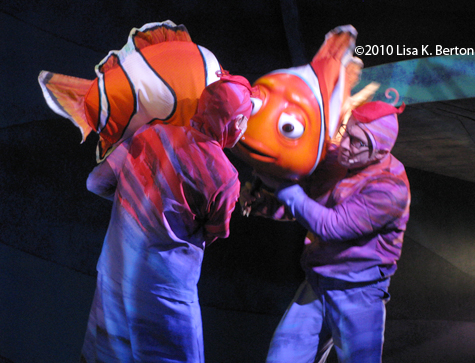
The above photograph was taken with the camera set to Auto with ISO Auto. You can clearly tell that the actor (and Marlin) on the right is out of focus and the actor on the left, who was standing still at that precise moment, is in focus. The lighting is consistent on both of them yet with a lower camera-selected ISO (film speed), the camera is unable to freeze the action.
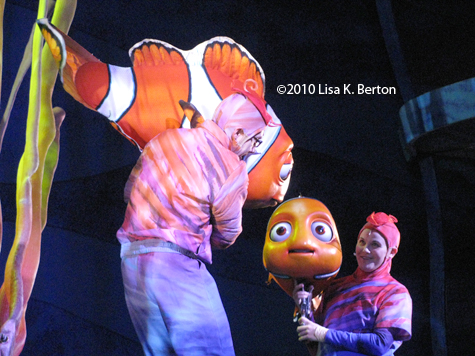
The first thing you notice is a huge difference in lighting. It’s much stronger on the left, literally washing him out while Nemo and his puppeteer are basically in shadow. My camera was set to read the entire image’s amount of light and this is the balance it found between two extremes. Here, ISO Hi was used and it did manage to capture Nemo and friend under low lights.

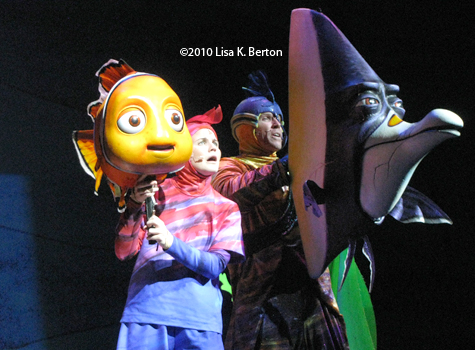
Again, using ISO Auto we now face not just a blurred image but one that’s blown out. The reason this happened is because using a low ISO (80, 100, 200, 400) the camera must compensate by using a slow shutter speed. With the lens open longer to allow more light to hit the sensor, the chance of freezing motion is pretty much null.

ISO Hi helped me get a better photo. These actors are not sharply focused but this is a huge improvement over the previous photo. At least now we can see most of their faces.
The last set of images to examine. This shot taken with ISO Auto turned out the best in terms of clarity out of the previous two. In a photo software program, one could darken the actress’ highlights and lighten up Gill and his puppeteer a smidge. Again, there’s a difference in lighting which the camera tried to balance.
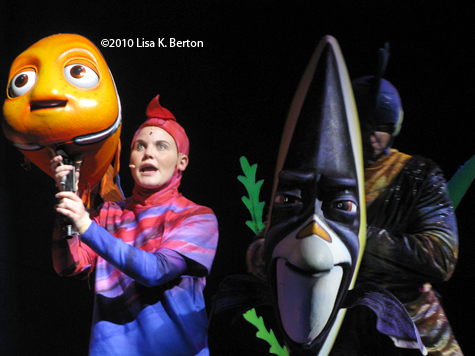
It’s nearly perfect. She’s sharp and properly exposed as well as Nemo and Gill but the co-star can’t be seen. In a case like this, you could crop him out and have yourself a photo worth showing off to friends. Congratulations, you found Nemo (and ISO Hi).


Trending Now
If you've been thinking about getting some HOKAs for your next Disney World trip, seven...
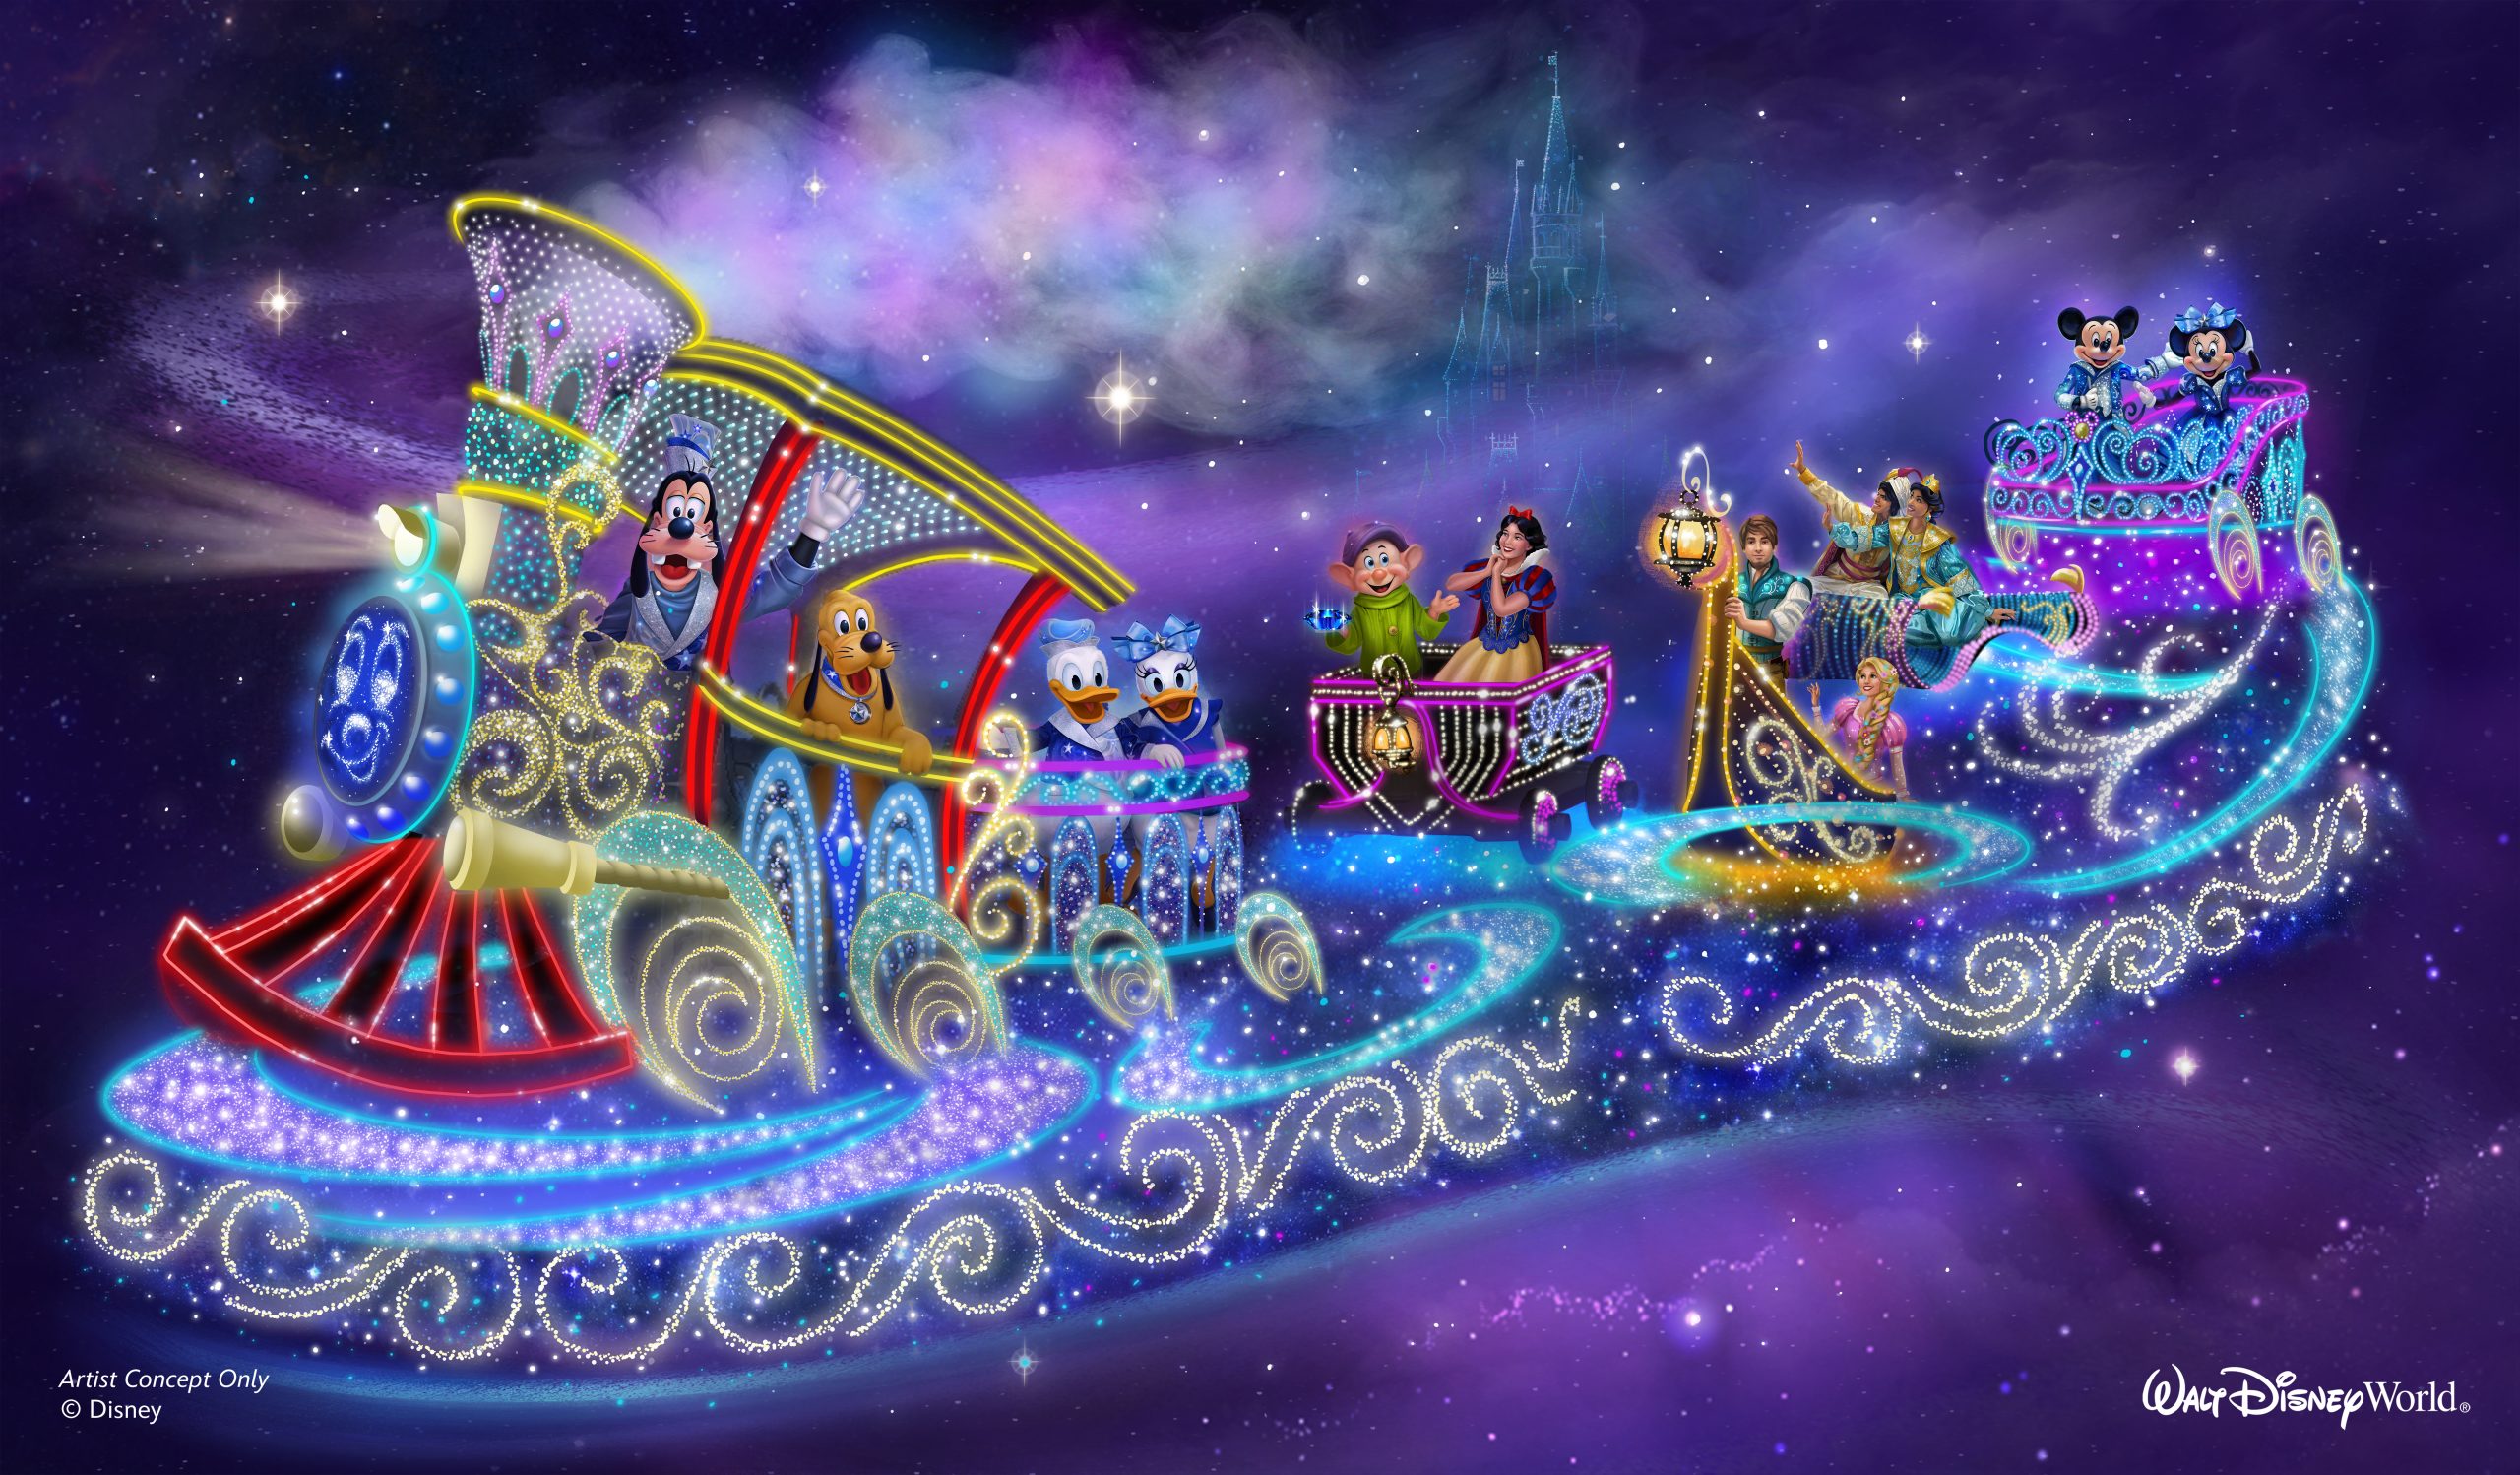
Don't panic, but we finally have an opening date for Magic Kingdom's new nighttime parade.
We're sharing some hot Disney finds from Five Below!
We've got a good one for you today. Here at AllEars, we love to show...
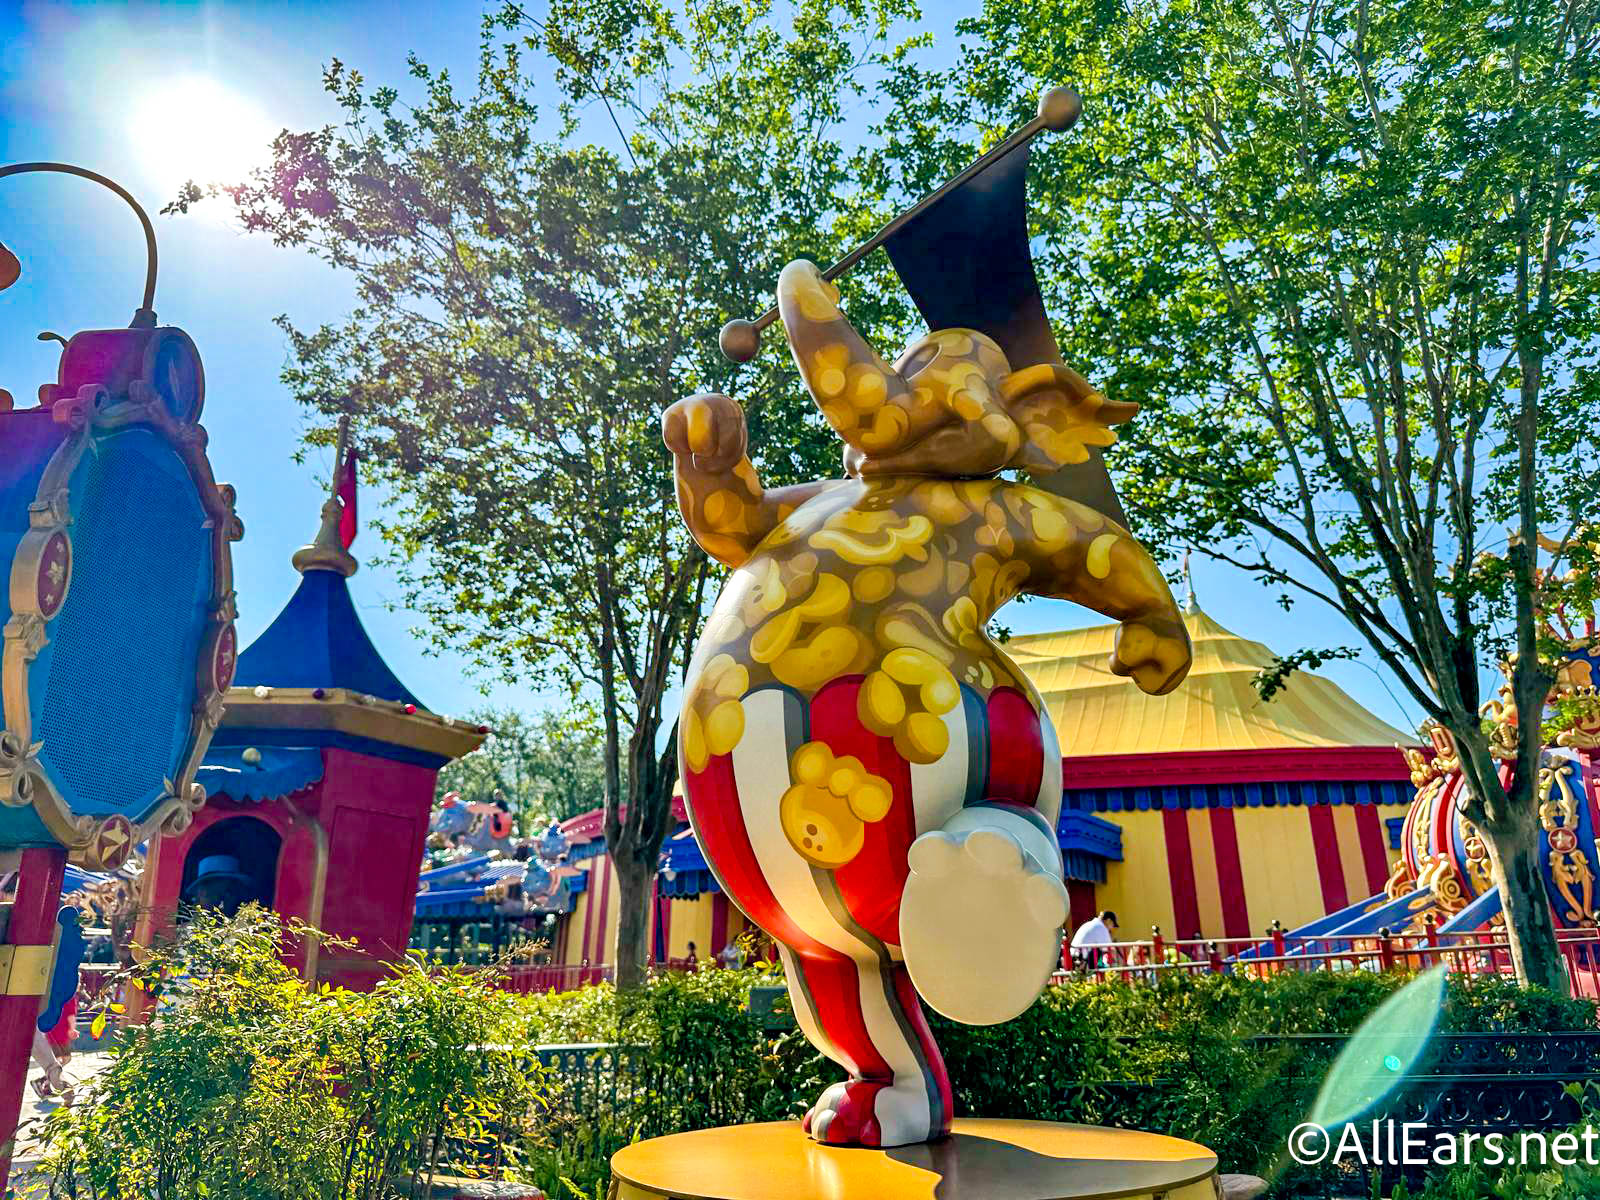
Let's find out what Disney Adults have to say about the Magic Kingdom Expansion Plans.
Check out some of our favorite Disney items on Amazon!
Disney adults have been buying Tevas off Amazon, and we totally get why!
These spooky Loungeflys are on sale on Amazon now!
THREE new collections are coming to the Disney Store this June!
Here's a list of things you should NOT do in Disney World hotels.
History tells us Disney is going to run into some issues building in Abu Dhabi.
You'll need to watch out for these Disney World hotel scams!
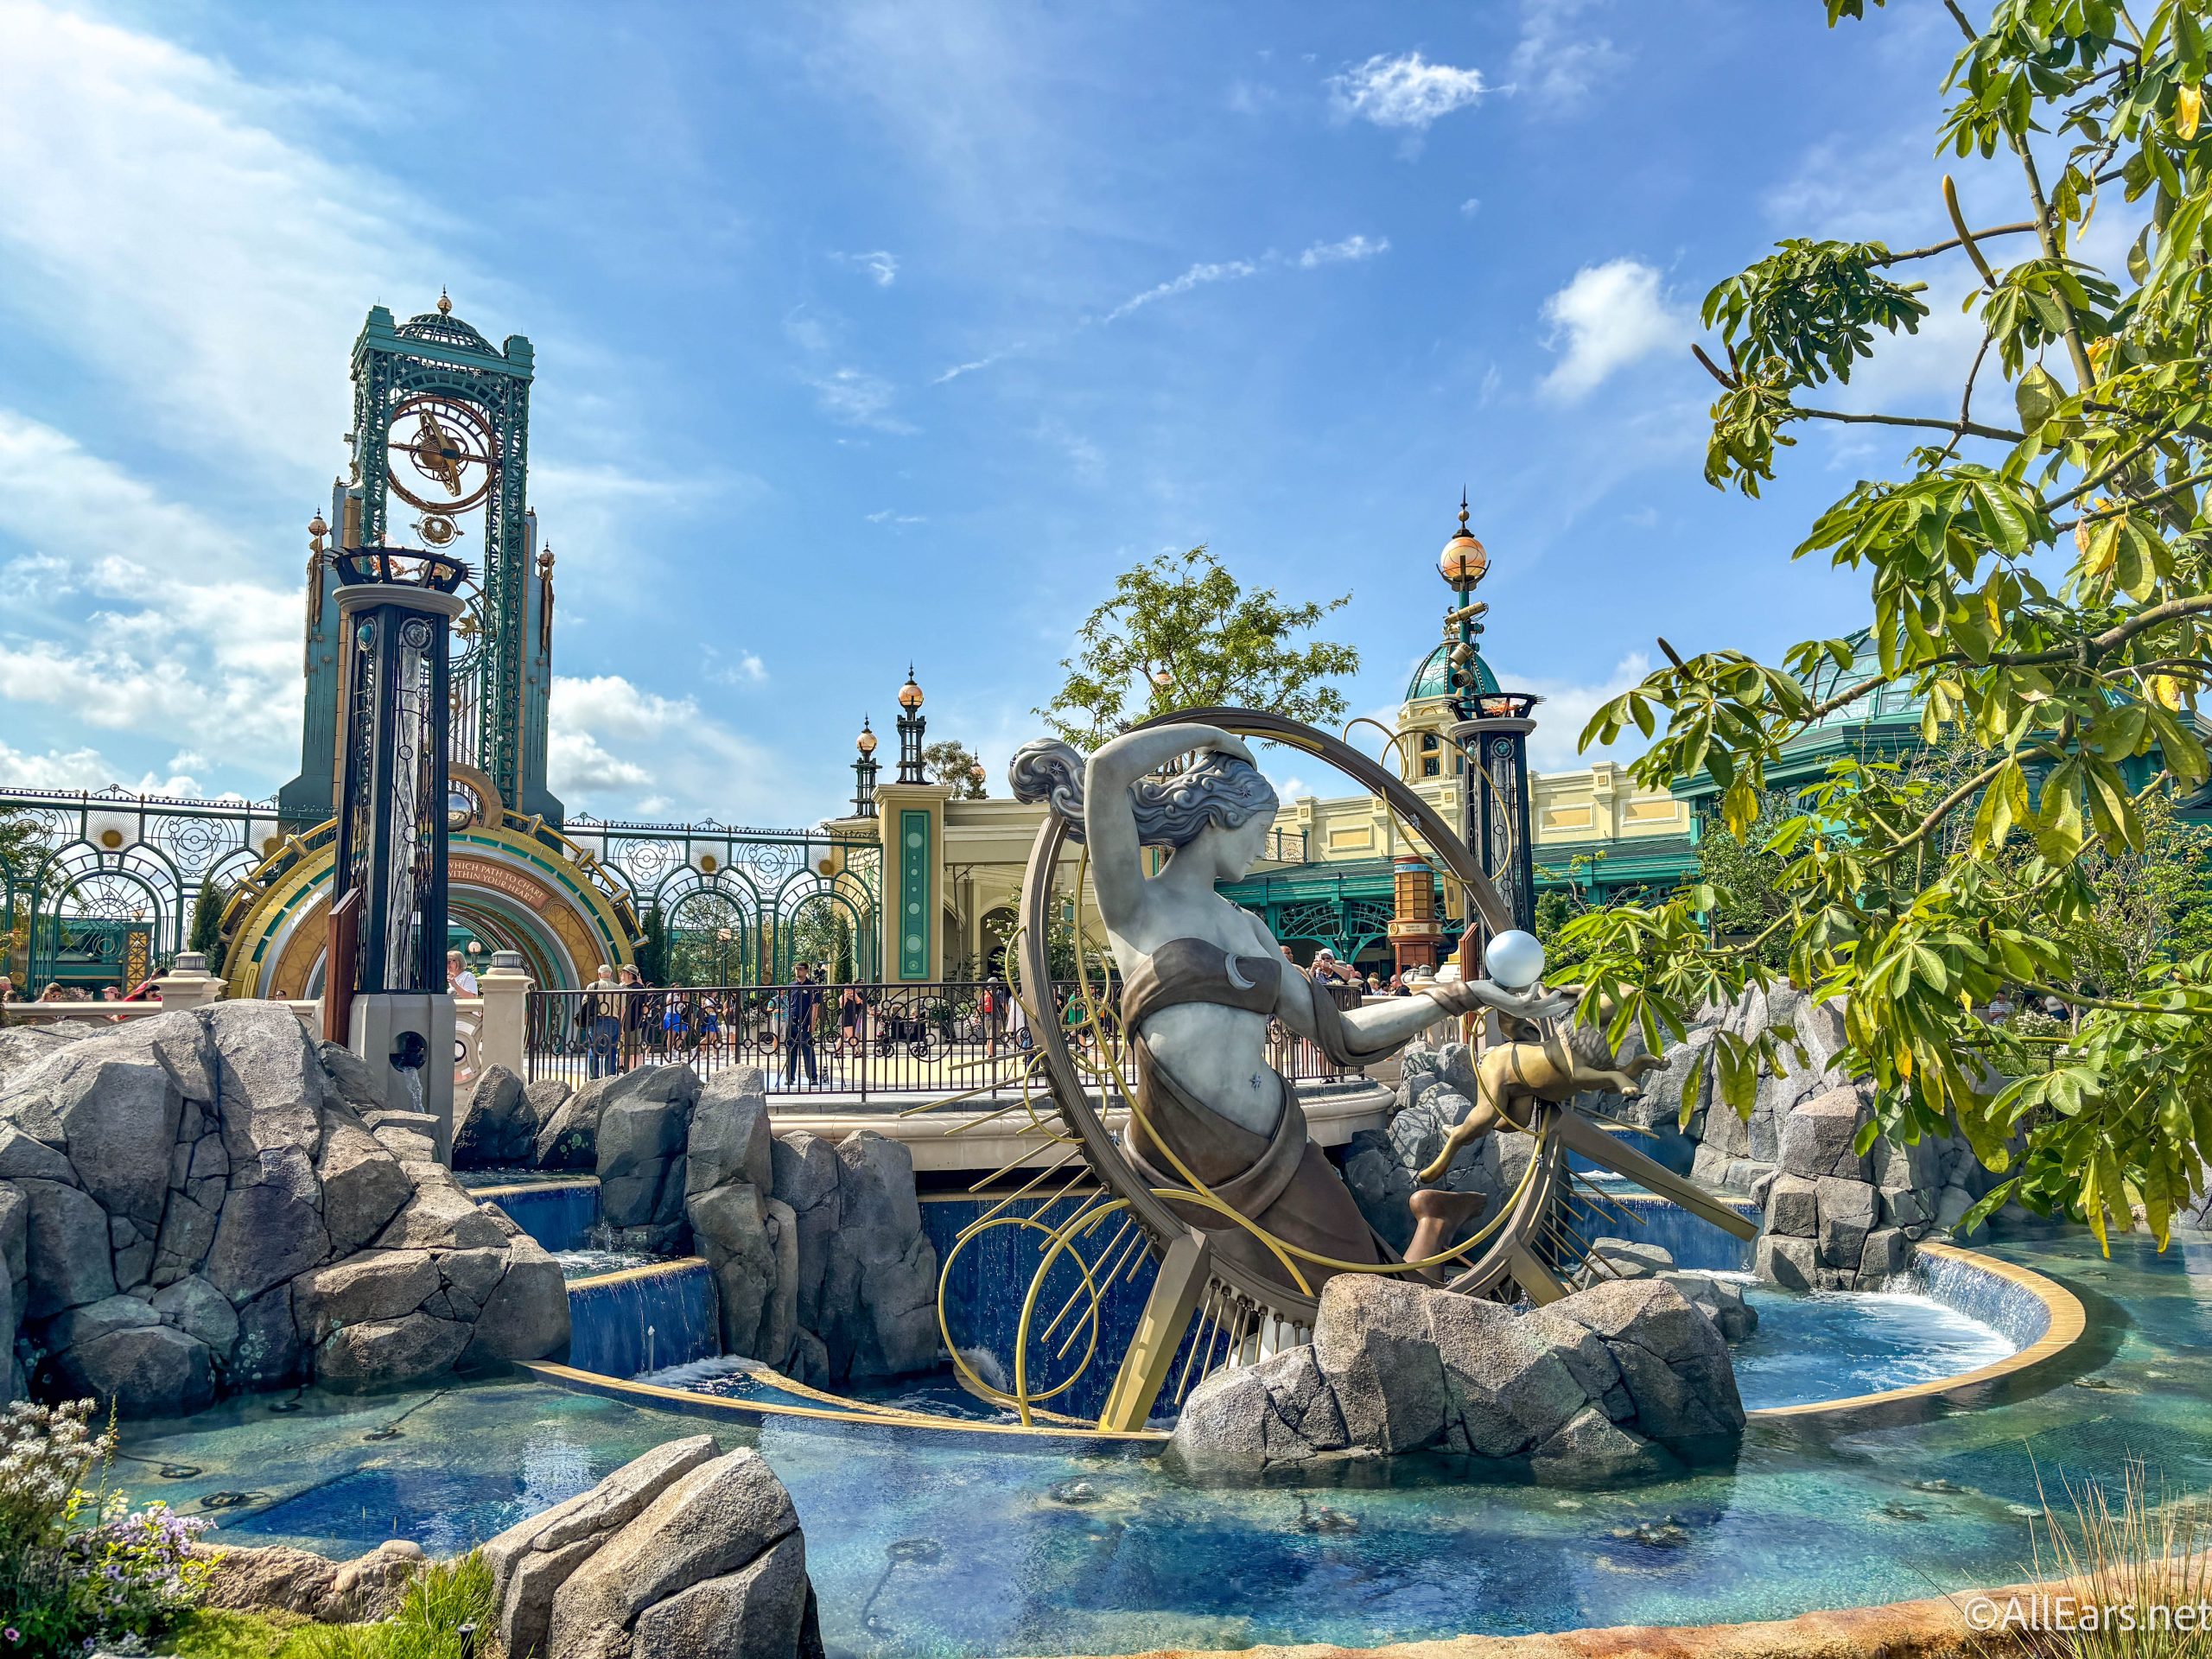
There have been some MAJOR changes at Epic Universe already!
Dear Disney, there's this one thing we're just begging you to bring back -- The...
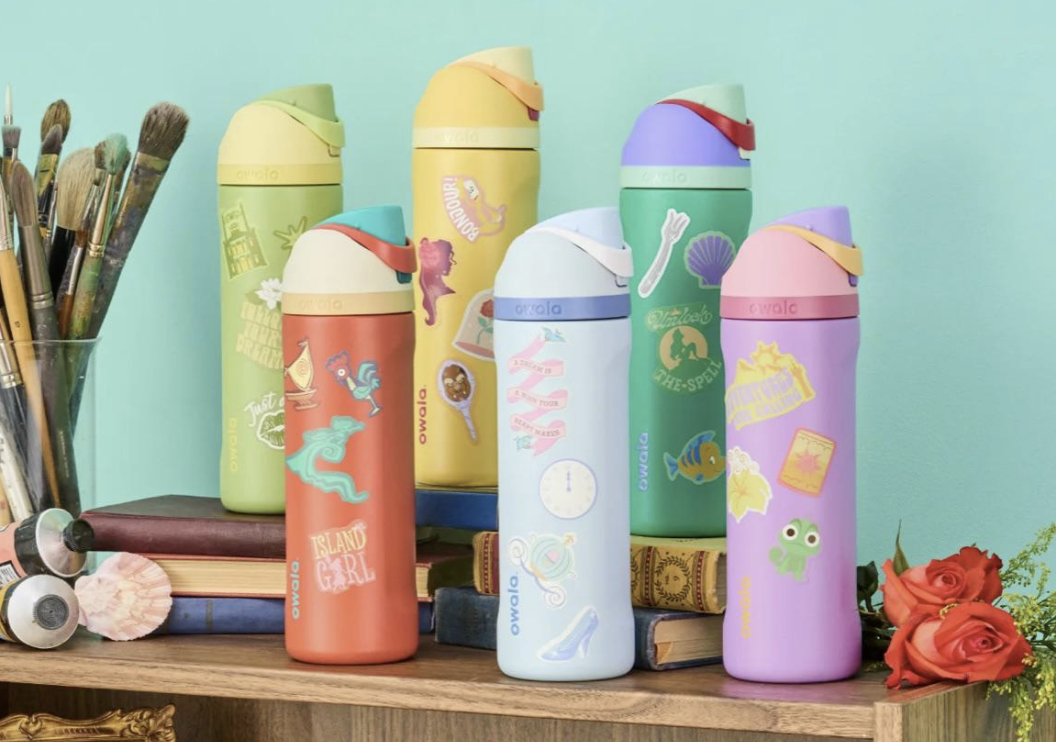
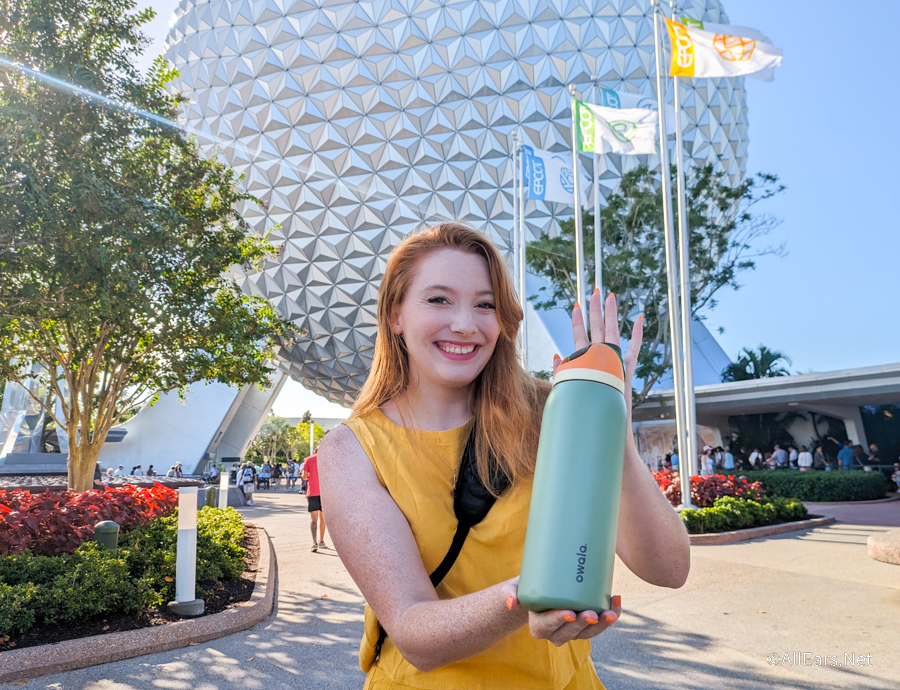
There's a brand new Owala Collection and it's over at Dick's Sporting Goods.
Two new shows are finally open in Hollywood Studios!
There are SO many snacks to enjoy at Disneyland's 70th Anniversary celebration, but not ALL...
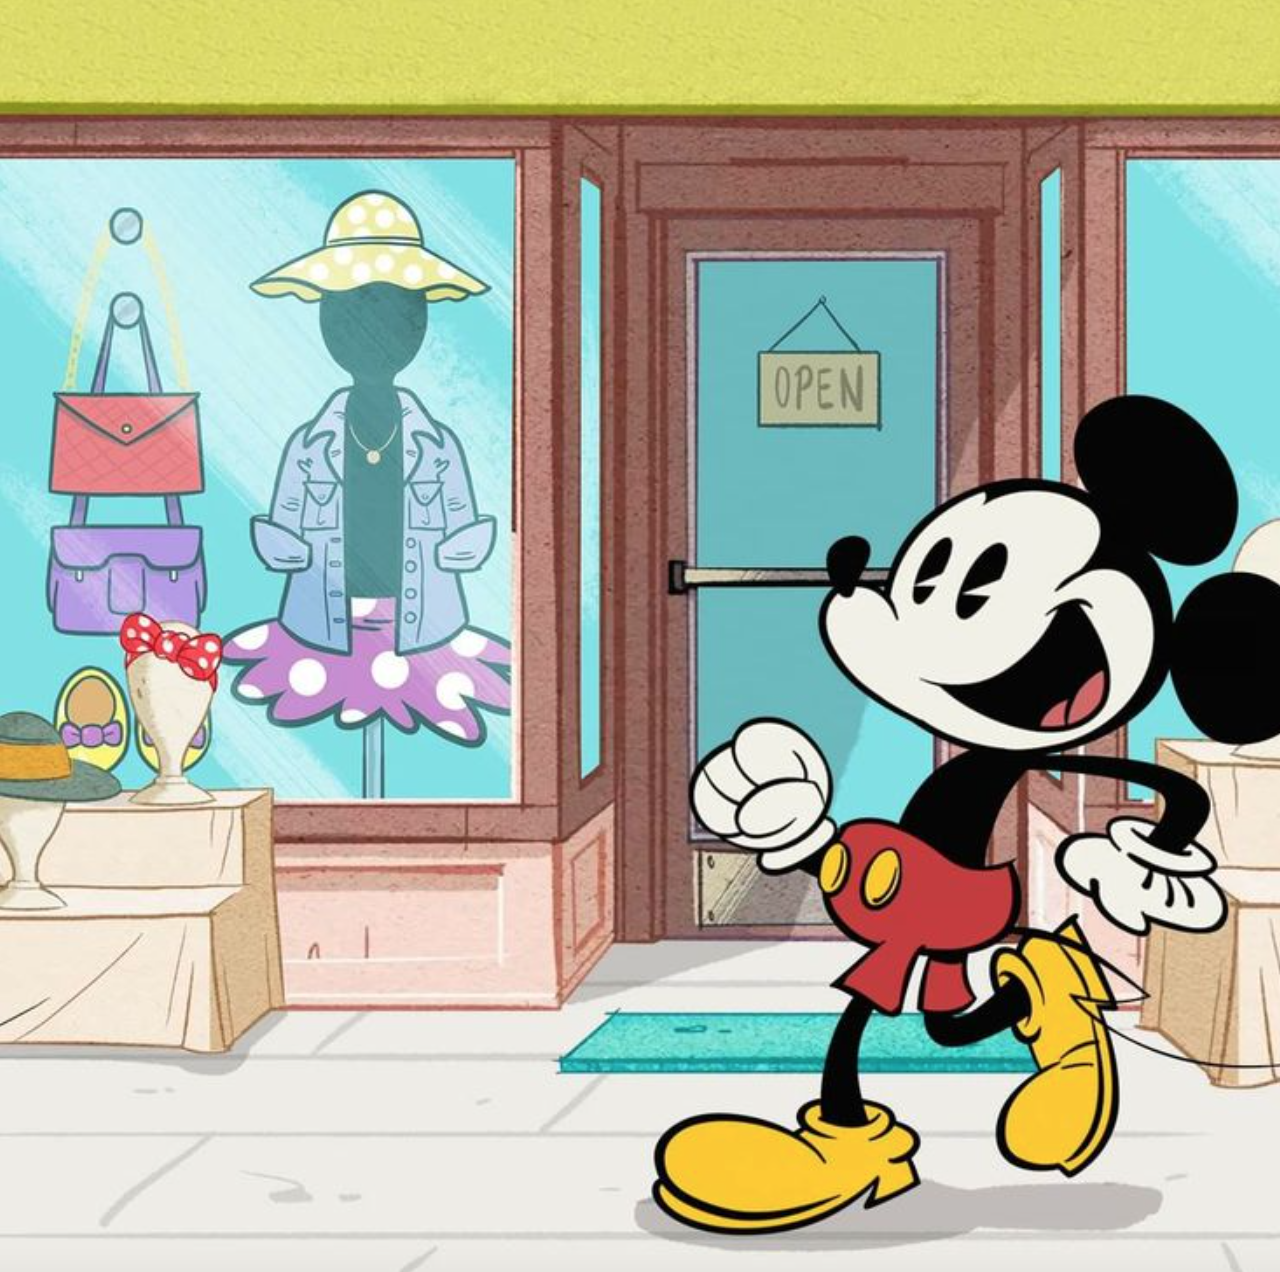
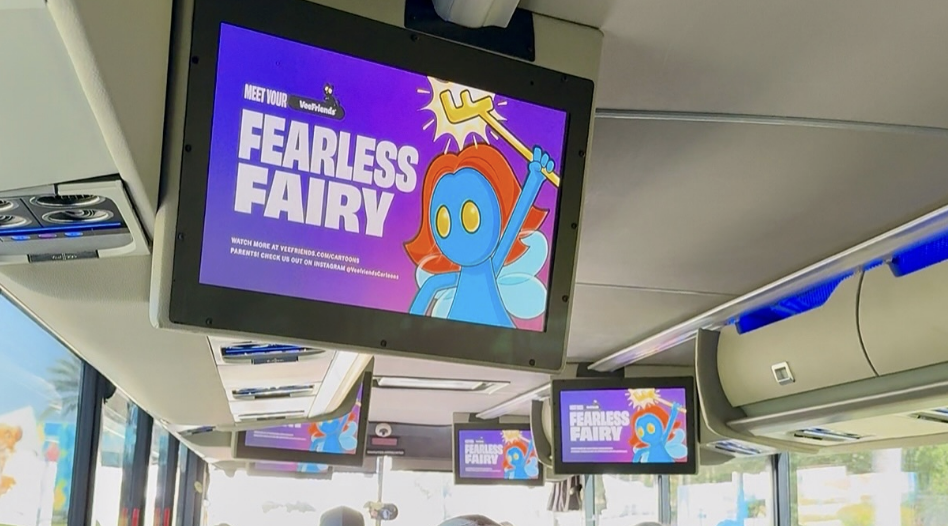
A new cartoon is coming to Mears Connect buses for the next year!
The best shoes to keep your feet in good shape at Universal.
Grab some of our favorite water bottles ONLINE!