


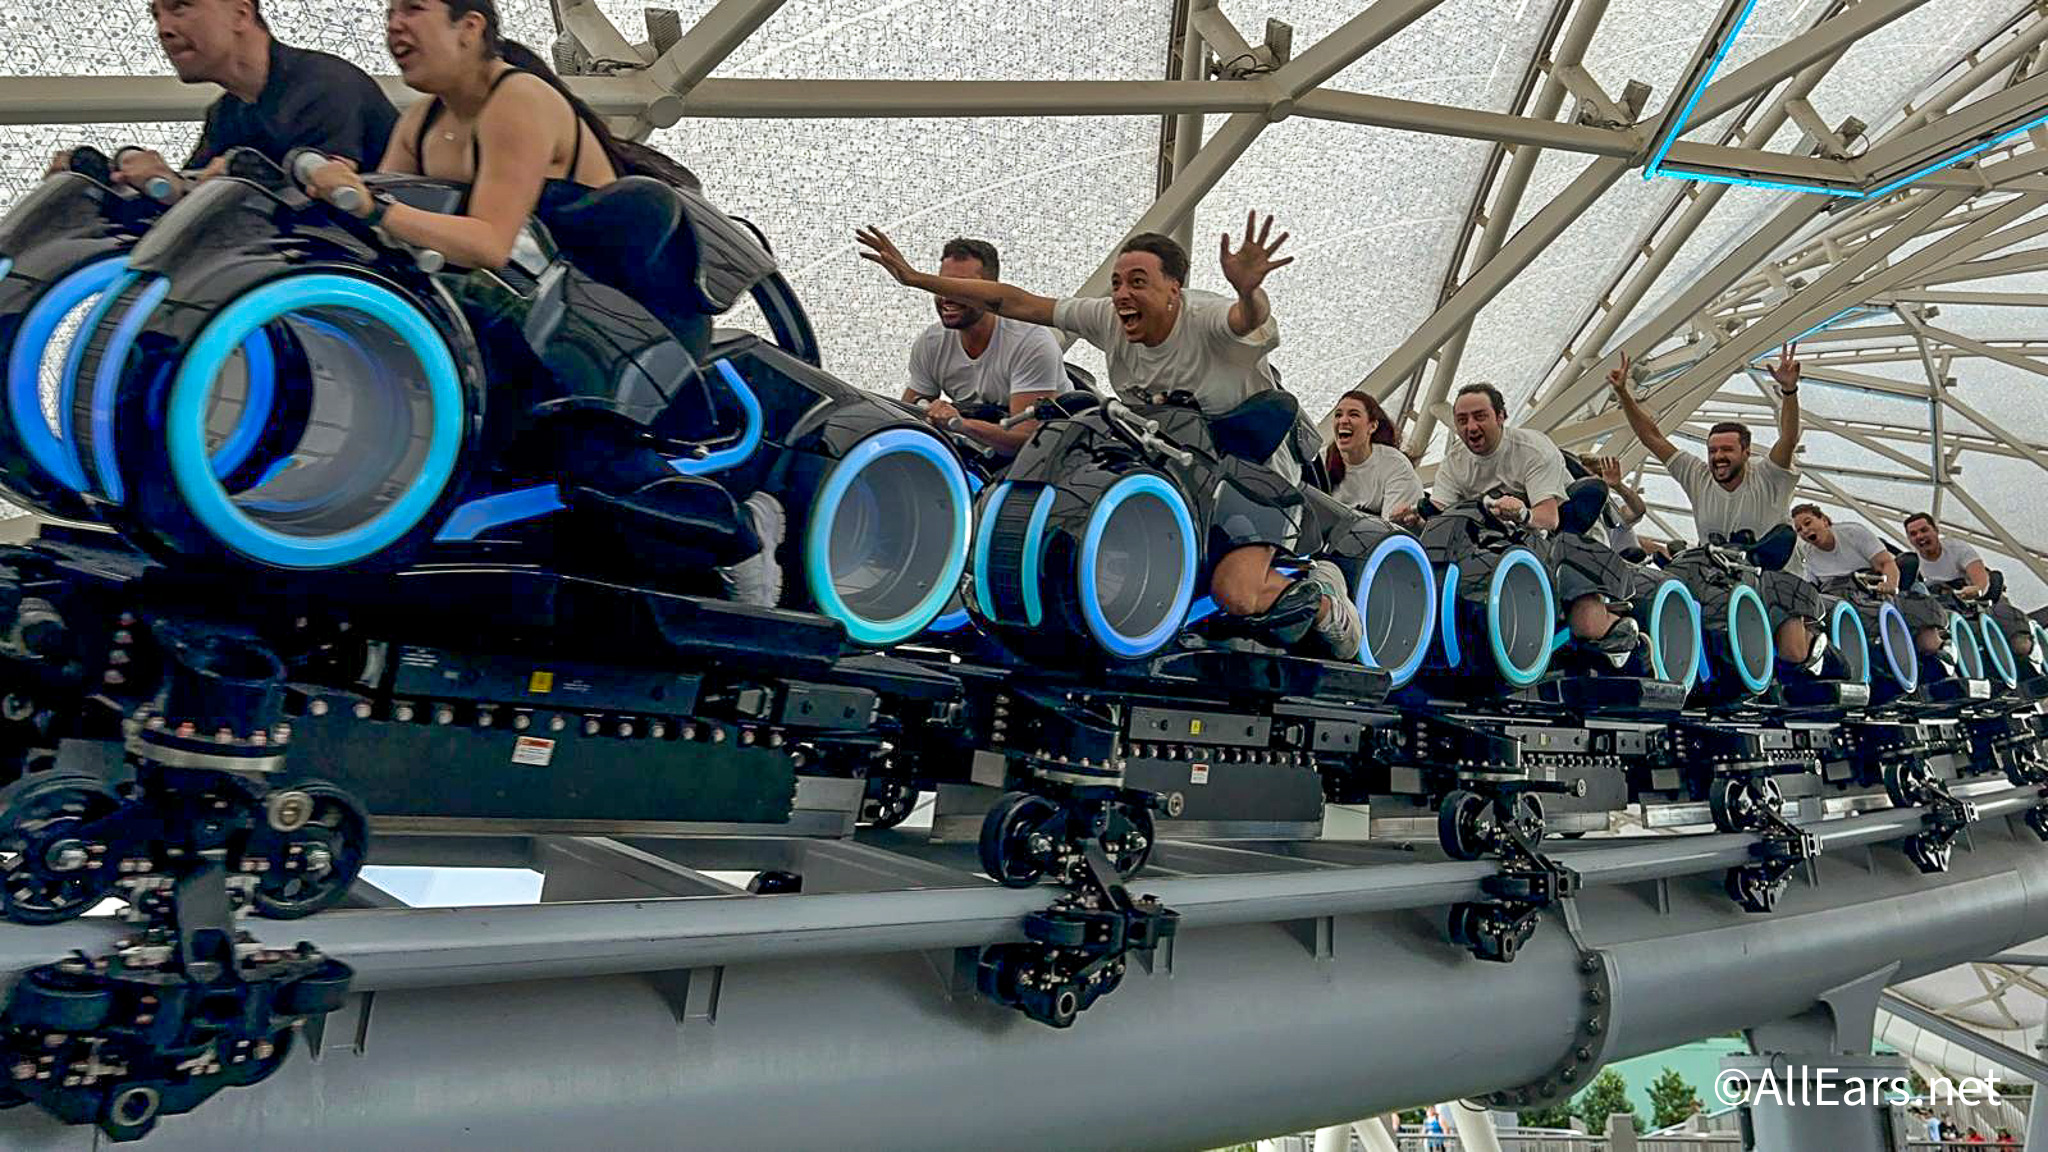
Cinderella topiary at Epcot’s Flower and Garden Festival. Copyright © Scott Thomas Photography 2007
Nikon D70/18-200VR, 1/160s, f/11, 200 ISO, -0.3 EC, 18mm Focal Length
In digital photography, exposure is the total amount of light allowed to fall on to an image sensor. It’s really quite simple even though there’s a lot of science and engineering behind how your camera does it. I leave that to the engineers and enjoy the fruits of their labors.
In the time ahead, I will be going more in-depth into the photographic terms of exposure and how they effect our photographs. These terms are: Aperture, Shutter Speed, ISO (or Sensor Sensitivity) and Exposure Compensation.
Aperture is how wide the lens’ iris is opened. Like your eye, a lens has an iris. You can tell how wide it is by the f-stop number. Those funny numbers you see on your lens or through your viewfinder often designated with an f/ in front of them. In the photo of a topiary taken during Epcot’s Flower and Garden Festival, the aperture setting is f/11. The lower the number, the wider the aperture is and the more light is transmitted through the lens. Reciprocally, the higher the number, the less light comes through. Aperture controls the zone of focus or depth of field in your images and can be used in very creative ways.
Shutter Speed is how long the camera’s shutter stays open to expose it’s sensor to the subject being photographed. Most of the time it’s just a short fraction of a second. The photo above used a shutter speed of 1/160th of a second. The dimmer the light, the longer the shutter speed is to get a well-exposed picture. Low light and night photography can sometimes take seconds or minutes to capture a scene. For fast action like children playing or theme park rides, you’ll want to use fast shutter speeds like 1/500th or faster to capture the action. Playing with various shutter speeds is a lot of fun!
ISO is how sensitive your digital camera’s sensor is to light. You want to use the lowest ISO you can to get shootable apertures and shutter speeds. The higher or faster, as it is referred to, ISO number, the more sensitive your sensor is to light. With a lot of light available, the topiary image was taken with an ISO of 200. As day turns into night, I will increase my ISO from 200 to as high as 1600. This does increase what’s called noise (they look like little specs) into the images. Unlike film, the noise is not nearly as bad as film grain was and there are software products available, which can clean up most of the noise.
Exposure Compensation or Bias is a way for digital photographers to dial in their exposure. Most digital SLR and some advanced Point & Shoot cameras have an exposure compensation button which allows you to do slight adjustments to your cameras image sensor. Usually in one half to one third intervals, this little button can make the difference between an image with too light or too dark areas into a properly exposed gem. In this blog’s photo, I made a slight -1/3 (or -0.3) adjustment to keep from over exposing or “blowing out” the light background behind the topiary.
For an excellent book on this subject, I highly recommend Bryan Peterson’s Understanding Exposure which has been updated for digital photography.


Trending Now
Grab these LEGO sets before they're gone!
Amazon is clearing out the Disney vault!
How did the 4th of July affect Disney World's wait times?
There's a NEW Donald Duck Loungefly collection online you've gotta see!
Amazon has Loungeflys on sale as part of Prime Day!
Donald Duck is back in his official meet and greet spot in EPCOT!
Let's have a chat about an Oura Ring that Disney Adults just can’t seem to...
The holiday dates can be confusing for Disney World, so we're going to break it...
Bad Florida weather is creating some new problems at Disney World.
After a year and half, this restaurant is still abandoned at Disney World with no...
We're sharing the worst-reviewed restaurants in Hollywood Studios!
We asked our resident Disney adults which ride at Hollywood Studios they would rope drop...
On July 11th, protesters assembled near Disneyland Resort due to rumors of Vice President JD Vance...
Amazon Prime Day is giving us amazing deals on Oura Ring accessories!
Amazon Prime Day is here with some HUGE deals on Disney souvenirs.
Here's what you've gotta know about Disney World's "Other" Airport!
There's a NEW treat in EPCOT that we're 100% sure you CANNOT miss!
Disney's Boardwalk Villas got a scathing review recently that could indicate some issues with a...
We're rounding up the BEST ride hacks for your visit to Universal Orlando!
There are quite a few rules you will need to follow if you are staying...