


High Dynamic Range imaging which is referred to simply as HDR is a process to increase the amount of luminance between the lightest and darkest areas of an image. Digital cameras can handle from 4 to 7 stops of light. In contrast, the human eye can see 20 stops of light. People “see” in HDR. Photographers for years have done all kinds of things in the darkrooms to increase their photos dynamic range.
With the advent of more powerful personal computers, digital cameras and imaging software, photographers and software engineers created the HDR process of merging a set of digital photographs which would have taken hours of setup in a darkroom and do it in just a few minutes. Today’s blog is just an introduction to HDR as I have recently discovered it myself.
There are two kinds of HDR images. One is created by a set of images I call an HDR set. The second is created from one image which I will cover in three weeks. So, what is an HDR set? To explain that I first have to introduce you to the term bracketing. In photography, bracketing means to take one picture at a given exposure then one or two brighter and one or two darker, in order to obtain the best image. I did this often whenever I was using slide film. Digital sensors are a lot like slide film so when I took up digital photography, I returned to bracketing, especially if the the subject I was photographing had very light and dark areas.
HDR imaging takes bracketing a bit further. Instead of changing a half or a full stop around an exposure, HDR photographers go 2, 3 and sometimes more stops. Digital cameras make it very easy as most come with auto-bracketing settings which will program your camera to take a series of photos plus and minus around the exposure the photographer decides to start with. Auto-bracketing can be truly automatic where one shutter press takes all the photos in sequence or, like my older digital camera, you have to press the shutter for each bracketed photo. To find out how your camera does auto-bracketing, check its manual (haven’t bugged you about reading that in awhile!).
Now that you have an idea of what HDR is. Let me show you how it works. Most HDR books and web tutorials recommend you start with a 3 image bracket of +2, 0, -2 EV (exposure compensation). When I turn on auto-bracketing, the first shutter press will take the +2 EV photo first, the 0 EV photo second and the -2 EV photo last. This gives me the HDR set of 3 photos you see below of Expedition Everest from the bridge to Africa in Disney’s Animal Kingdom.

HDR set of photos of Expedition Everest in Disney’s Animal Kingdom.
When I first started doing this I had to get used to seeing such light and dark images and to NOT delete them which I did the first few times. Once you get the HDR set onto your computer the real fun begins. A couple of years ago, you really needed something like Photoshop to merge the HDR sets together. Most HDR gurus today recommend Photomatix either as a stand along program or plugins for Photoshop, Lightroom or Apple’s Aperture. Since I use Aperture, I’ll explain how easy it is to use the Photomatix plugin. If you get the stand alone version, Photomatix Pro, you have to create the JPEG images for it.
In Aperture, I selected the three images you see above and choose to edit with the Photomatix plugin. This launches Photomatix and imports the three images. Since I didn’t use a tripod here, I told Photomatix to align the images. After a minute or less, the merged image is displayed in the plugin. The first time you see this you’ll be amazed. Dark and light areas which in the “properly” exposed image had little to no detail, now have detail. The links below will go into more detail as to what all the adjustment sliders in Photomatix does. After a few minutes, below is what I ended up with. Notice how you can see details in the bright clouds and dark green foliage. In my normal processing, I would have had a hard time getting something even close to this.

Expedition Everest from the bridge to Africa in HDR.
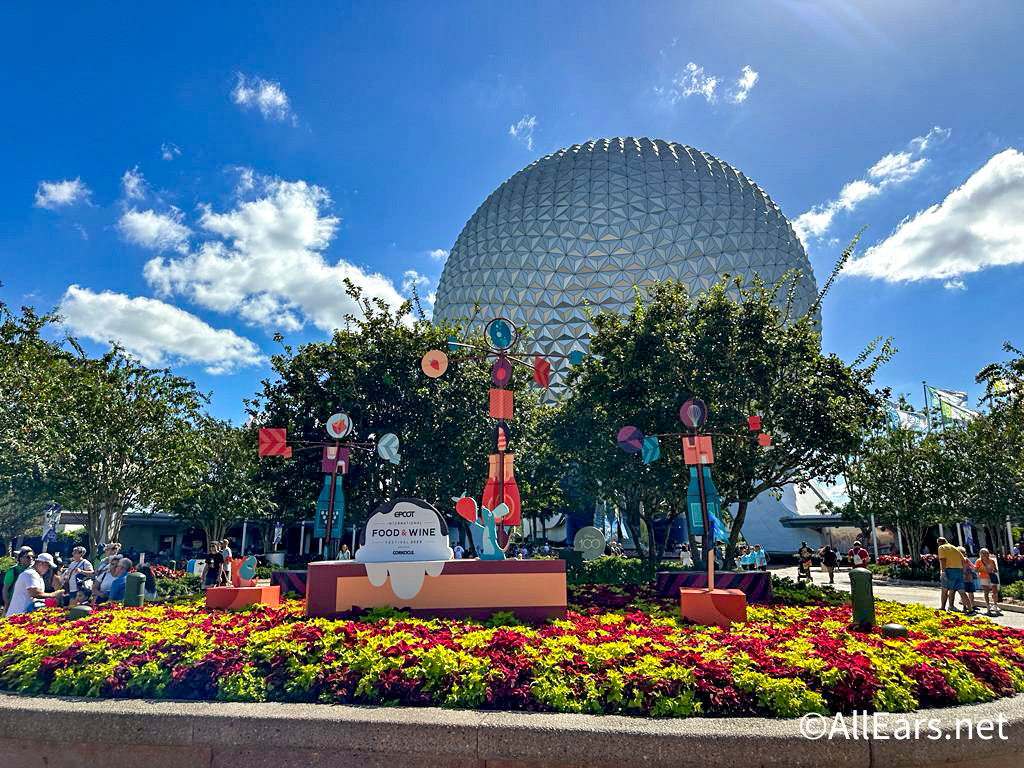
Remember, HDR works best with scenes which have very dark and/or very light areas. If the scene is very evenly lighted, HDR won’t do much for you. With that in mind, lighted structures at night have a large contrast in light and dark. I had seen others do HDR images of Spaceship Earth at Epcot but I thought I would give it a try and see what I came up with. Below is the HDR set of three images. This time, I decided to do it manually by using my camera’s light meter and a tripod. I kept the ISO at 200 and aperture at f/16 and varied the shutter speed to get the same exposure range of +/- 2 stops.

HDR set of photos of Spaceship Earth in Epcot’s Future World.
Night HDR processing was a lot harder than I thought it would be. HDR increases noise. So, if you start with ISO 200 images, the HDR image turns out like an ISO 400 image. In very dark areas, like a night sky, noise can become very apparent. After a long time, I finally came upon the settings to keep the night sky black and not a grainy brown. The result you see below.

Nighttime HDR of Spaceship Earth in Epcot’s Future World.
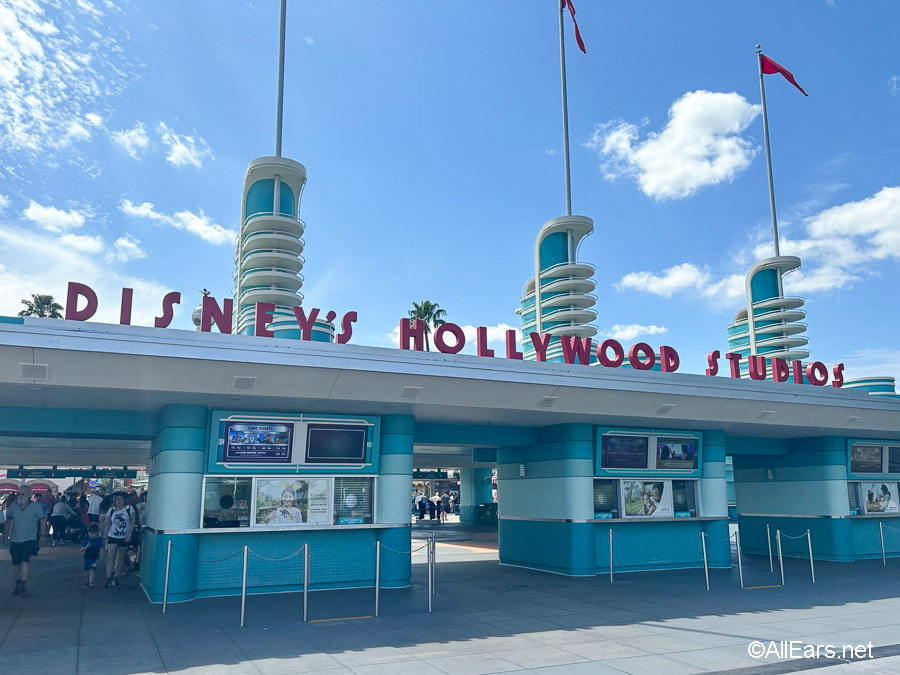
When HDR images first appeared, they were panned as being too cartoonish and not very realistic. As software engineers and photographers improved the tools and techniques, HDR images got better and better. For fun, you can still create those extreme HDR images like the one I did below of the set of the Lights, Motors, Action Extreme Stunt Show in Disney’s Hollywood Studios.

Extreme HDR of set of the Lights, Motors, Action Extreme Stunt Show.
To me, this looks like concept art which might have been seen in the offices of Disney Imagineering when they were creating the show. What do you think? For more HDR examples from Walt Disney World, click here.
I have been rather vague as to how to use Photomatix. This is because like all photo editing software, there are no wrong or right ways to create an HDR image once it’s in Photomatix. Below are some links which will explain further how to create HDR photos using Photomatix.
Stuck In Customs HDR Tutorial – Trey Ratcliff is considered a master of HDR photography.
HDR Tutorial by Pete Carr – goes into how adjustment sliders in Photomatix effect an image. (This is an update from the original link.)
HDRsoft’s website – the maker of Photomatix which have 30 day trials of the stand alone and plugin versions for download.
Stuart Perry’s Photomatix Presets – I know it’s early but this is my Christmas gift to anyone who wants to try out Photomatix. This link has a download with over 80 presets you can use in Photomatix. It’s a great way to see how each preset changes your images while in Photomatix. Enjoy!


Hi Scott,
Fantastic tutorial you have put together here.
I was surprised to find my old photomatix presets linked here! Thank you for that.
I have a bunch of new ones yet to be uploaded to my site. But once done I will let you know.
Keep it up.
Stuart Perry
Scott replies: Thanks, Stuart! I’ll write up a new blog post with some examples when you get the news ready.
Fantastic Scott, thanks for the links!
Scott replies: You’re welcome, Mike! Great blog, btw!
Thanks for linking to my HDR guide however its the old one. The new one is much more in-depth and can be seen here: http://www.vanilladays.com/hdr_tutorial/
Scott replies: Thanks, Pete! I’ll update the link in the posting.
These are just breathtaking to me!! I love the photo of Spaceship earth, down to each little detail. I’ve been reading this blog for a while, and I don’t have a fancy camera! I’m trying to learn all I can before I do get one though, and of course I enjoy the pictures here. 🙂
PS. Looking for a Christmas gift for my BIL, a photographer…who seems to have EVERYTHING! Any recommendations?
Scott replies: Hi, Cheri! Glad you like blog and are learning from it. To be honest, it’s not about having a fancy camera. I take good photos with my iPhone’s camera. So, don’t let your camera get in the way. Get out there and take some photographs.
As for your BIL, search for Christmas gifts on our blog’s search box. I have three gift posts. Also, in the 3rd annual guide, you’ll find a link to a book called “Within the Frame: The Journey of Photographic Vision”. It’s only been out a few months and has gotten very good reviews.
Hey Scott,
Those are really good shots!
I’ve been meaning to try this forever, but I just never seem to either (a) remember it when I’m at the World or (b) have the time to do it!
I was GOING TO SAY they look like Trey’s pictures, but you said that yourself right underneath your blog post! Ha! Ha!
Yes, Trey IS the master!!!!
Good job and thanks for this little blog! Enjoyed reading it tonight!
Scott,
These photos are AWESOME!!!!!!
I am an extreme newbie to trying anything with advanced digital photography. Yes I have a camera but have only ever used it for just normal use. Wow the possibilities!!!!!! Have to see if my camera can do this!!!!!
Thanks a million!!!!!
Eric
Scott replies: Thank you, Eric! Have fun!
Scott,
Love your posts and you pictures, but a bit of constructive criticism. Your watermark/copyright is distracting due to its color and glow. I believe we should all mark our photos, but it should not take away from the photo itself.
Scott replies: I try and make the watermark as unobtrusive as possible. Will review how I do it and see if I can do better. Glad you like the posts!
Hi Scott,
Excellent and informative blog post. I’ve been researching HDR, and I’m looking forward to trying out some HDR images. I’m fascinated by your discussion of Photomatix. Do I understand correctly — you import the three images, and Photomatix layers and blends the images on its own? And then you adjust as necessary with the sliders?
I have Photoshop Elements, but looks like there’s no plug-in for that version. You can also get Photomatix Light!
Scott replies: Deaanna, that is correct. Photomatix does all the hard work of blending the 3 or more images together. Then you use the sliders to adjust the image to your liking. Then you would bring that image back into PS Elements to finish. I usually need to adjust the highlights and shadows a bit and then add sharpening as the final step.
Very Cool! But darn you for giving me something else to learn and play with… 😉 I can’t wait to get started.
Scott replies: Have fun! I know what you mean, it never stops from learning new techniques to buying the latest new lens, camera or software.
Some of the coolest photos I’ve ever seen! Love the one of Expedition Everest and Extreme Stunt Show!
Scott replies: Thank you, Karen!