


I have talked about my attempts at photographing Disney dark rides in the past. I have not been satisfied with my results thus far. So, I contacted an expert. Michael Besant is an accomplished dark ride photographer and I asked him for his secret. Turns out I was not the only one to inquire and he had decided to write up how he photographs and processes his dark ride photos. I will reference the link soon.
First, I want to outline it for you:
Equipment
The better a camera handles high ISO settings the better its ability to capture dark ride images. If you get good images up to ISO 3200 or higher, your camera will work.
A fast lens is a must. The one I recommend is the 50mm f/1.8 prime lens as it is very affordable. Other lenses with wide open apertures like f1.4, f/2 and f/2.8 are in longer focal lengths and thus are more expensive. Many kit lenses are too slow in the f/3.5 to f/5.6 aperture range.
Photography
As in all photography, the better exposed your photo is, the better you will be able process the images. Michael gives excellent tips on how to do this. One which helped me was to switch from my normal use of JPEG images to the camera’s RAW image capture. RAW files contain a lot more information in which your photo editor can use in pulling out details in photos.
Other tips are to use Shutter Priority mode to keep the shutter speed manageable. He recommends a shutter speed of at least 1/40th of a second (I try to keep it at 1/60th of a second, if possible), use continuous and single point focus settings and put your camera in burst (continuous) mode. Single point focus allows you to move the focus point to lock in on the brighter locations of the scene you are photographing. Lastly, set exposure compensation to +0.3 to slightly overexpose your photos. This will help in post processing.
Post Processing
I am going to give you the short version which Michael shared with me recently. For a detailed account you will need to visit his Dark Ride Shooting Tutorial (see link at end of article). He uses Adobe Photoshop software which is expensive but is the industry standard and for a good reason as you will see. I used Apple Aperture 3.3 which is like Adobe Lightroom 4.
Michael will open an image in ADOBE CAMERA RAW He always will ‘open’ it up with the exposure slider to see what details are lurking in the shadows. Then he starts with the WHITE BALANCE. This is done on multiple levels, the first being the normal adjustments. Before he takes it further and goes into selective color and remove or tone down the HOT colors.
Depending on the image, Michael will adjust with either the RECOVERY or the FILL LIGHT slider followed by SHARPNESS/NOISE REDUCTION (NR) tab to adjust the sharpness and NR at that point. From there he finishes up using the CURVE tool.
If any of this sounds confusing, check your photo editing software’s Help to learn how to use them.
For my processing, I had to substitute the NR part with a trip to another program called Noise Ninja. Once done, I returned back to Aperture for the final steps.
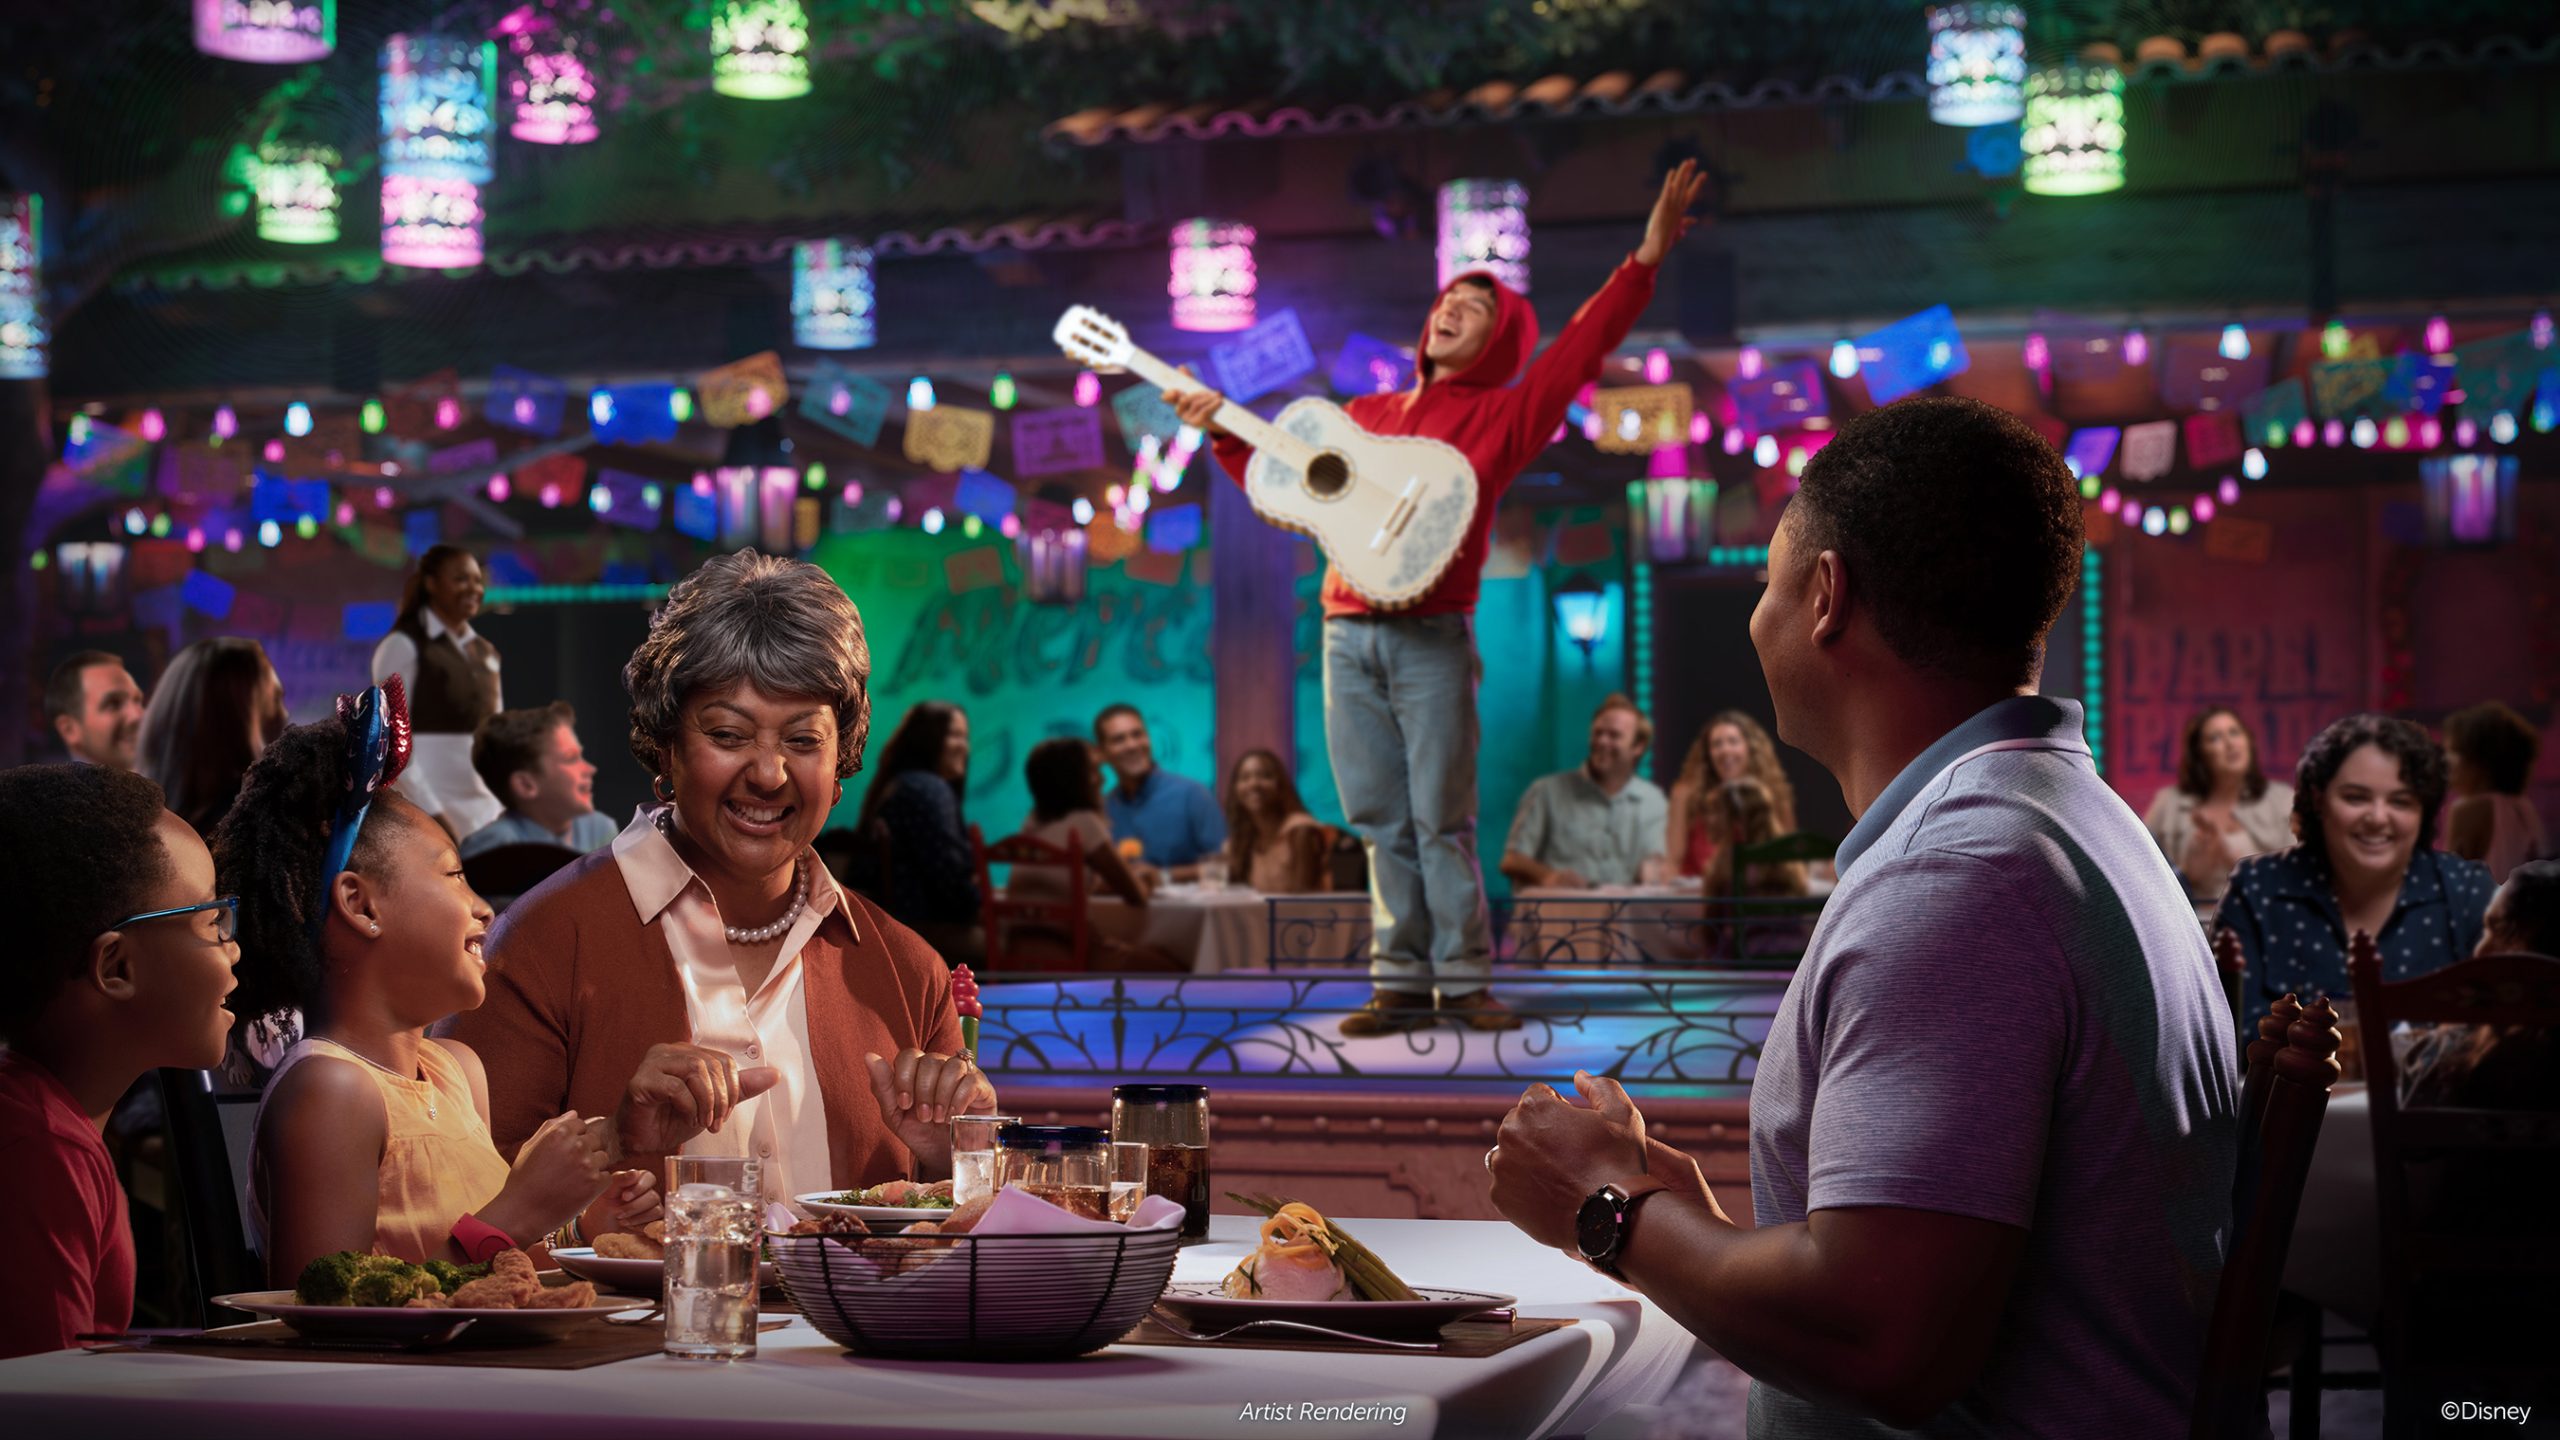
Below are photos I took in Mexico’s Grand Fiesta ride and the Tower of Tower. I sent copies of the RAW files to Michael so as to compare my processing to his.

The Aztec Pyramid on the Grand Fiesta ride by Scott.
Nikon D700/50mm, 1/60s, f/1.8, ISO 12,800, EV +0.3.

The Aztec Pyramid on the Grand Fiesta ride by Michael Besant.
You will notice right off the difference in the Aztec Pyramid’s color which I left more in keeping with the lighting on the ride and I opened up the colors above the pyramid by using a dodging (lighting) brush. Both versions are fine with the differences being artistic and not technical.

Ghosts beckon during the Tower of Terror by Scott.
Nikon D700/70-200VR, 1/40s, f/2.8, ISO 12,800, EV +0.3, 92mm focal length.

Ghosts beckon during the Tower of Terror by Michael Besant.
Michael was able to pull out a lot more detail in the ghosts. I tired brushing in a few different effects but never got them as good as he did. Keep in mind Adobe Photoshop is a $600 photo editor and is considered the gold standard in professional photo editing. Apple Aperture is a $90 program which does a very good job.
I will say this is the best I have done with dark ride photos thanks to Michael Besant’s Dark Ride Shooting Tutorial. I hope it will help you, too.
If you have any questions, leave them in the Comments.


My lens is a F3.5 so my night shots don’t come out nearly this good… I found this information useful, so I thank you!
Scott replies: You’re welcome, Mike.
I was directed here by a friend who is a (big) Disney fan.
One important consideration I don’t see here is that cameras with smaller sensors like the popular Canon T3i will effectively crop the image by a “crop factor” of 1.6x. That means a 50mm prime lens will effectively shoot like a 80mm lens, which is basically medium telephoto. For a park ride, you may have trouble framing your subject.
If you have a camera with a smaller sensor, you may be better served with something closer to 30mm. Most manufacturers will call this a wide lens, but for a small sensor camera, it will work like a 50mm portrait lens.
Note that Scott used a Nikon D700, which has a full-frame sensor, so this doesn’t apply to him. However, unless you paid $2000+ for your camera body (without lenses), you likely don’t have a full-frame sensor and will have to take crop factor into consideration. A smaller sensor also means inferior low-light performance, but they have been getting better lately, with decent ISO 3200 results.
Scott replies: You are right, Mauricio, I forgot to mention the crop factor and you bring up good point about using a 30mm instead of a 50mm for those bodies.
While I appreciate the article and the tips, I feel that having to use photoshop to change the photo until it’s nearly perfect defeats the purpose. I’d like to take photos that look good right away – not after “cheating” with an editing program. I know I won’t get perfection, but if I have to do all that editing, I feel like its no longer the photo I took. At that point, why bother taking it at all? I’ll just use someone else’s. I say this as an amateur who has yet to get a good shot in the dark ;o)
Scott replies: Thank you, Deb, for your comments. This is an age old argument among all artists since the dawn of time. In the case of the two photos I show here, the photos at the start looking nothing like what I saw and I edited them to get them to look like what I remember. Though I am still not there with the Tower of Terror photo, yet. 🙂
Nice write up Scott! Thank you for the generous accolades, you are going to make me think long and hard about wanting to leave the D3S at home on the next trip now *smile* so I can just enjoy the parks w/o wanting to carry that beast.
You are so right about the Post Processing of ANY image and using the best you can afford in the way of editing software, it can make or break you as a photographer. I have been using Photoshop since 1998 when I was using an old version 3.0. It sure has come a long way! Like you stated, it is WELL worth the investment if you take your photography seriously. Though I must admit that Lightroom 4 has a lot of nice features VERY similar to Adobe Camera Raw (ACR) which can be really nice when you need to edit 2400 RAW images from a wedding.
Speaking of RAW, it is THE only way to shoot! In the old days with memory being very expensive and the RAW workflow being slow I could understand not shooting in it. I know I was a JPEG shooter for years because of those very reasons. But once I embraced RAW there was no turning back. Today there are several RAW editing programs on the market, I use Adobe Camera RAW and Lightroom (for when I need to edit quickly, like a wedding shoot). Lightroom hands down is the best RAW editing software I have ever used. It takes a little understanding to wrap ones brain around just HOW the workflow works, but once you get it, it is wonderful!
Sorry for such a wordy comment. Can’t wait to see more of your posts!
Scott replies: No problem, Mike. While I will argue with you on always using RAW, it is a must for dark ride photography. Thank you, again, for helping me out and for your generous gift of sharing your workflow with all of us.